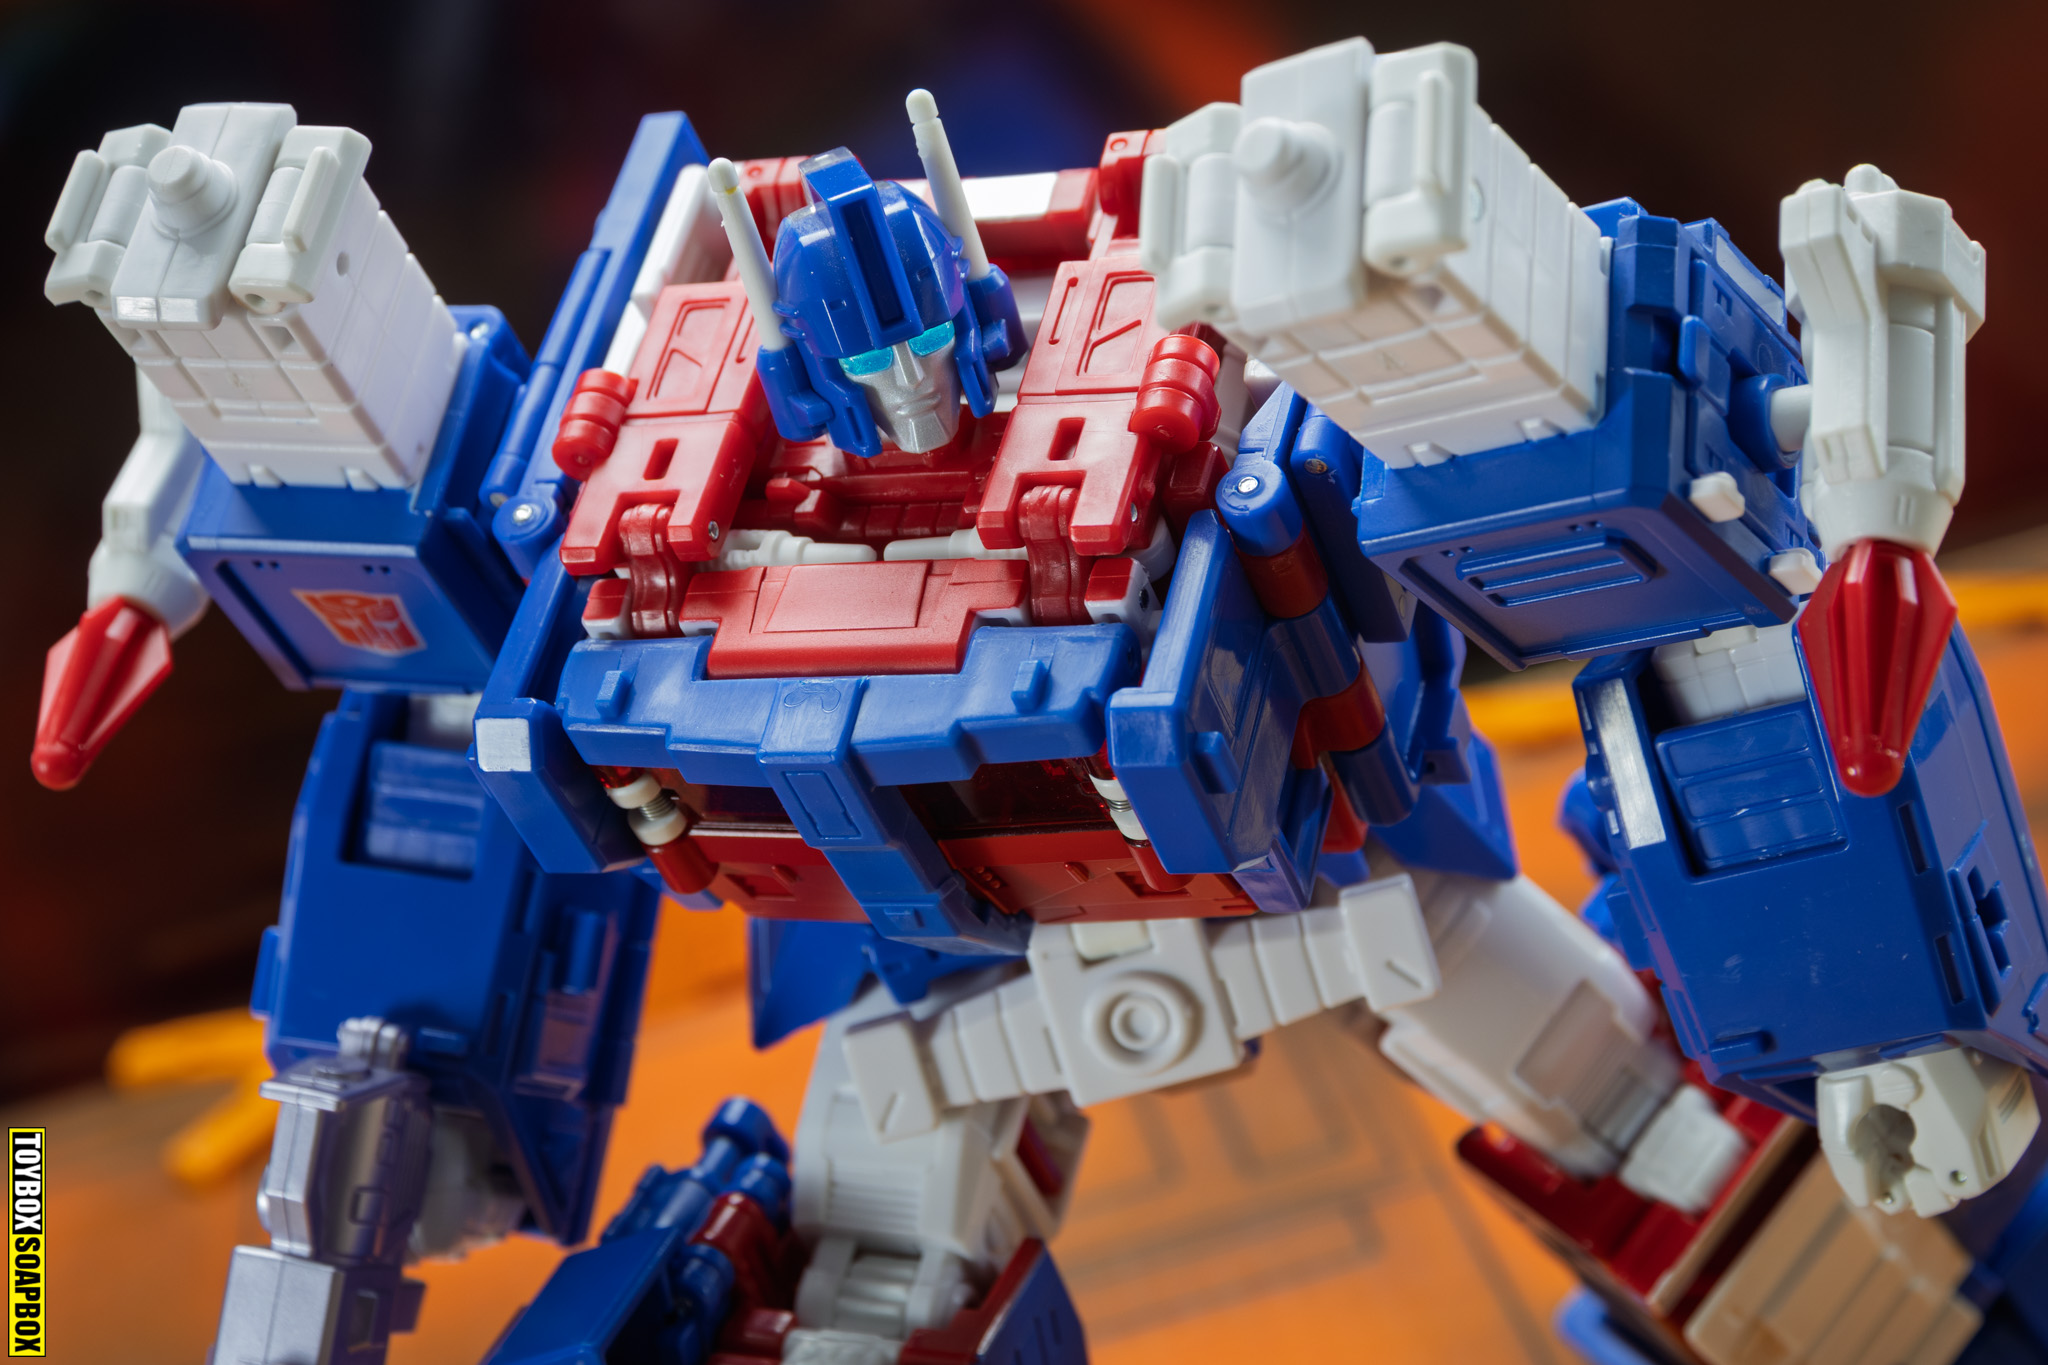
Hasbro’s Transformers Studio Series 86 Ultra Magnus was a massive hit when it was released, and it is absolutely fine as it is. Widely regarded as one of the best Transformers toys of recent years it may be, but I had one extremely picky issue with it – the shoulders were a bit wide. Magnus looked like The Teen Titans Tower (it’s a T shape, in case you have no idea what I am referencing). His shoulders were too far away from his torso and it threw off his proportions, at least to me. Fortunately, we live in a time where you can get an upgrade kit for practically any Transformers toy you want. If there is even the slightest aspect of a figure you aren’t keen on, then chances are somewhere across the planet a like minded soul has whipped up some fix or new parts to solve your problem. The ingenuity of people is incredible – as is the fussiness. I am a person who loves a good upgrade kit, because I like tinkering but I can also be fussy. I am the problem – not this toy.
I thought for sure DNA would have been all over this “issue”, but no, they were too busy doing 75 different Devastator kits (trumpets, it’s always trumpets) apparently. FINALLY, 3 years later and Witwiqi Studio, a new company with a delightfully French copyright skirting sounding take on “Witwicky”, has come up the goods. A brand new upgrade kit that gives you less for more, by providing new, much thinner shoulder pieces. Which sounds great, but how is it practice? And how do you install it? This really was supposed to be a short piece, but you know how that goes…
Scroll down for the full article – if you can deal with it now.
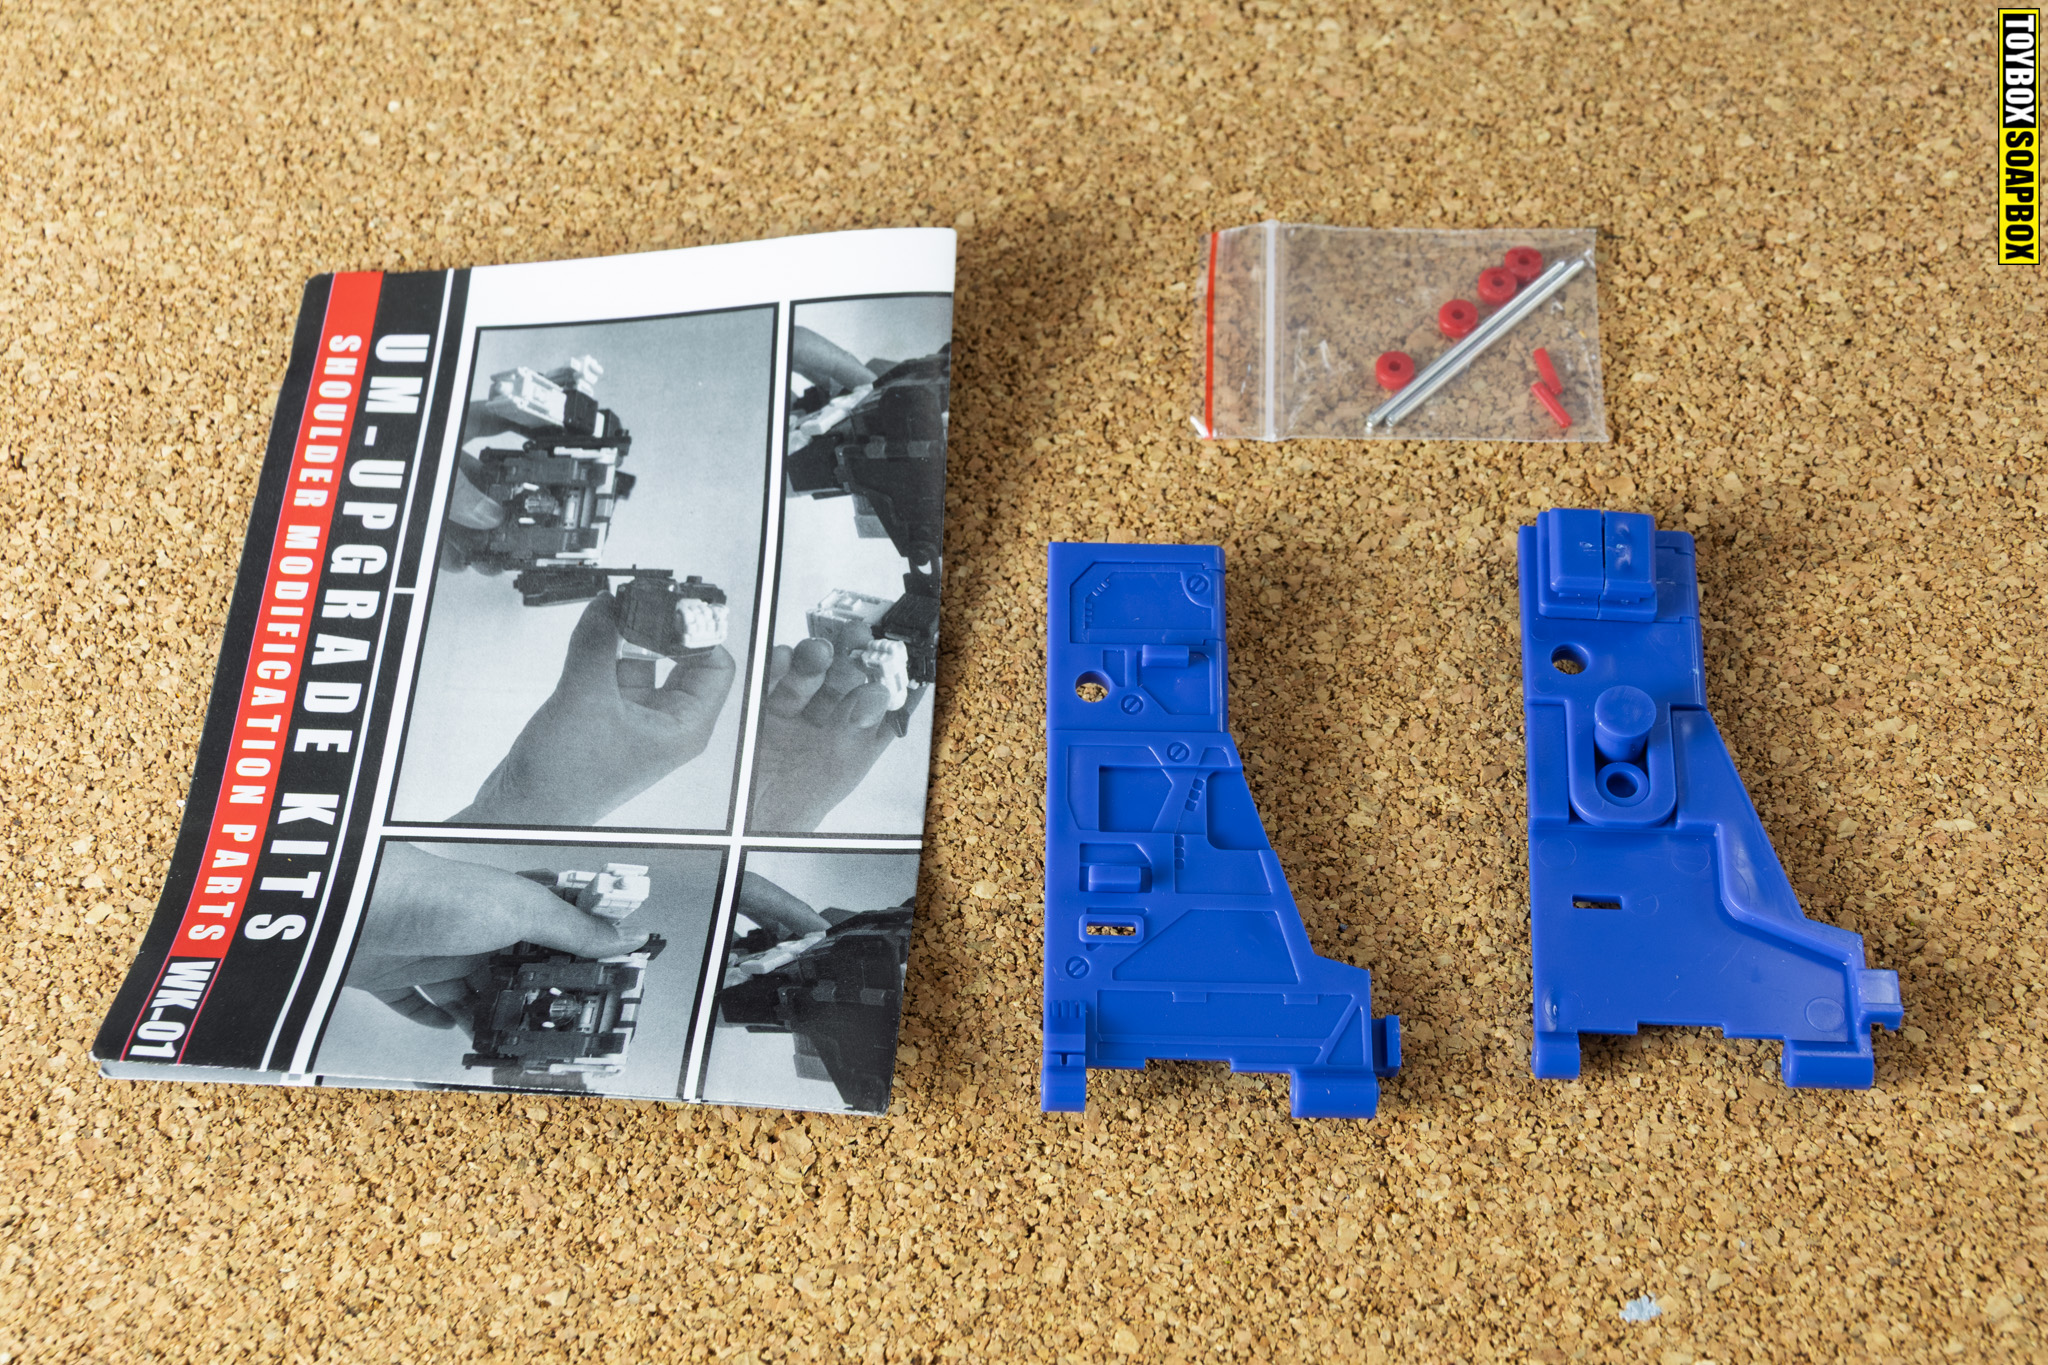
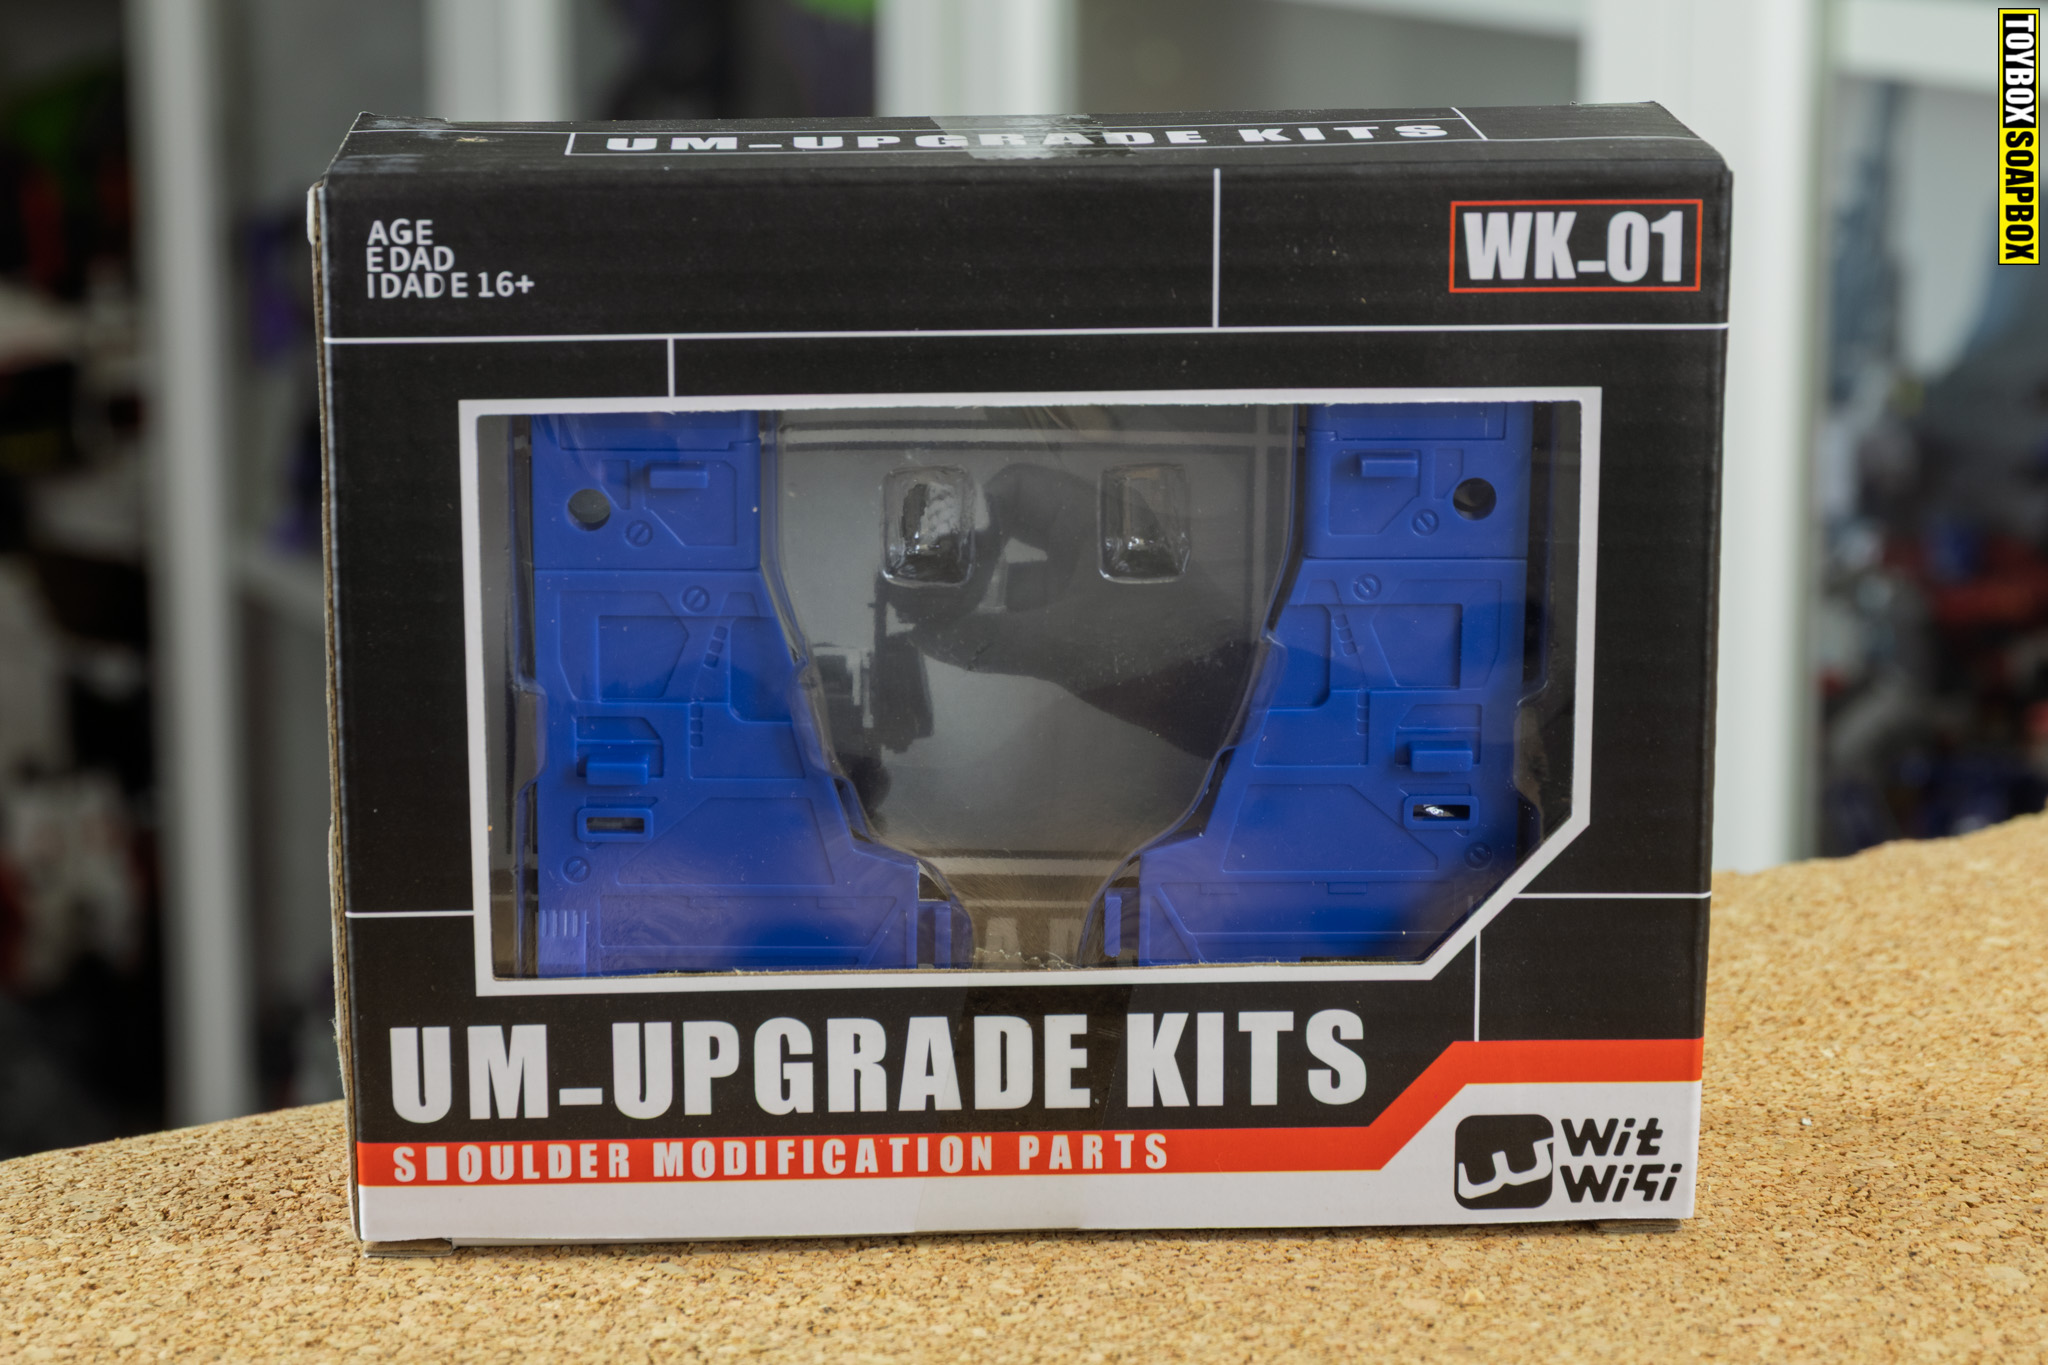
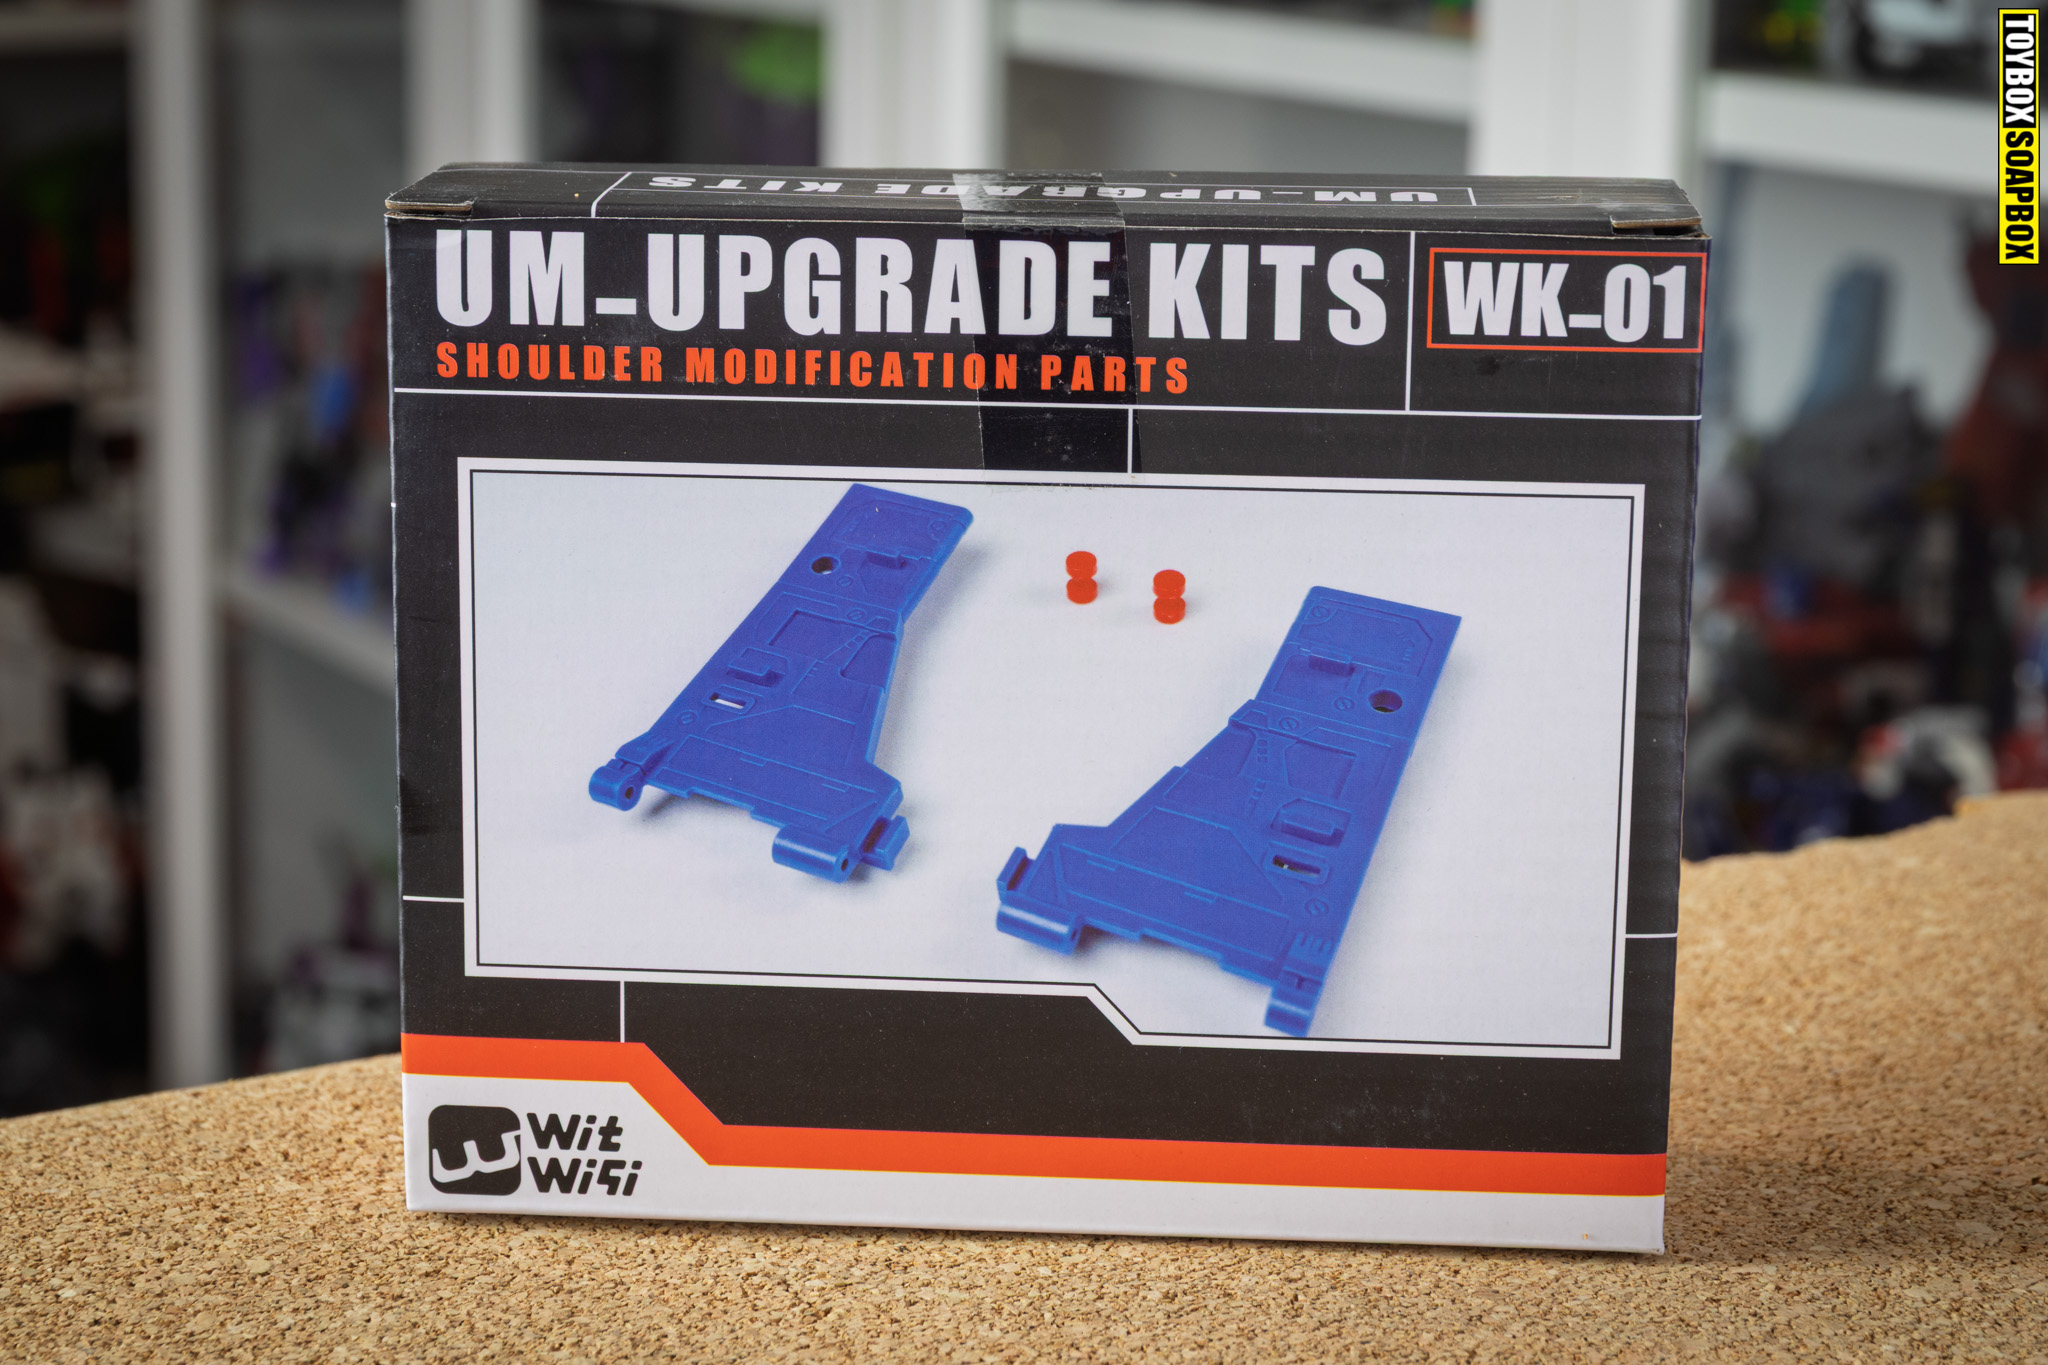
The above photo shows what you get in the box: instructions, the new shoulder panels, and a little baggy of bits (it’s filled with pins and stuff—not drugs). The blue parts are solid ABS plastic, NOT 3D printed as seems to be the fashion. However, due to how thin they are, they are flexible as Mr Motivator. It’s a bare-bones kit designed to do one particular job, and do it well, and the thought of a bare-bones Mr Motivator will give me nightmares for weeks.
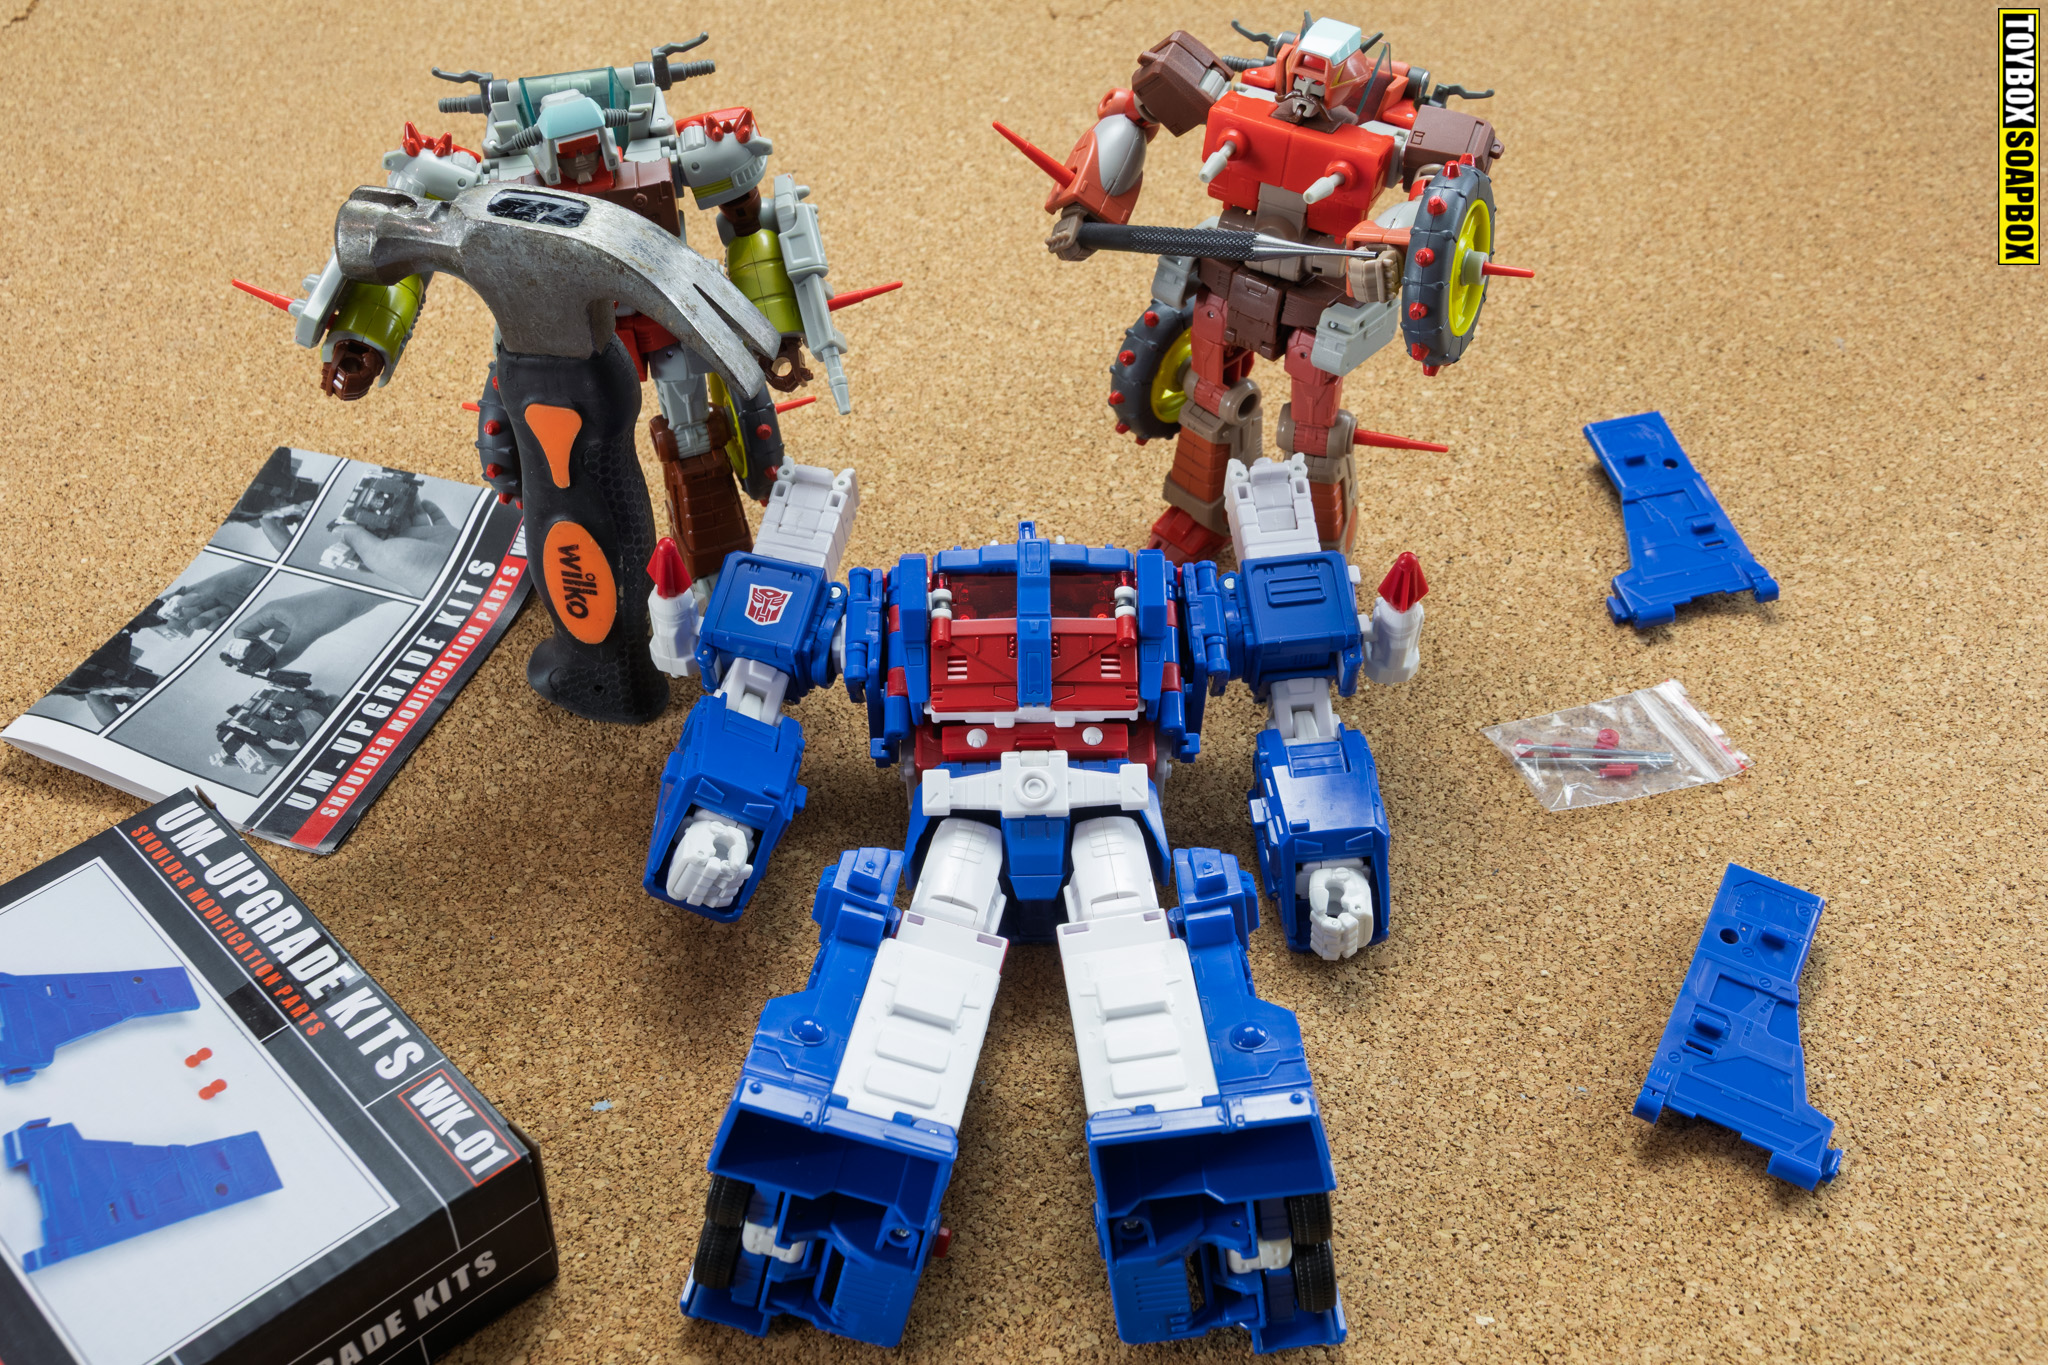
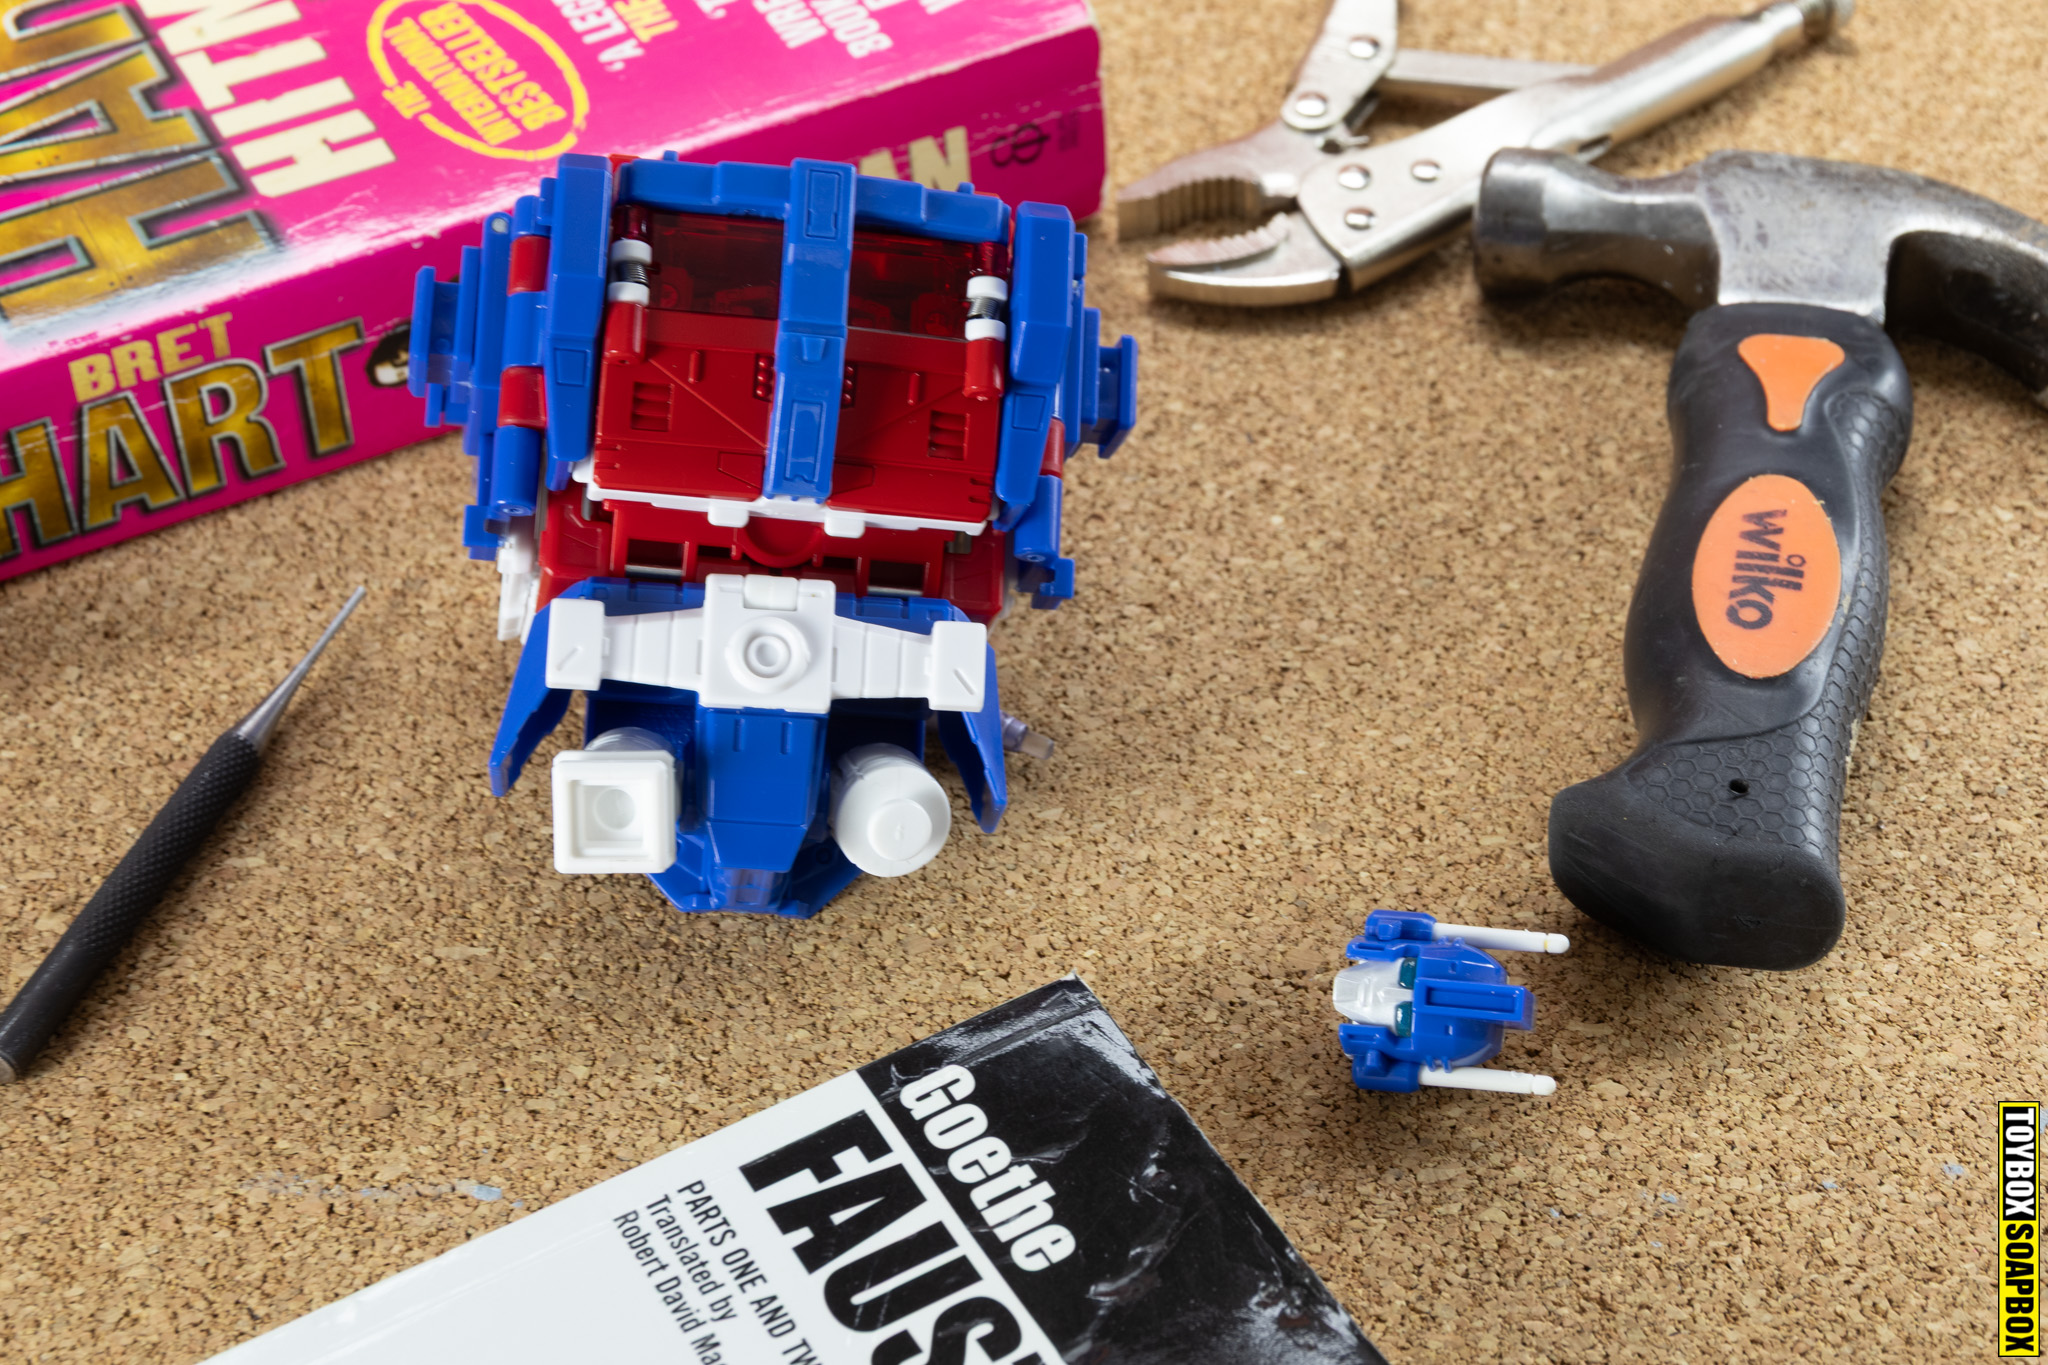
What do you need to actually install these new parts? A hammer (mine is a monument to a symbol of Britain’s great past—Wilkos), a pin punch, and nerves of steel. You can use an automatic center punch, and this will make your life easy like Sunday morning, but I chose not to do that because I am old and set in my ways, and didn’t want to risk cracking the hinge. The instructions feature some very blurry photographs that may as well have come from a newspaper from the 1980s. Everything is super grey and blurry. However, there is a text blurb telling you to search for “Witwiqi studios” online and you will find proper tutorials. I could not find these tutorials, and the only video from them I did find was one of the kit already installed and some bloke talking in Chinese. But hey, who needs a video when you have a hammer, a pin punch, a bottle of Mountain Dew in a colour that doesn’t make sense, and a can-do attitude? Let’s ride!
You will need something to plonk Magnus on whilst you bash the pin with a hammer, to keep him sturdy. I grabbed some books from a shelf and they did the job. All you really need to do is pop out a couple of pins. I am quite used to popping pins (and having a “poppin'” Discord), but if you are not then just be a bit wary. When removing pins, it is important to remember that one end is “knurled” (when I say that word, it sounds like I am drunk). This is the bumpy end that grips the joint so it stays inside. To remove the pin, you need to push it from the opposite direction to the knurled end. How do you know which end to hit it from? Usually there is a small dent in the other end of the pin, that tells you which way it was fired in. On the first hinge, I knocked it from the bottom and after a lot of force, it eventually came out. No issues here, and this lured me into a false sense of complacency… like the fool of a Took that I am.
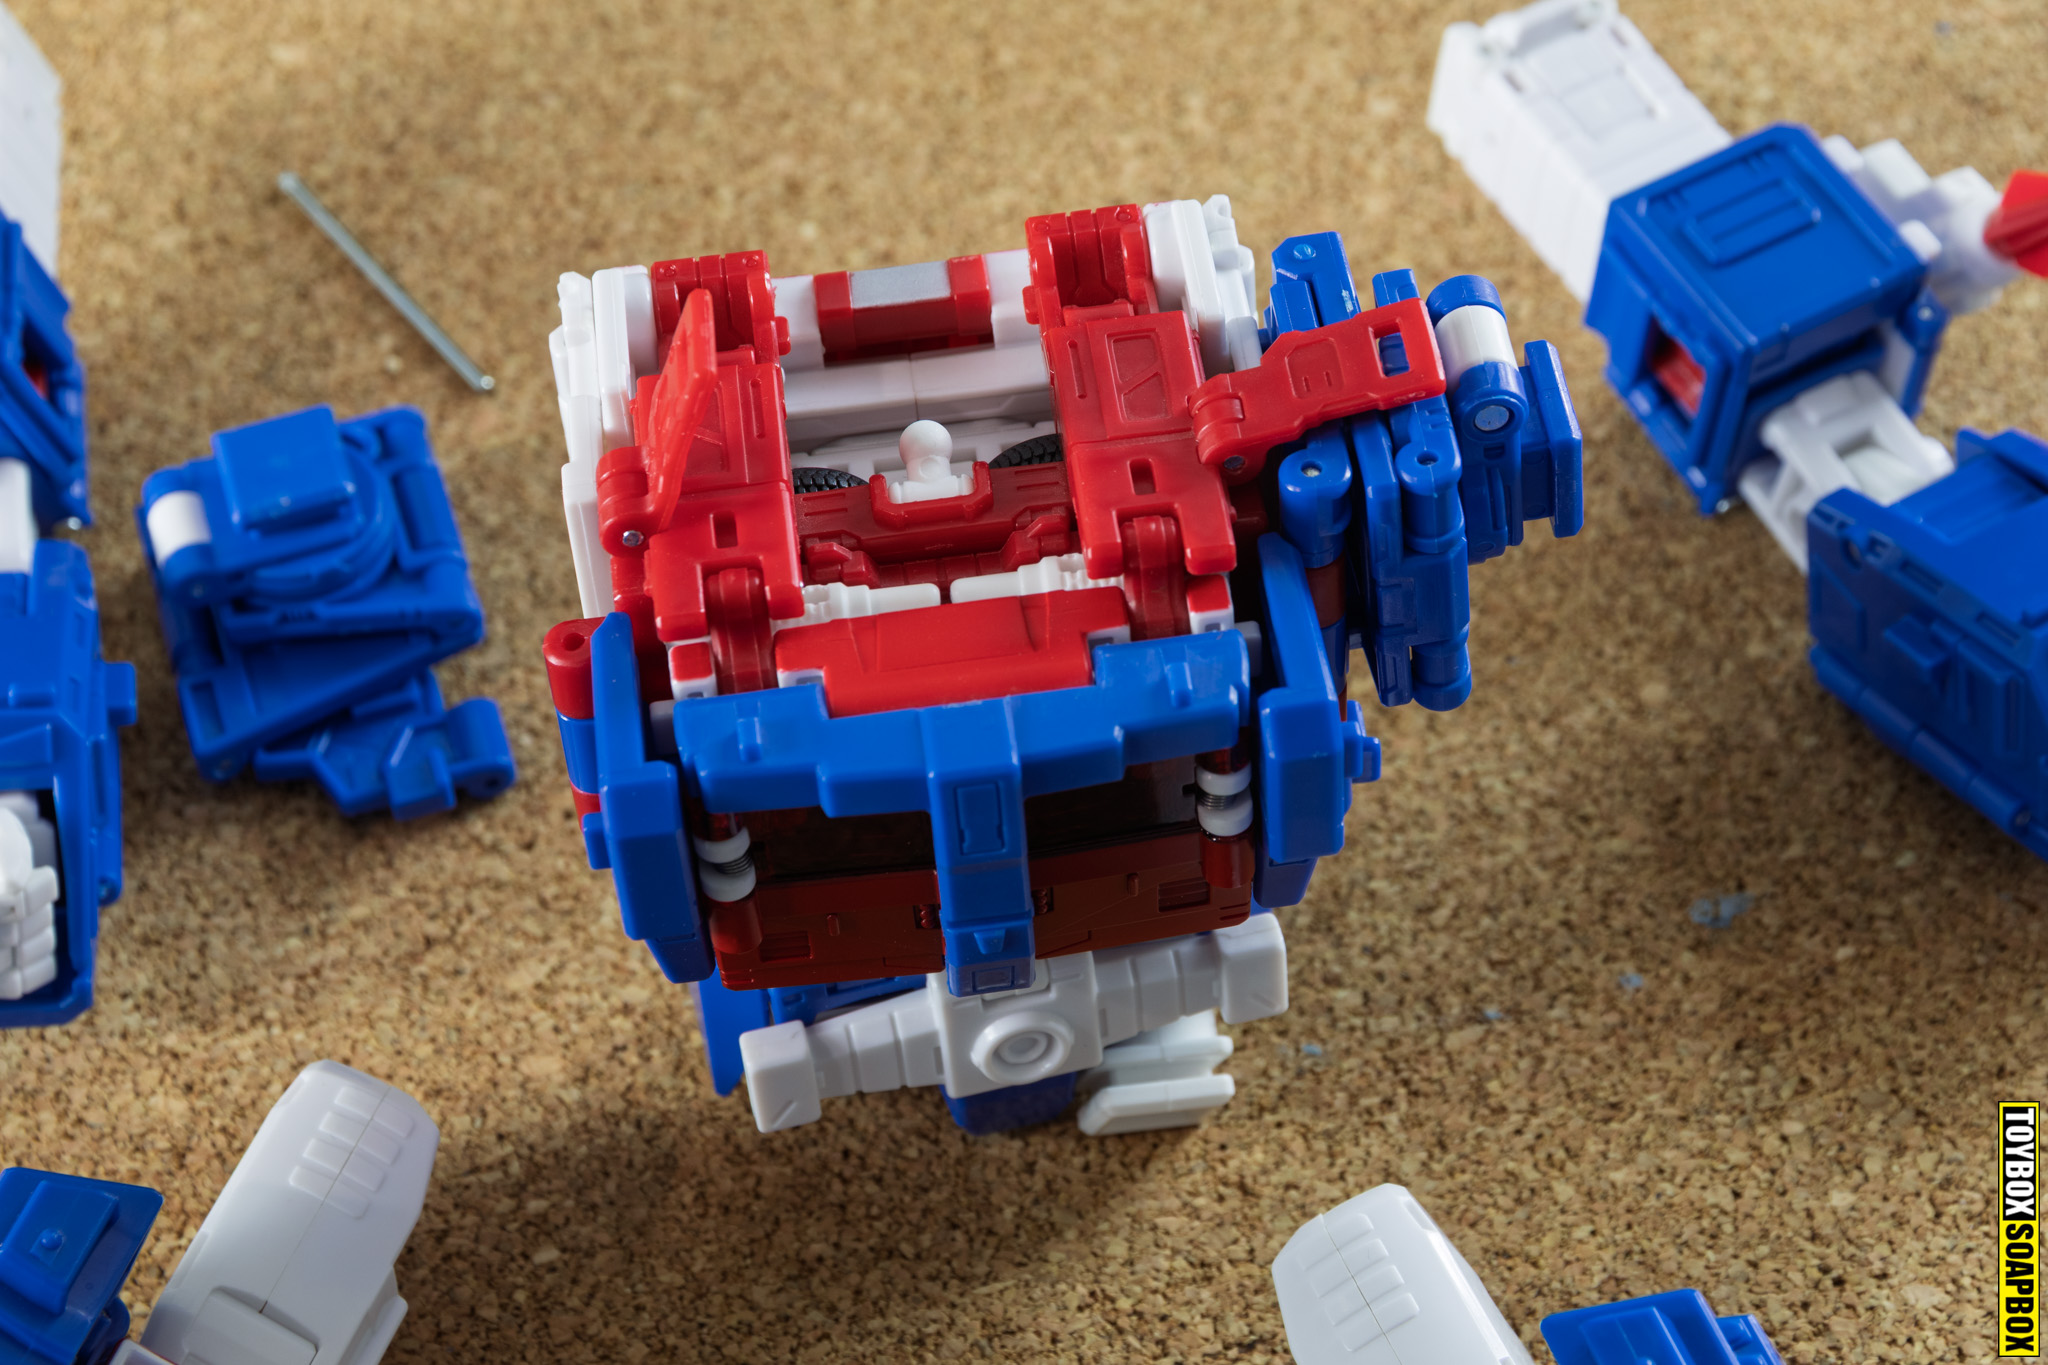
Assuming it was the same for the other side, as the top of the pin was flat, I knocked it from the bottom too – but it did not move. I hammered, and hammered, looking just like one of those weird statues from Batman Forever, before it finally budged. Once it did I was confronted with the horrifying reality that it had actually been pushed in from the opposite direction by some joker in the factory. ARGH! If you need a visual cue of what it looked like then just imagine the scene of Kirk screaming “KHAAAAAANNNN” from that one not bad Star Trek film.
Instead of carrying on, I decided to activate my cheat code and whipped it round to my brother in law who is a builder. He tapped into that mystical well of builder strength and got it straight out. The moral of this story? I have no idea. But just be prepared for potential frustration, and also get building those arm muscles.
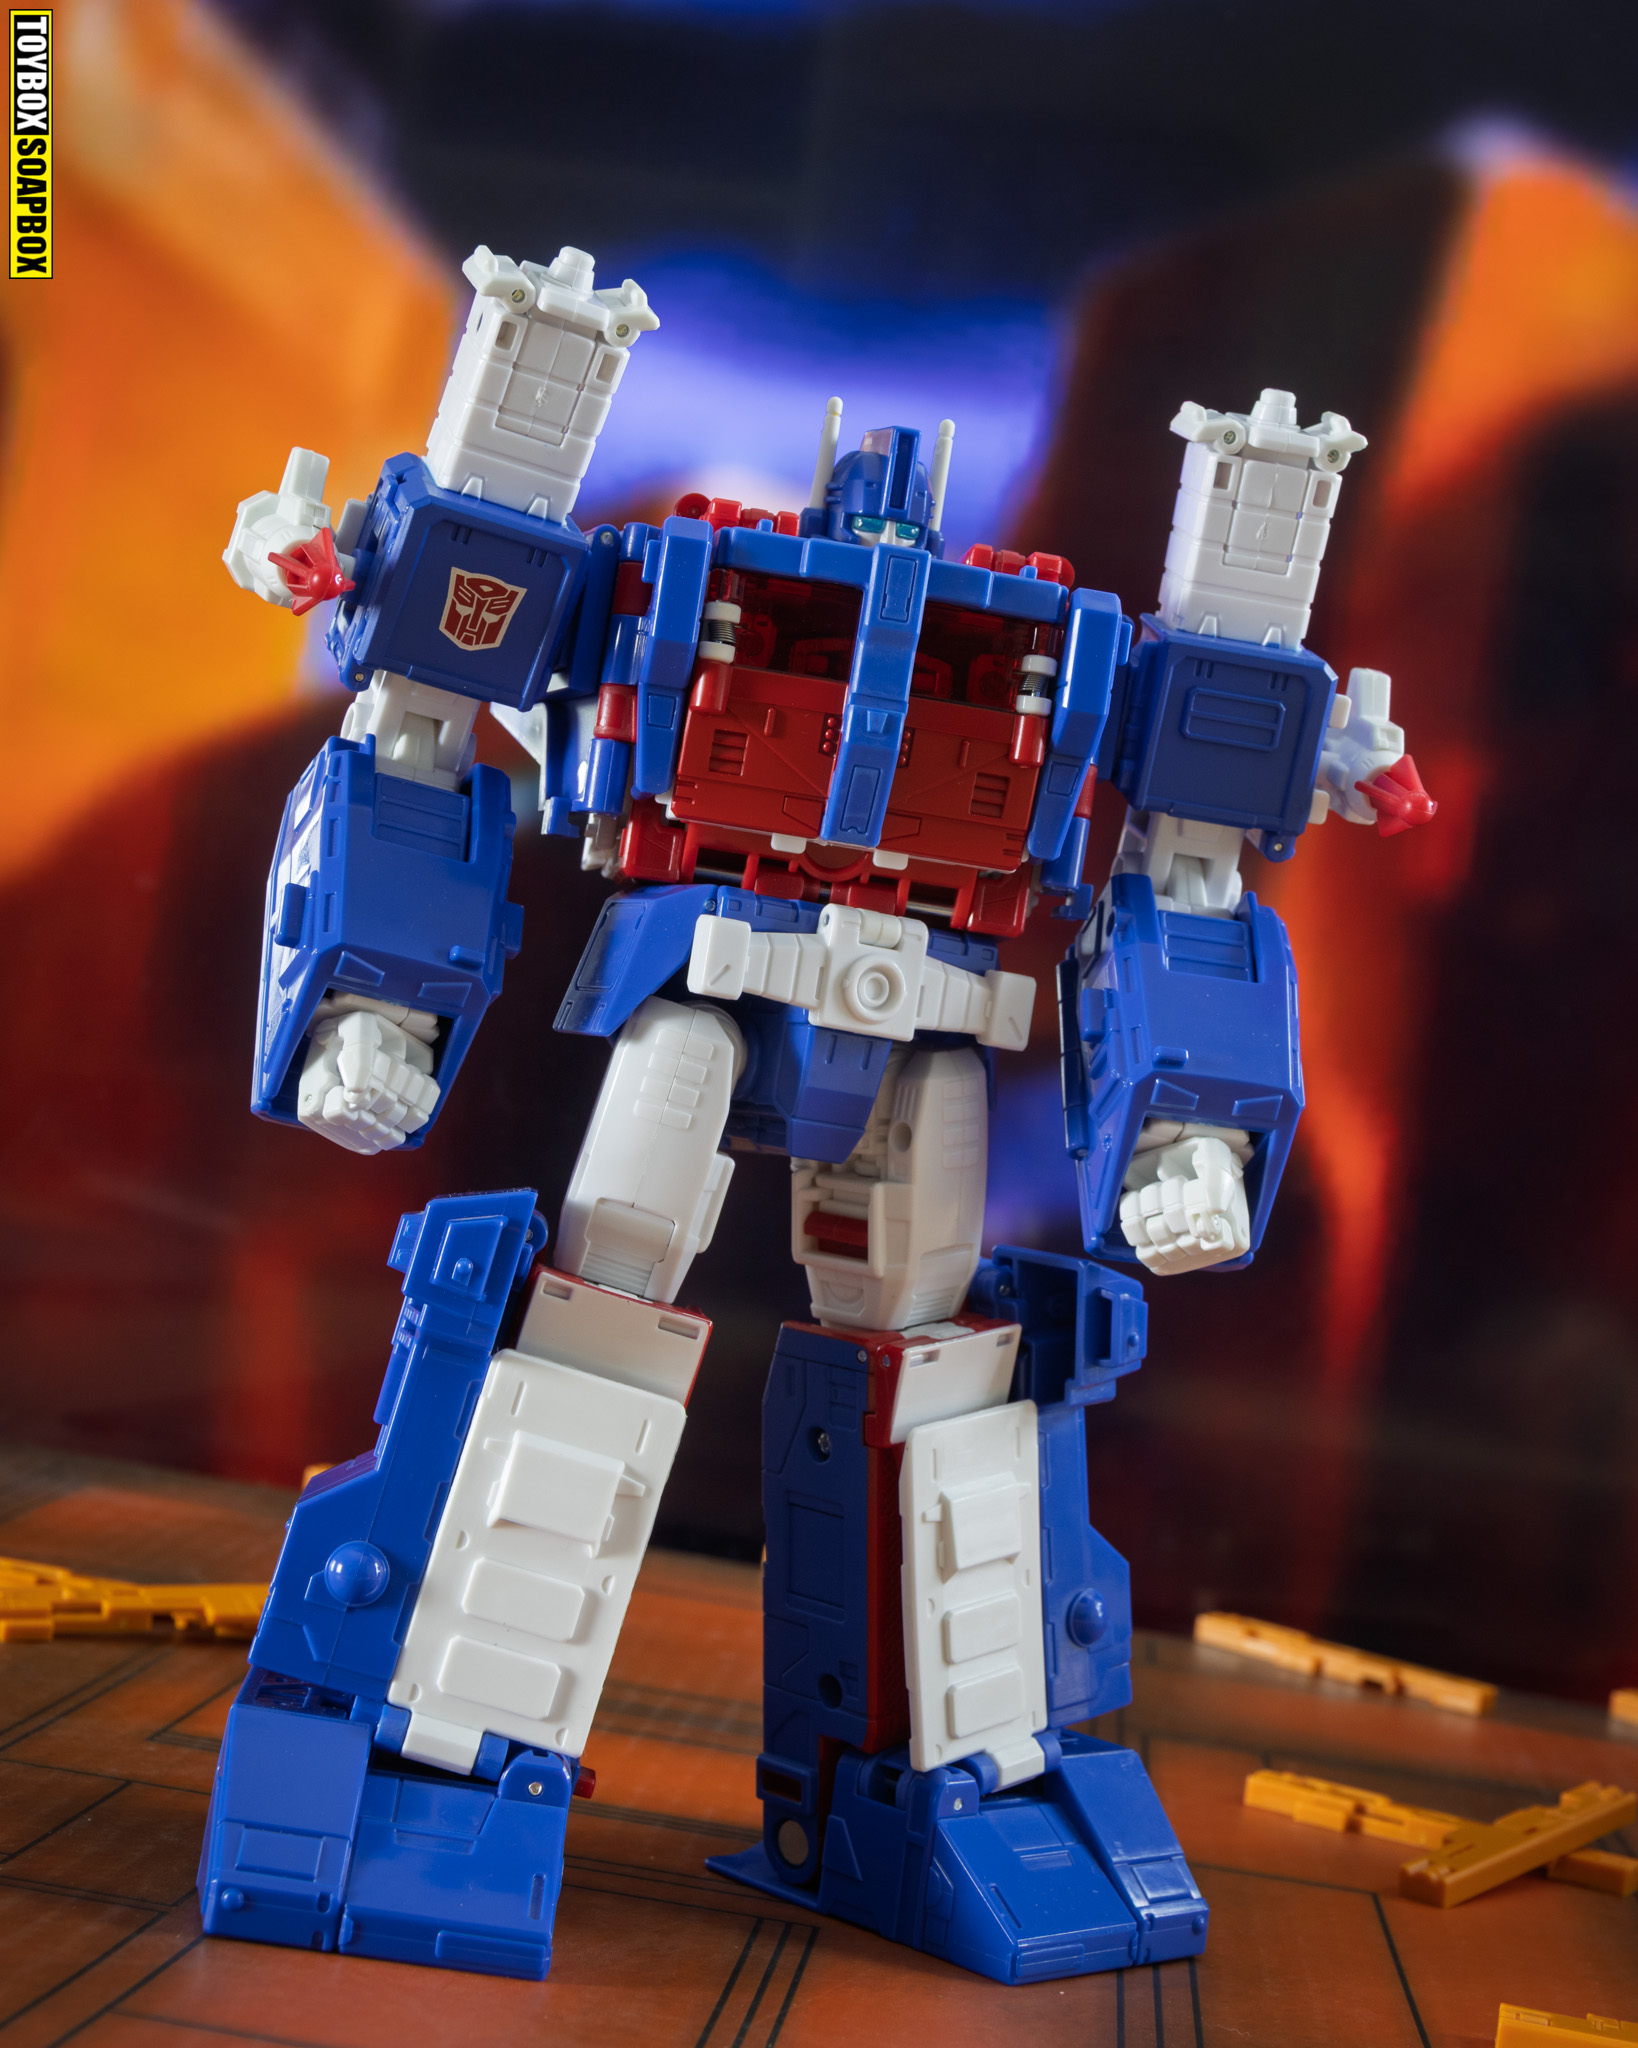
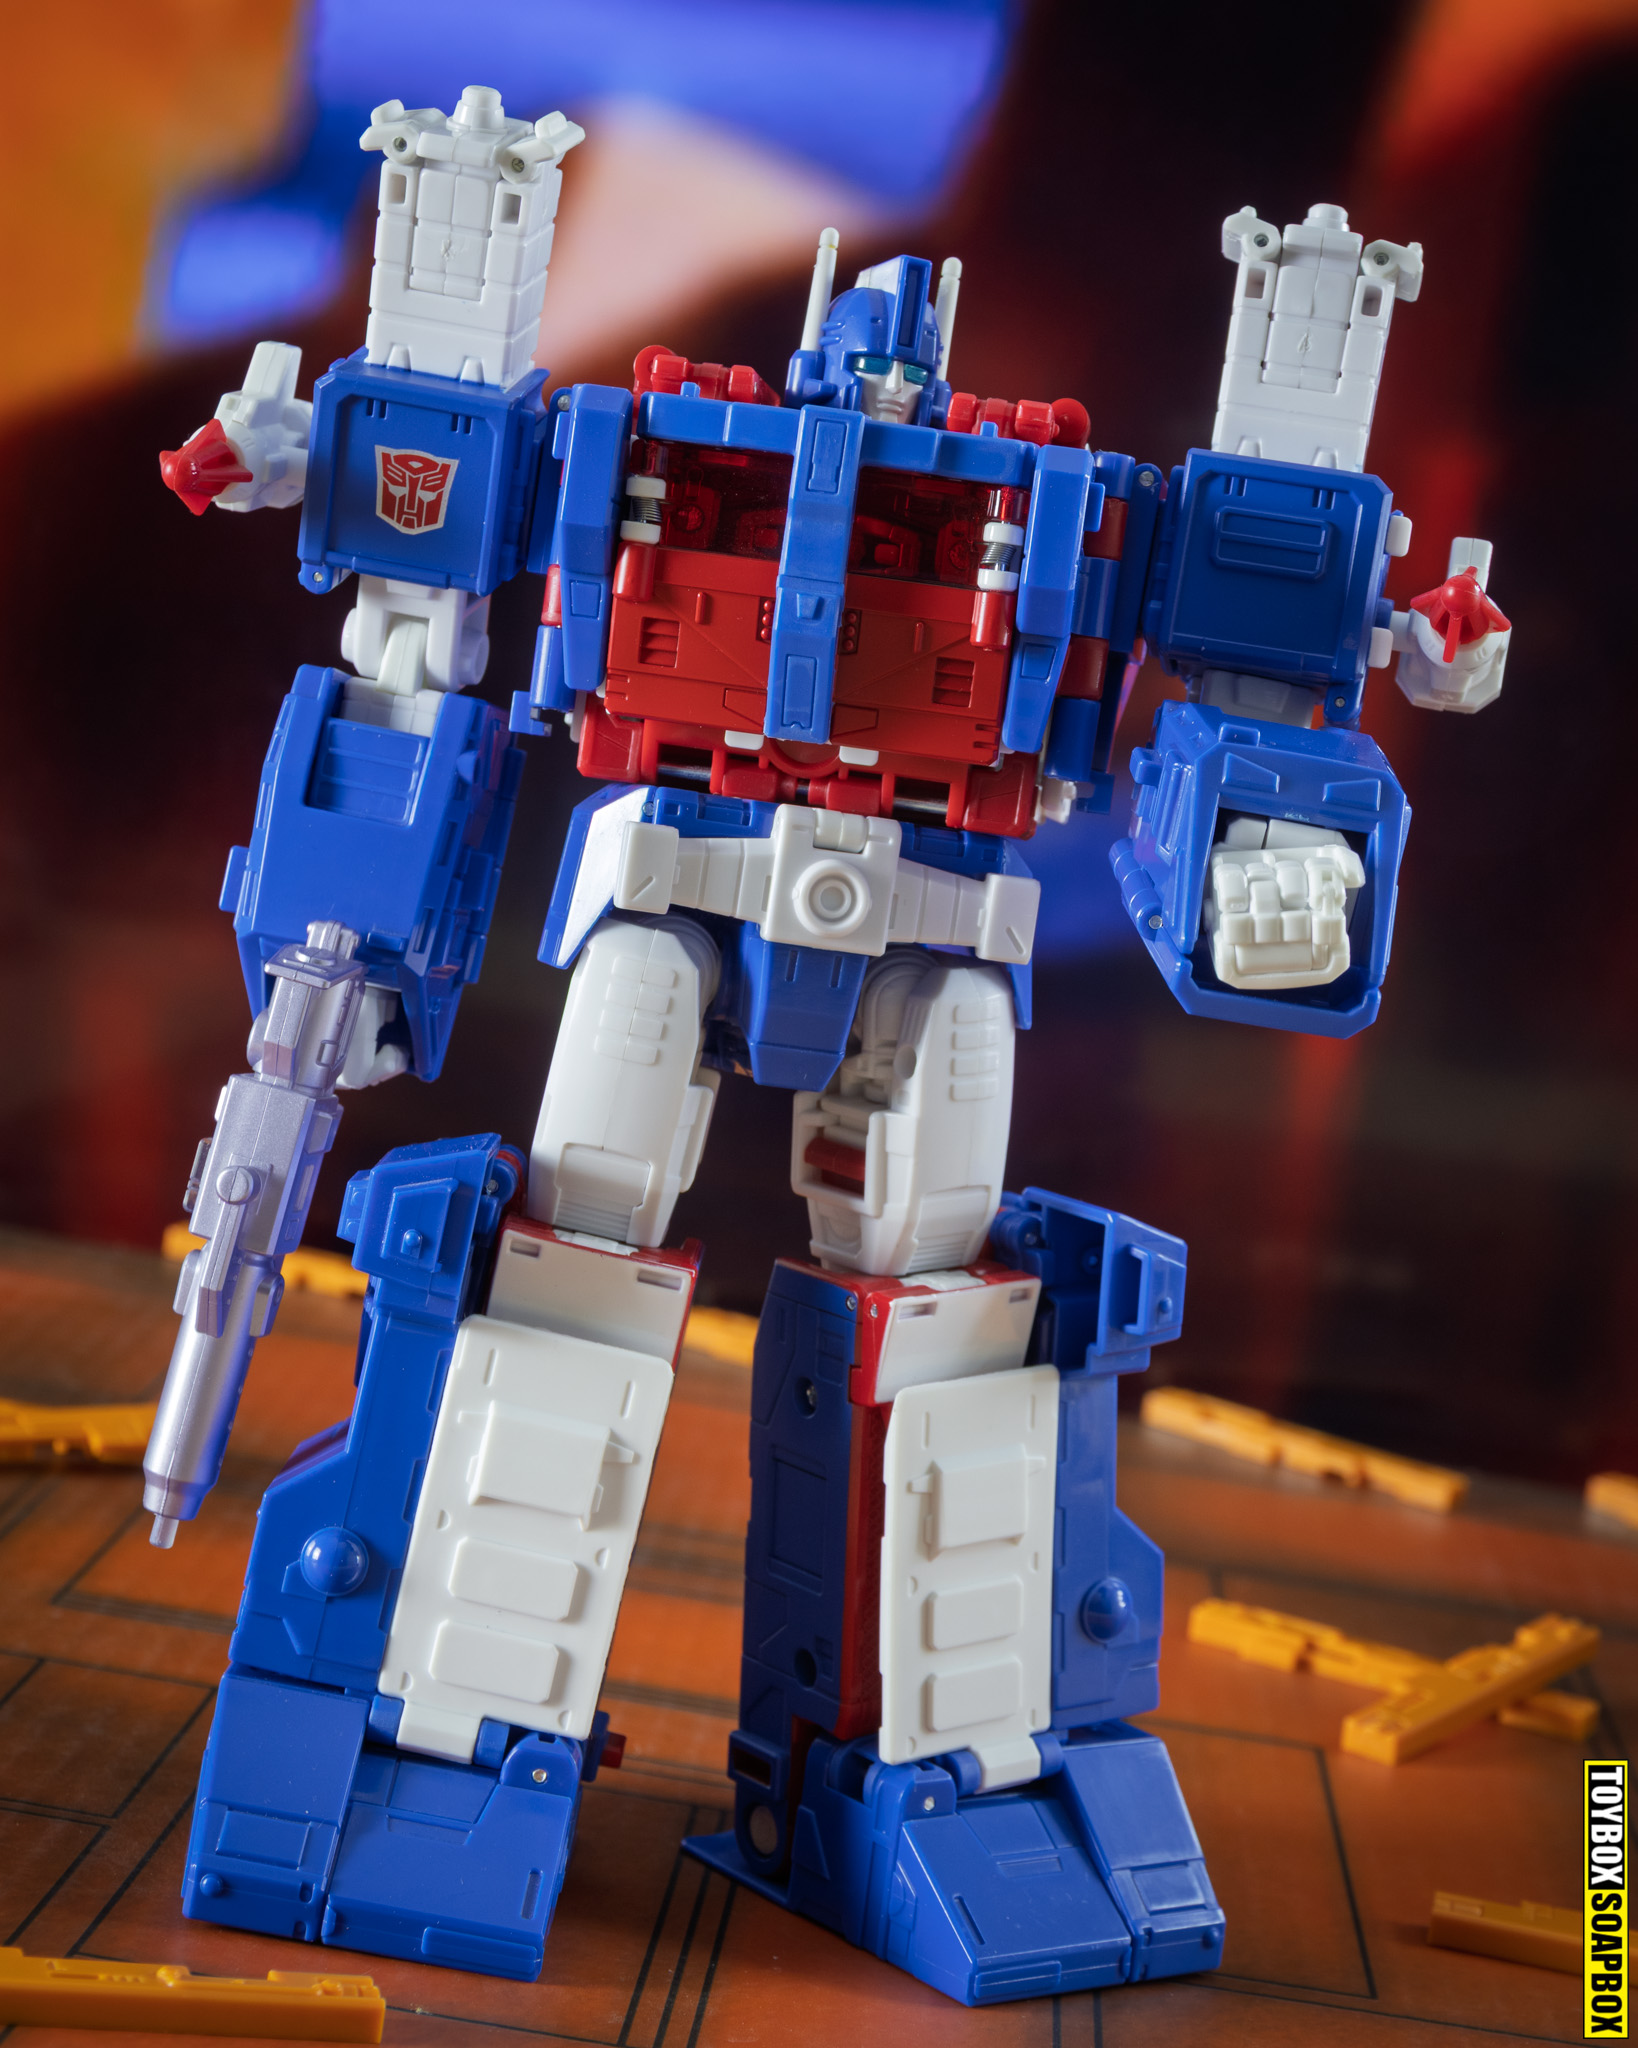
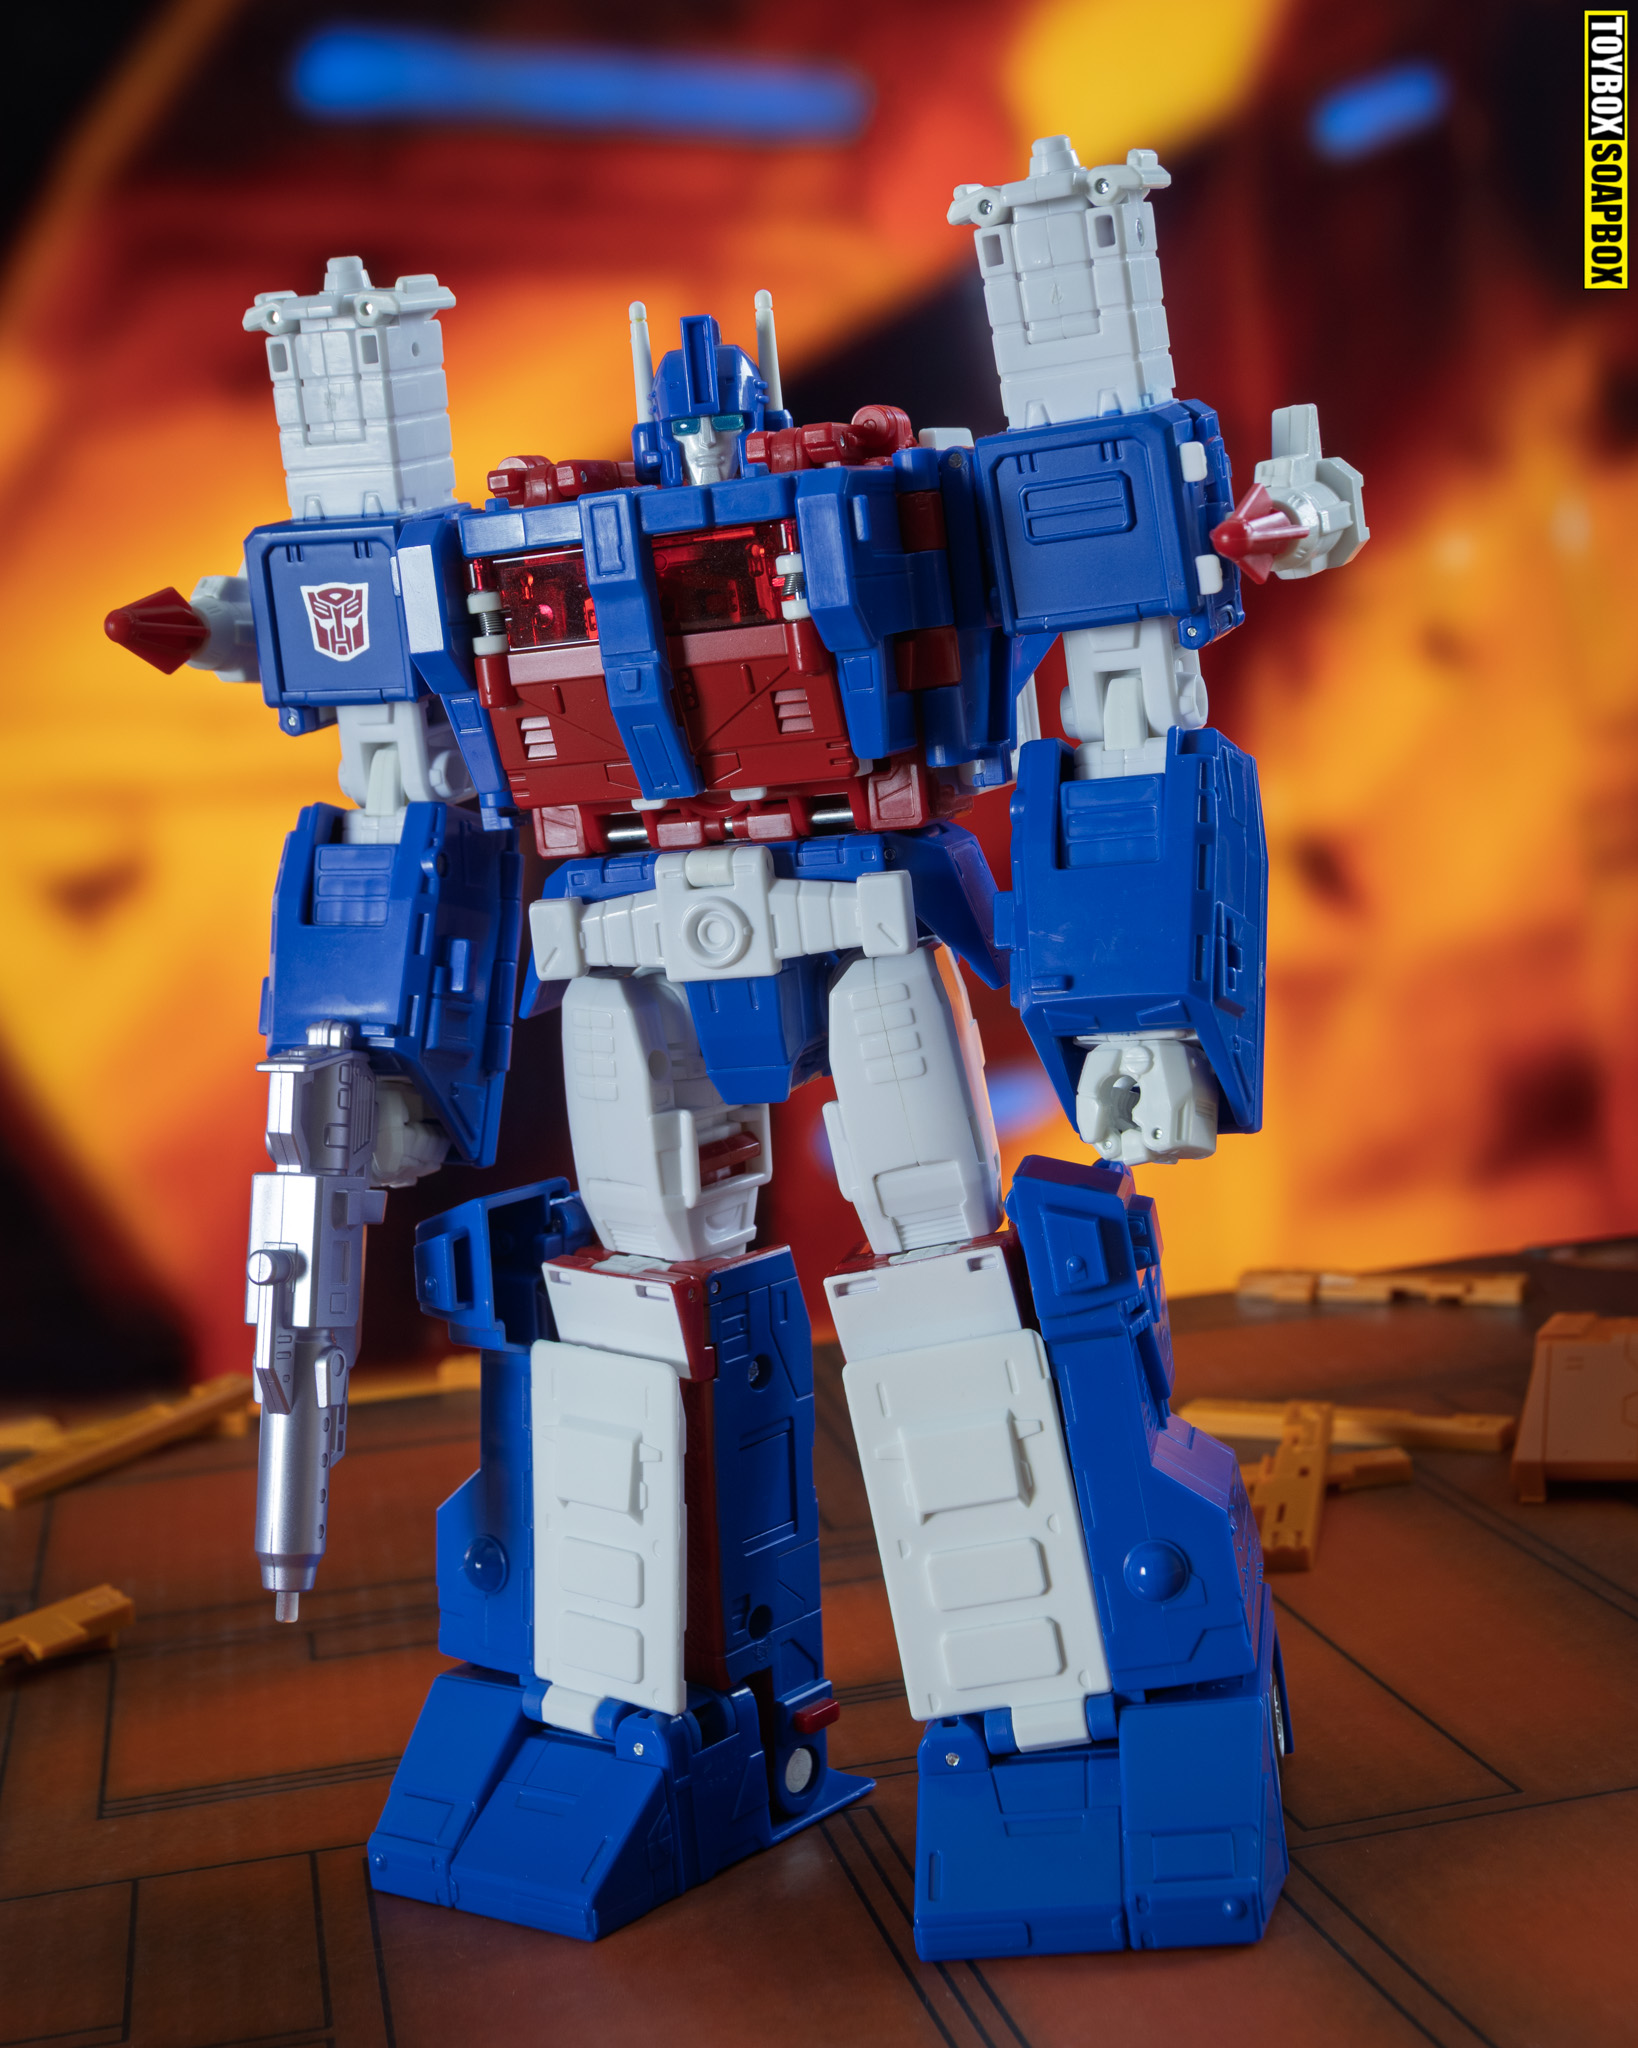
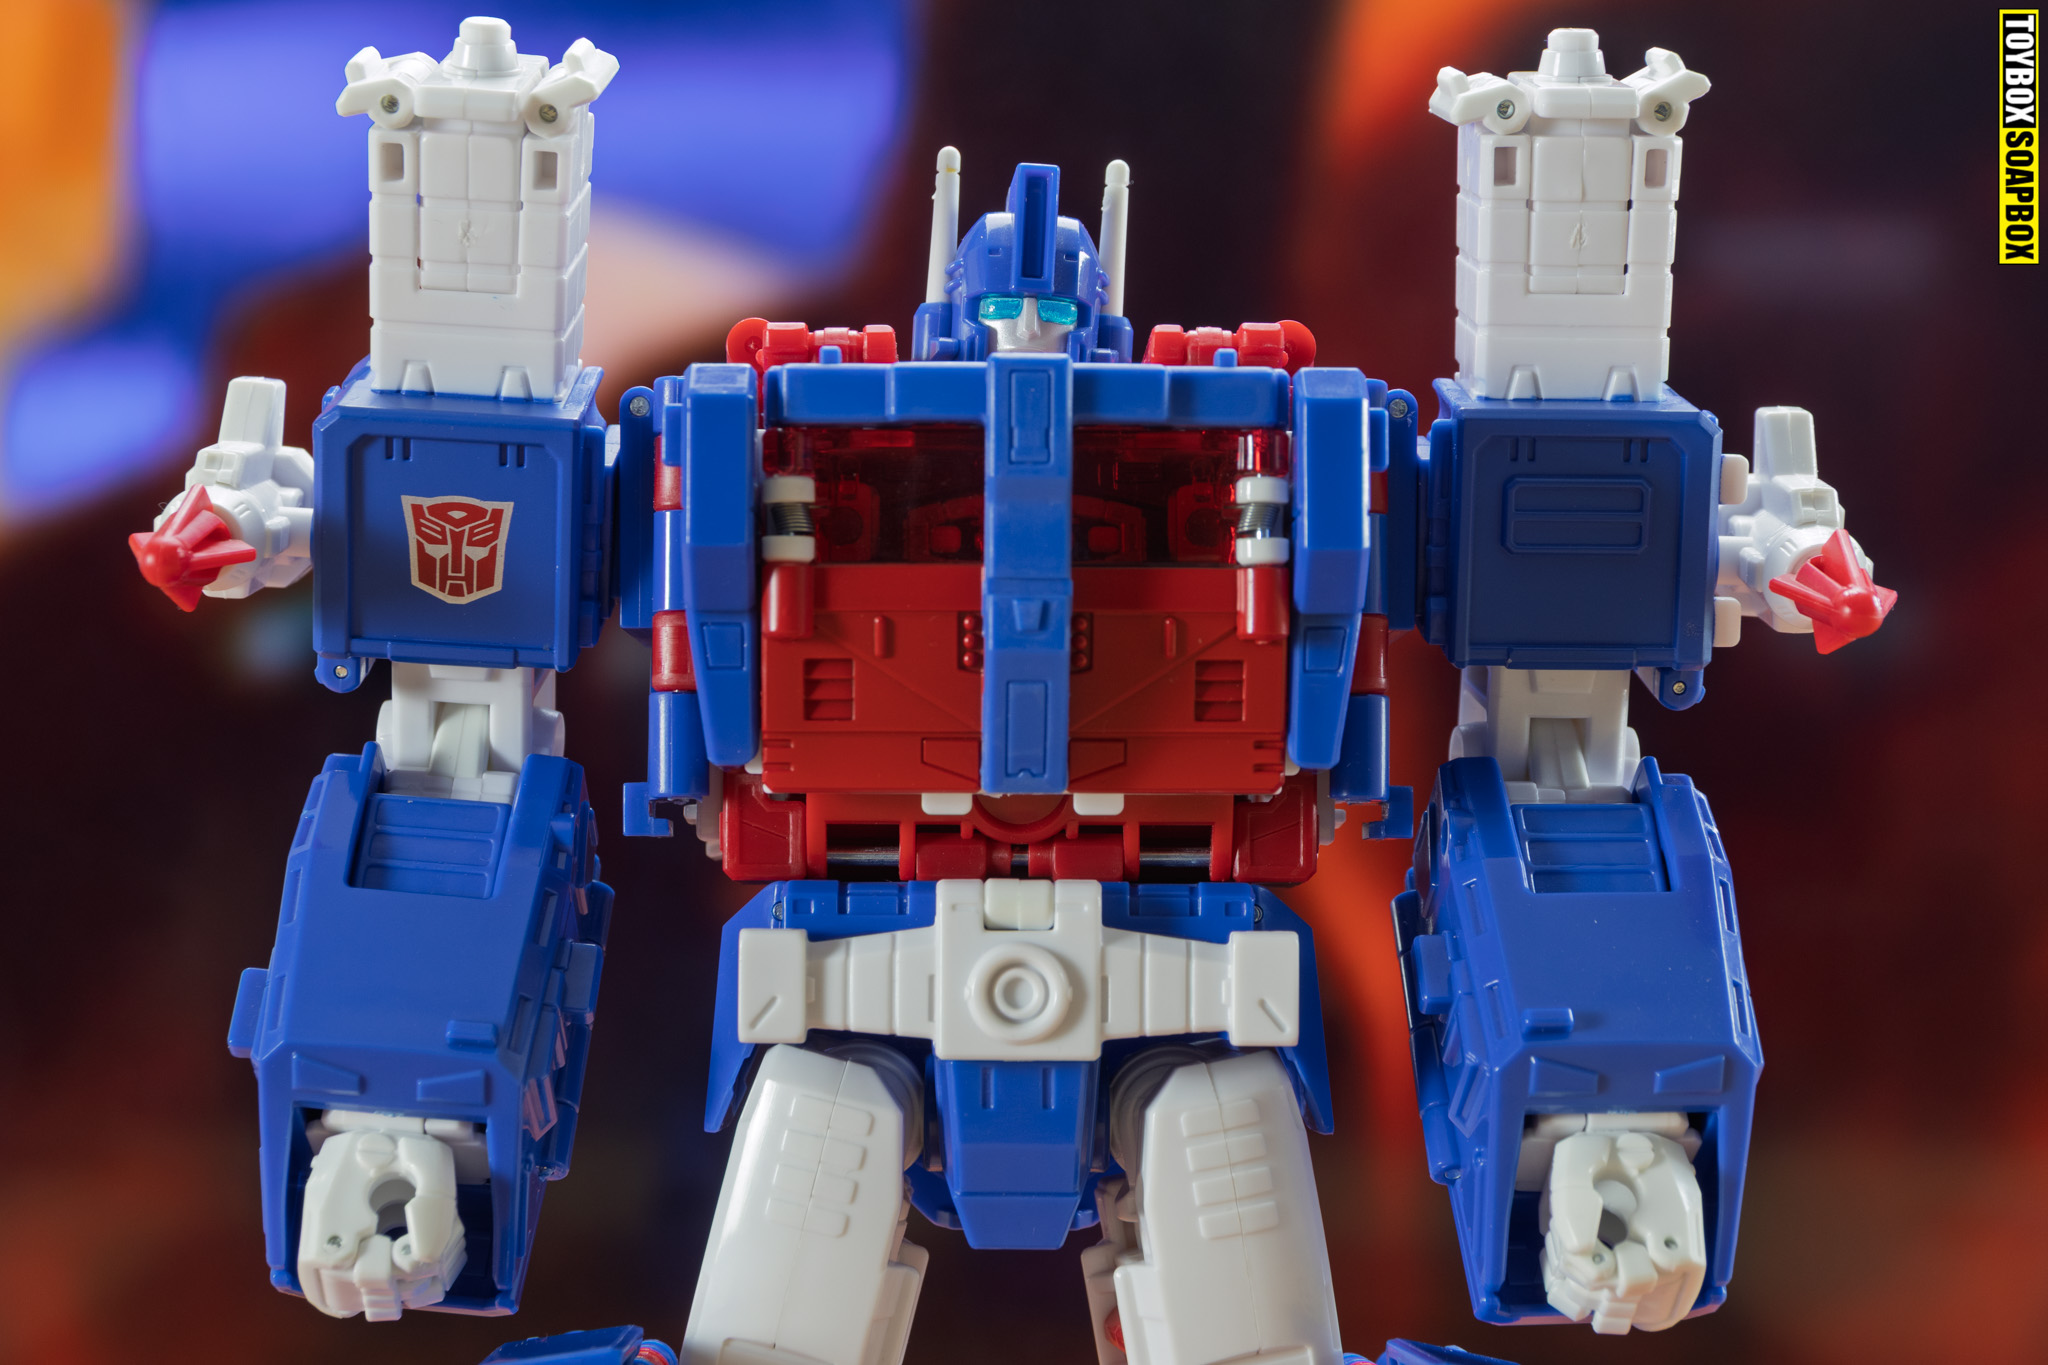
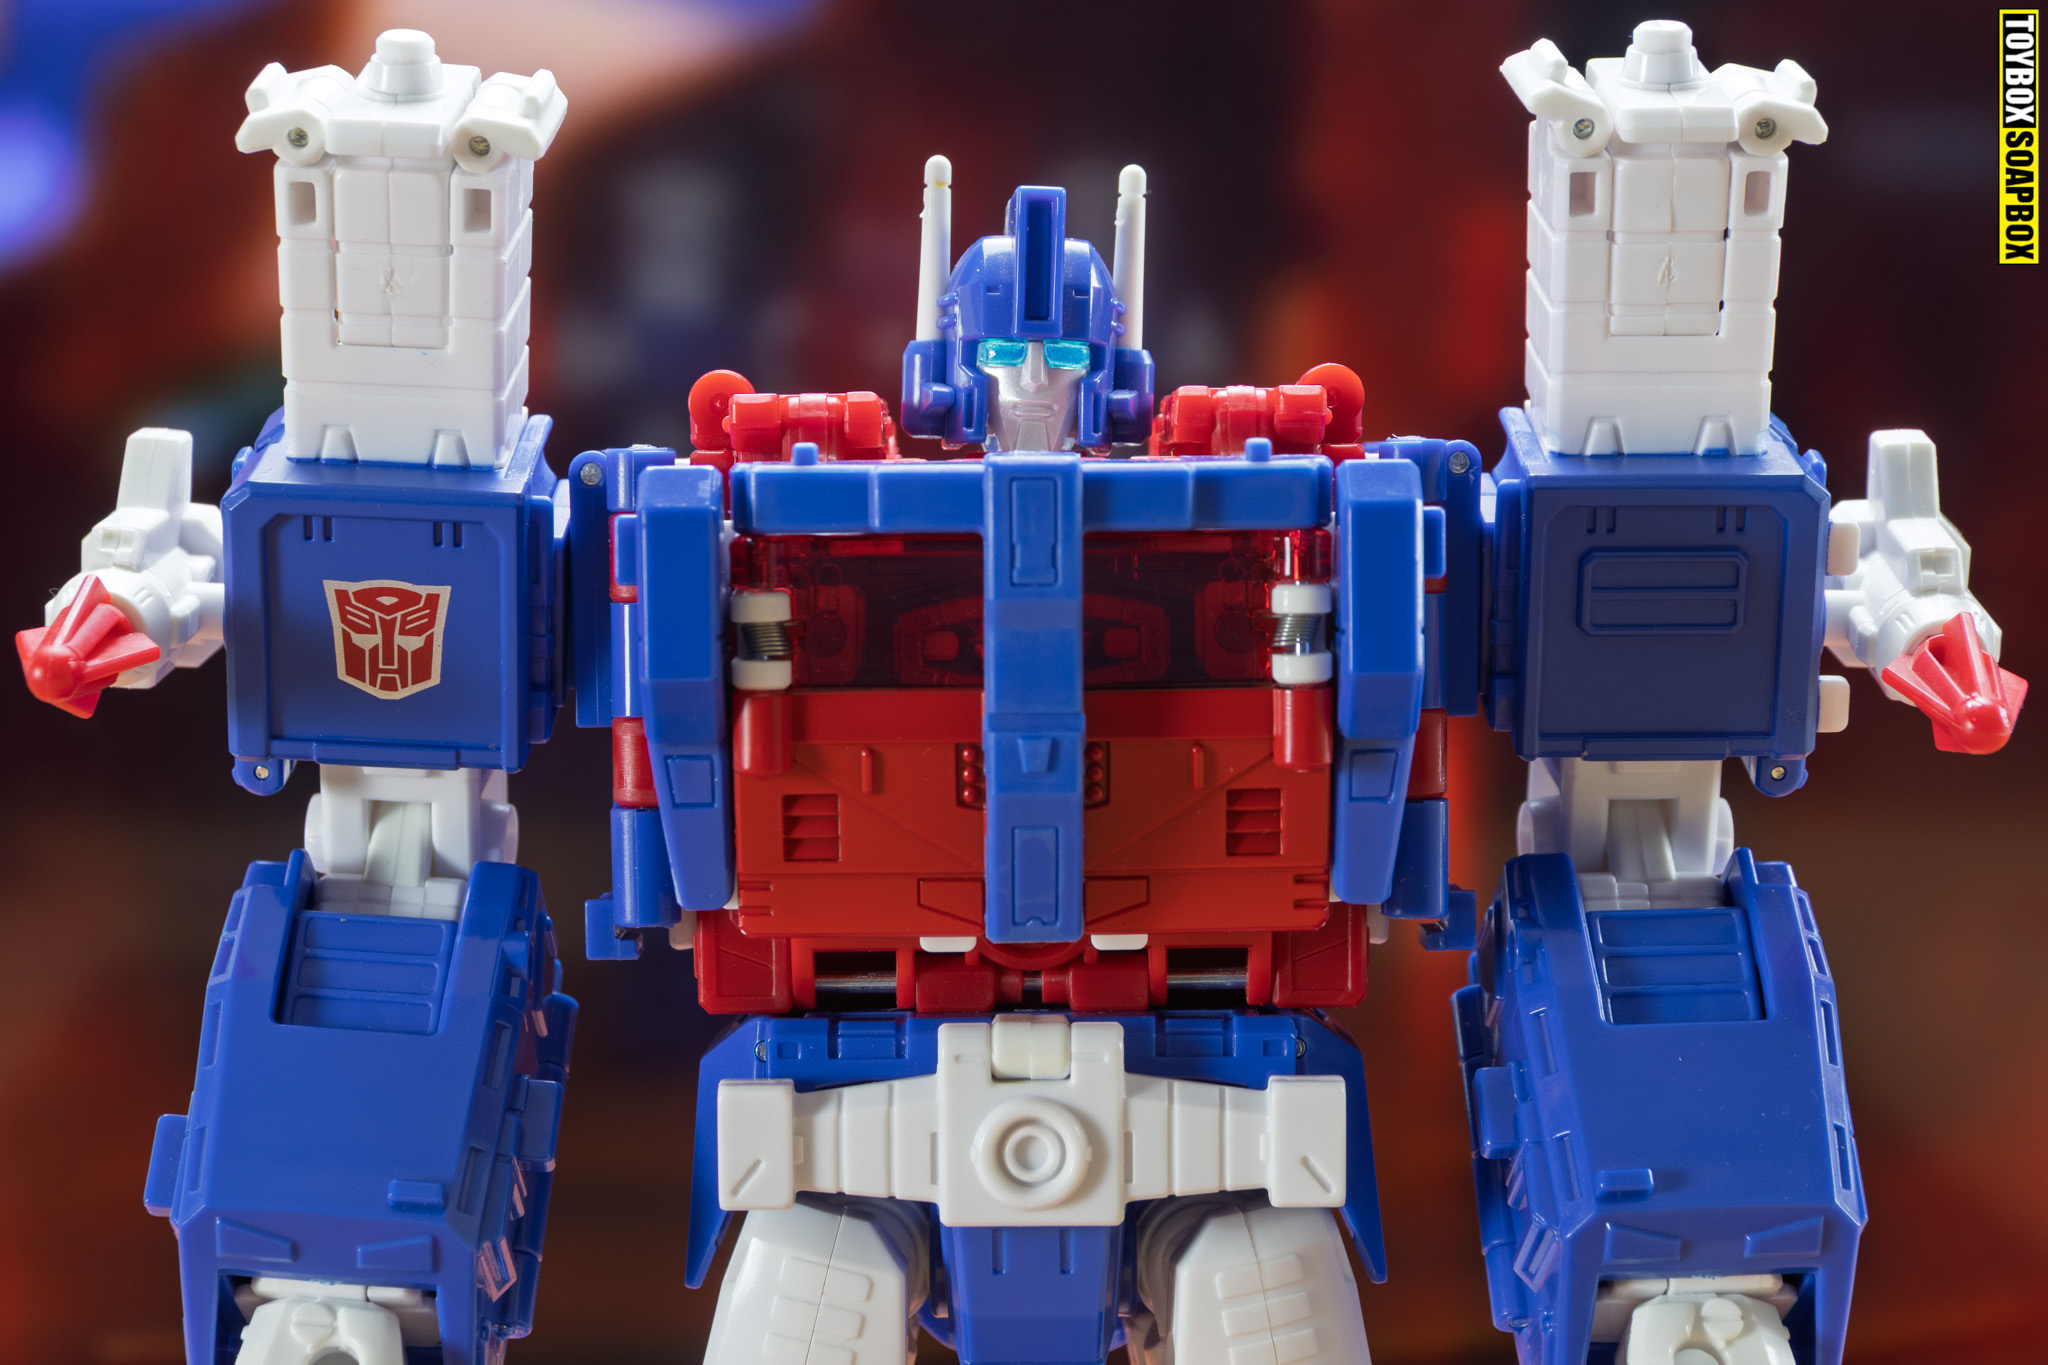
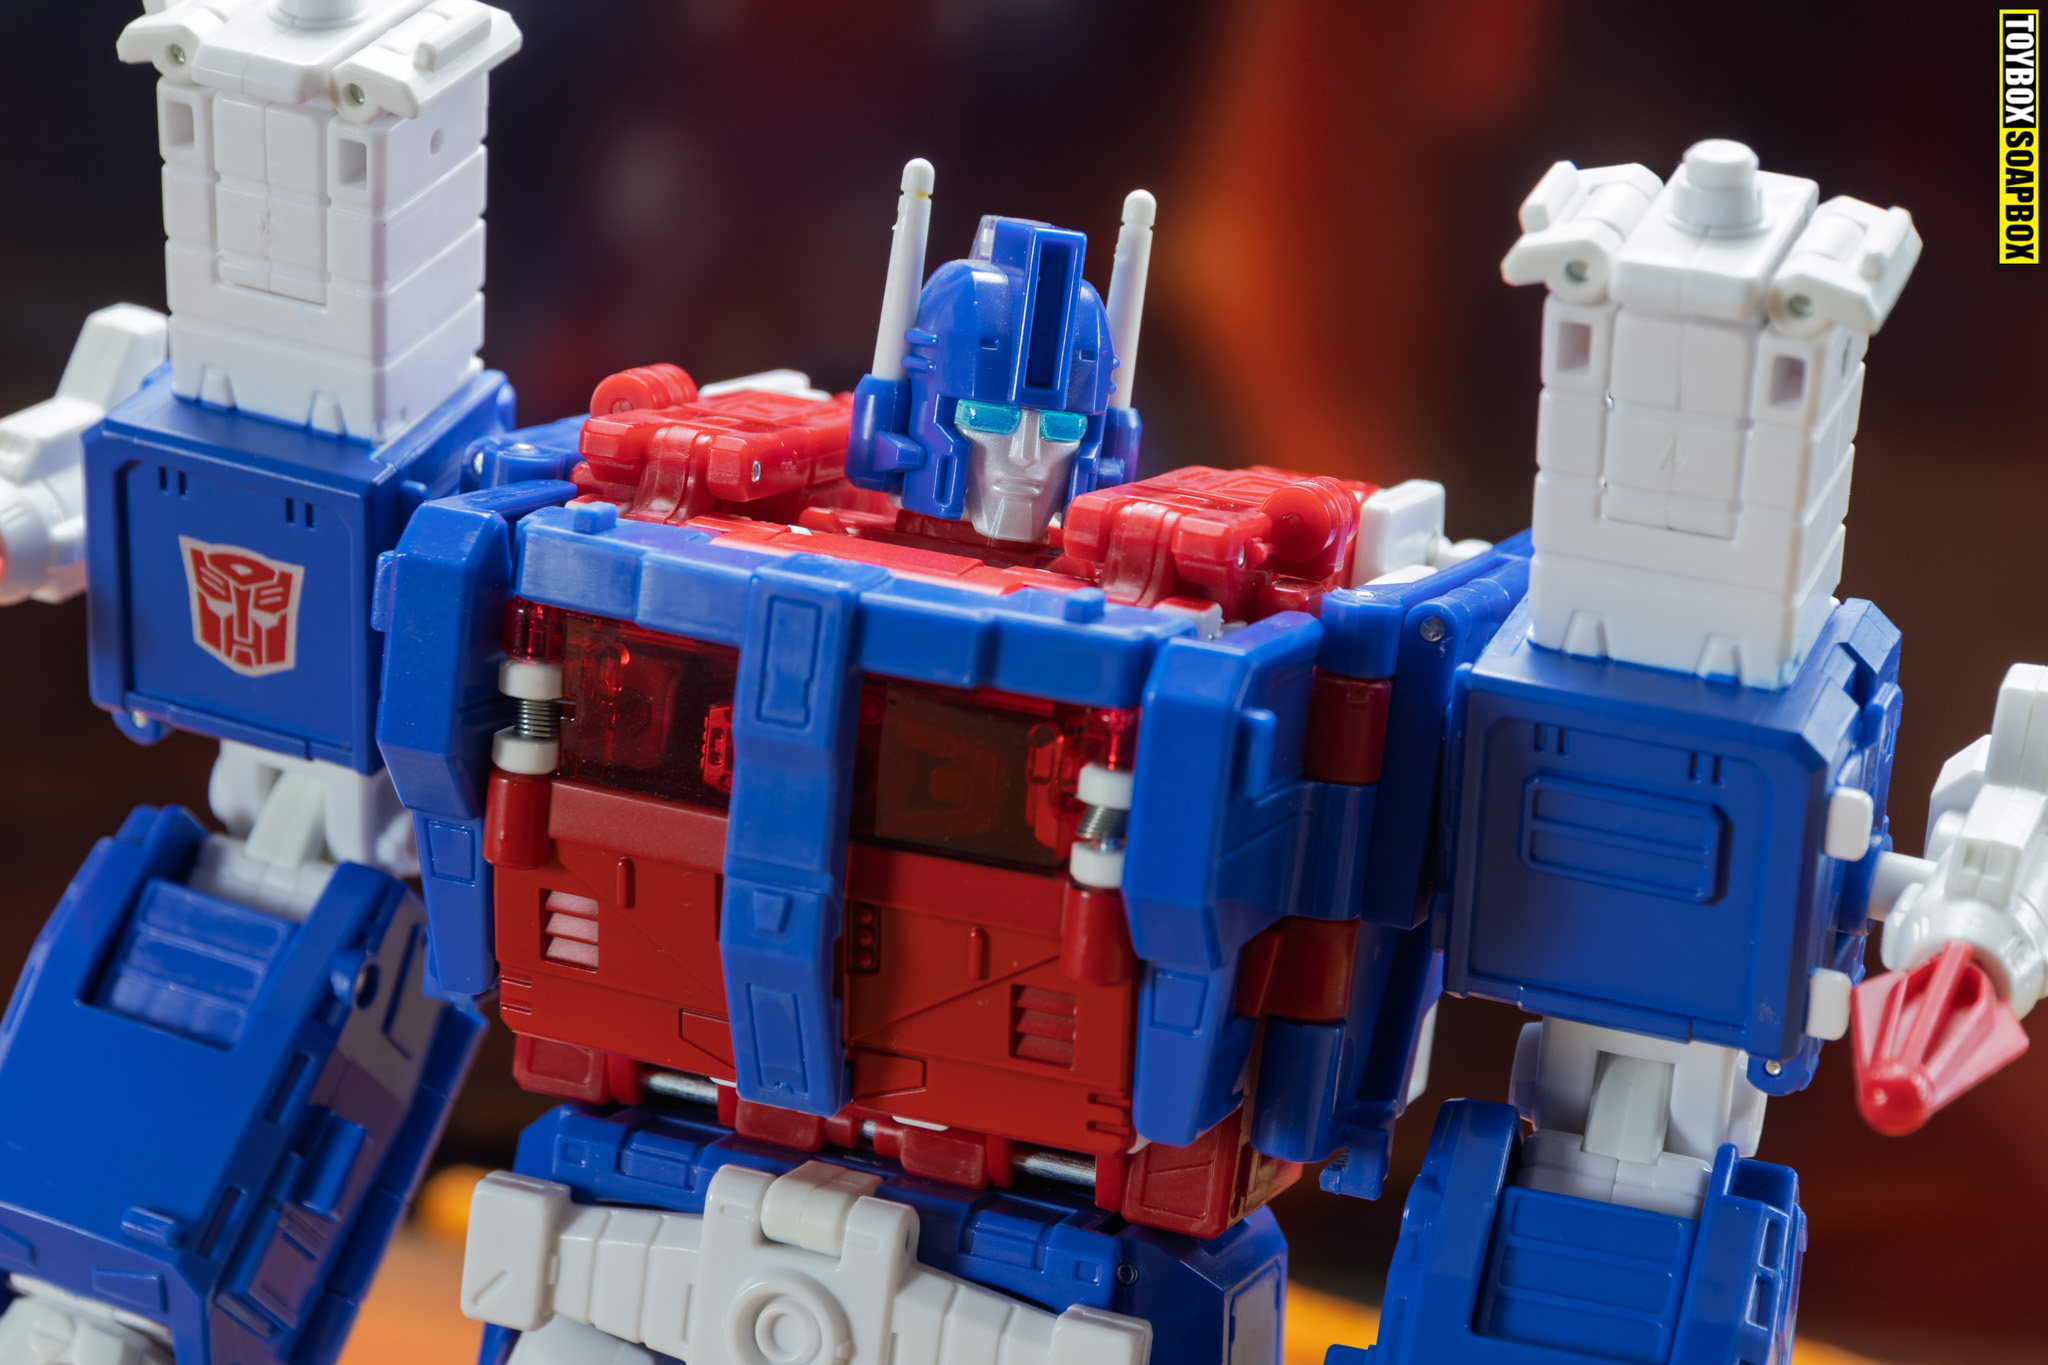
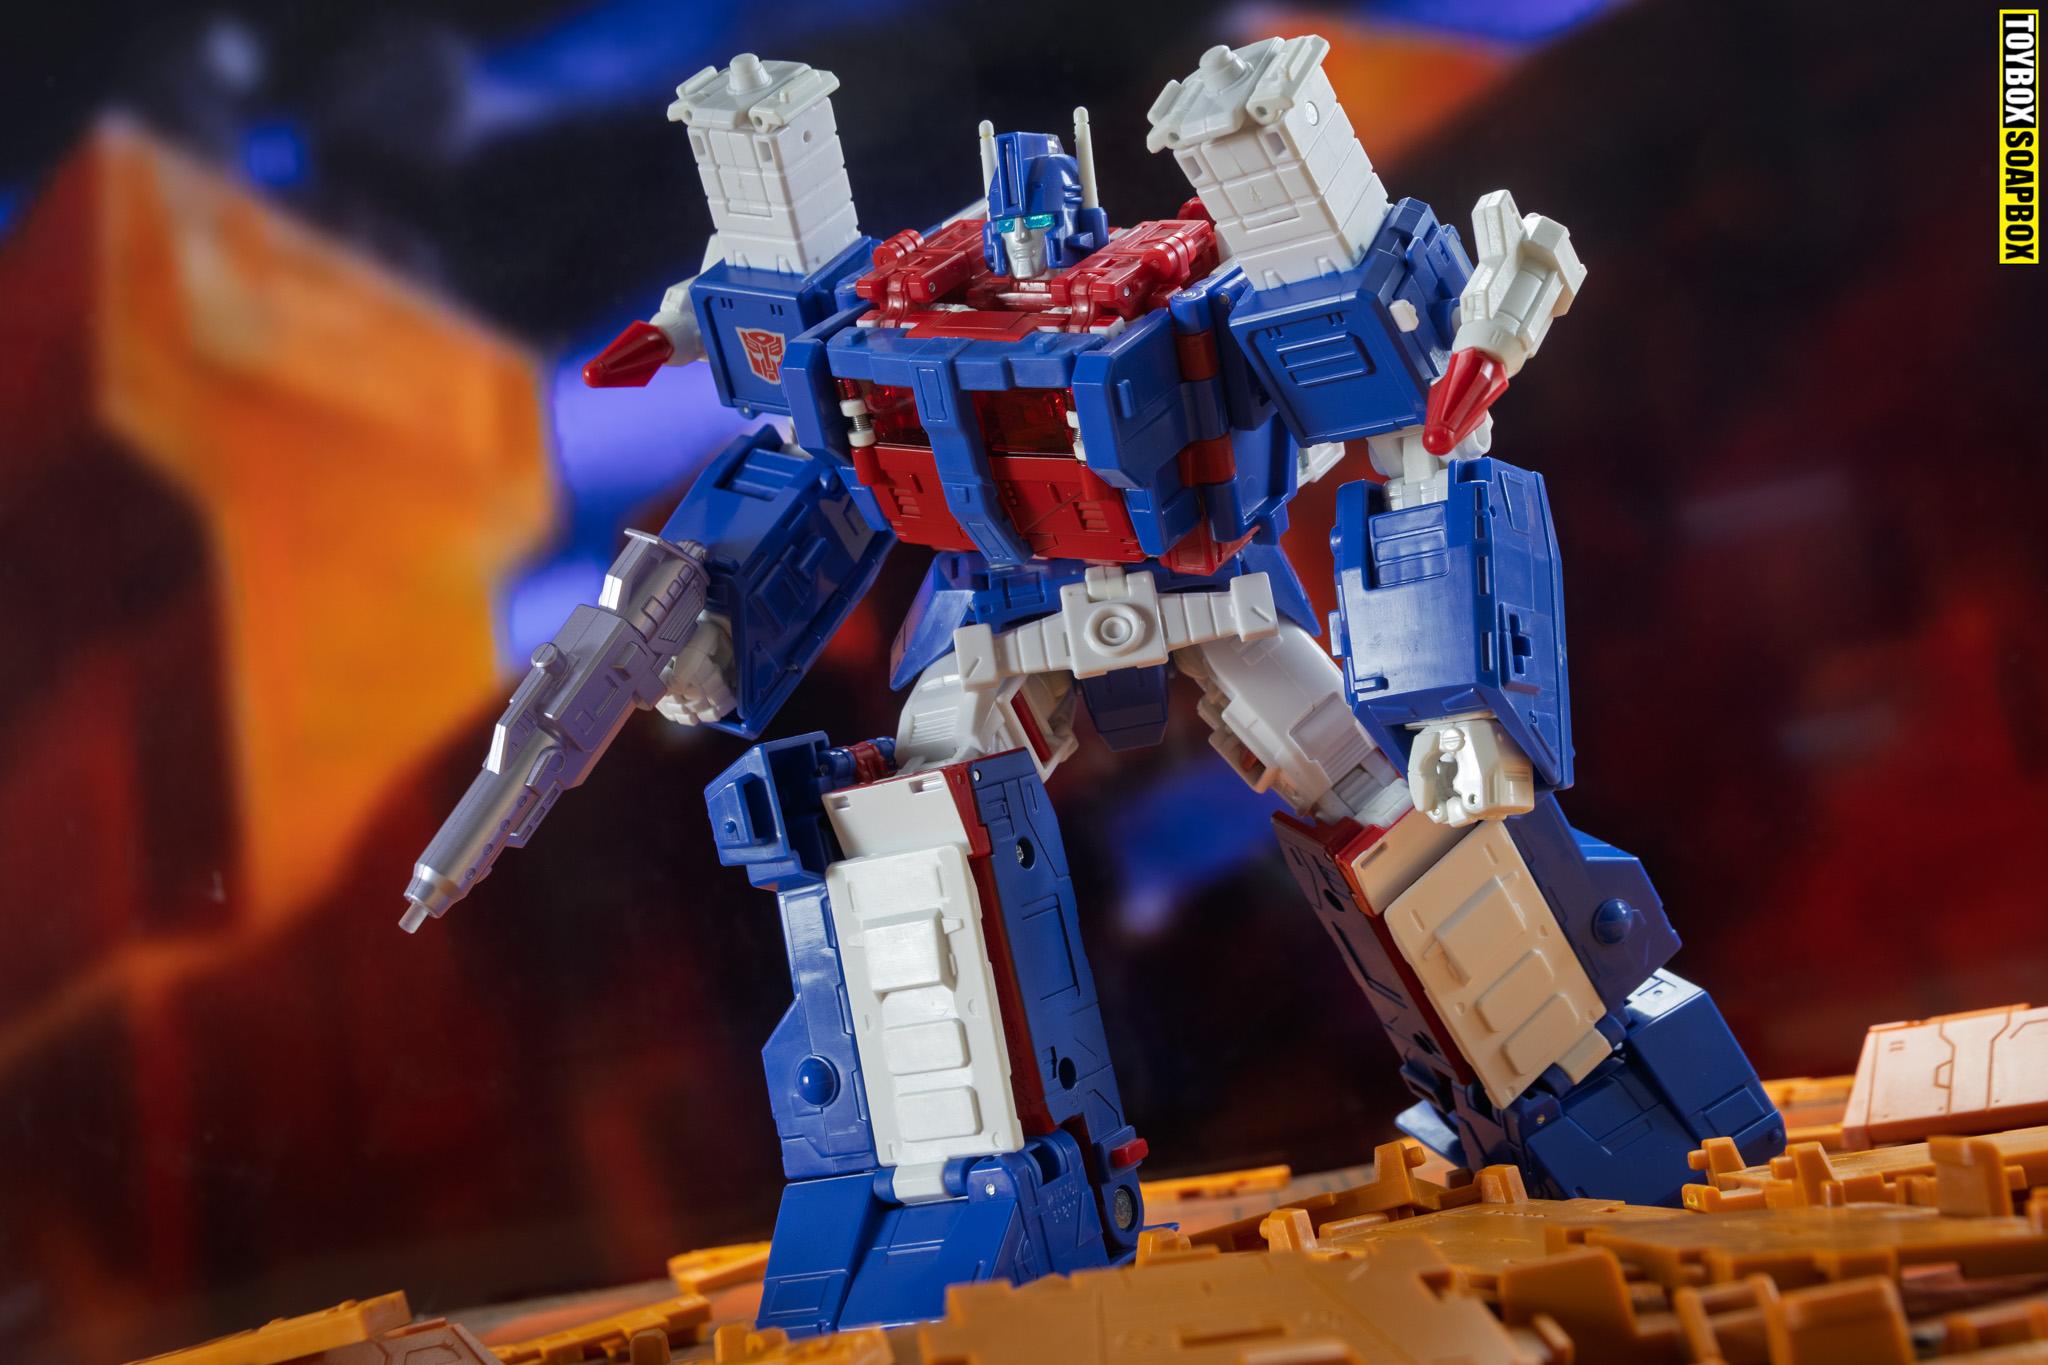
Once the war to settle the score is settled, the result is spectacular. Ultra Magnus looks so much more… well… like Ultra Magnus. The shoulders now sit in a far more natural position closer to his torso, and he no longer looks like he has put his T-shirt on with the coat hanger still in it. It may have been a battle to get it all installed, but it’s undeniable that it looks stunning once it is.
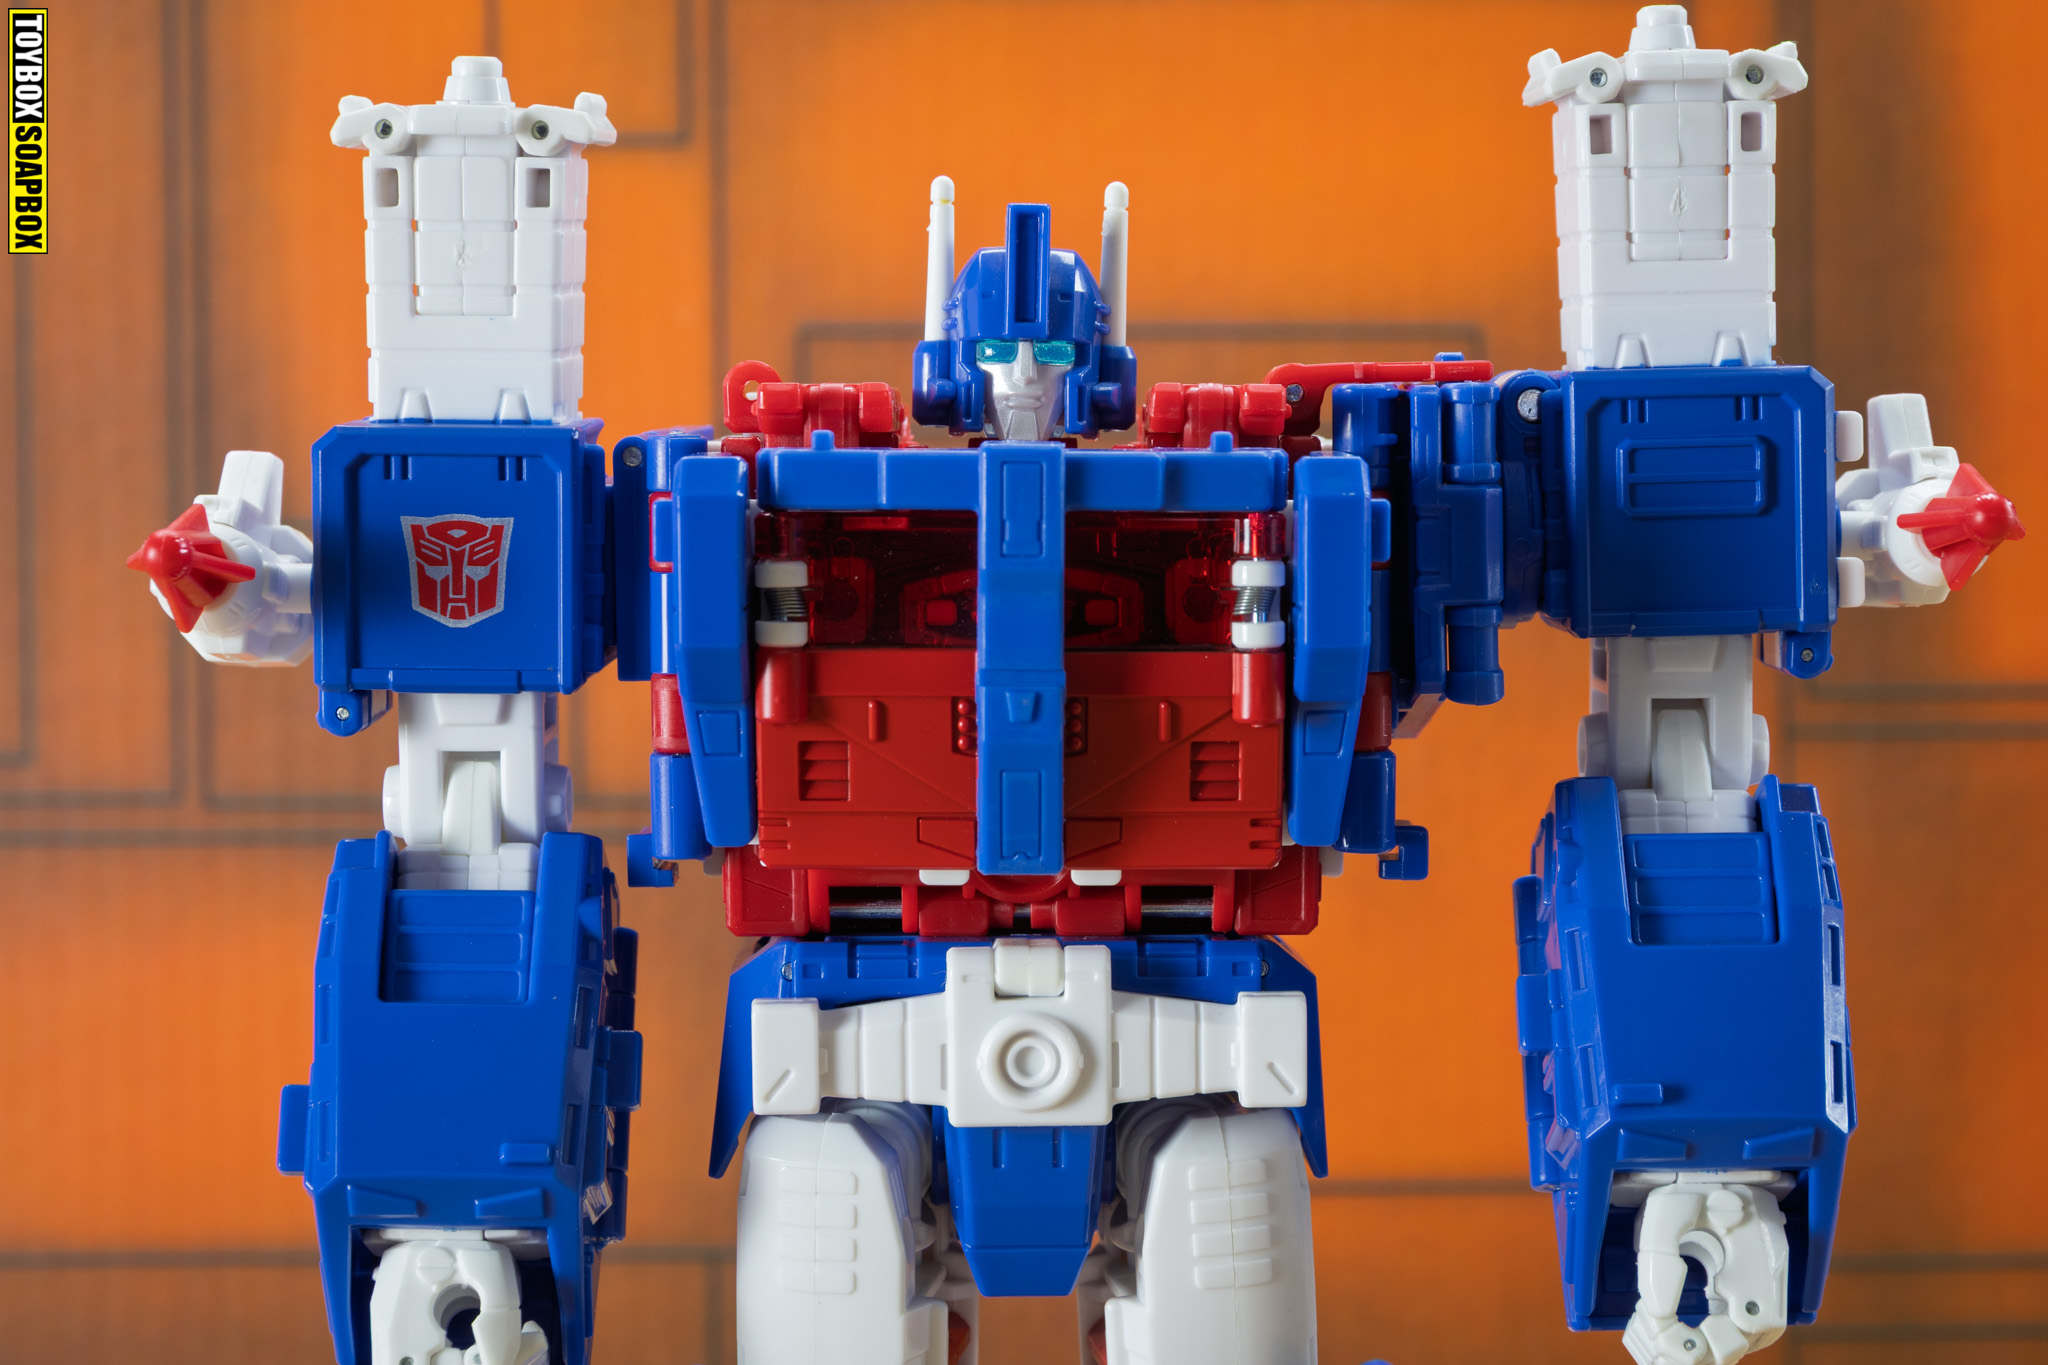
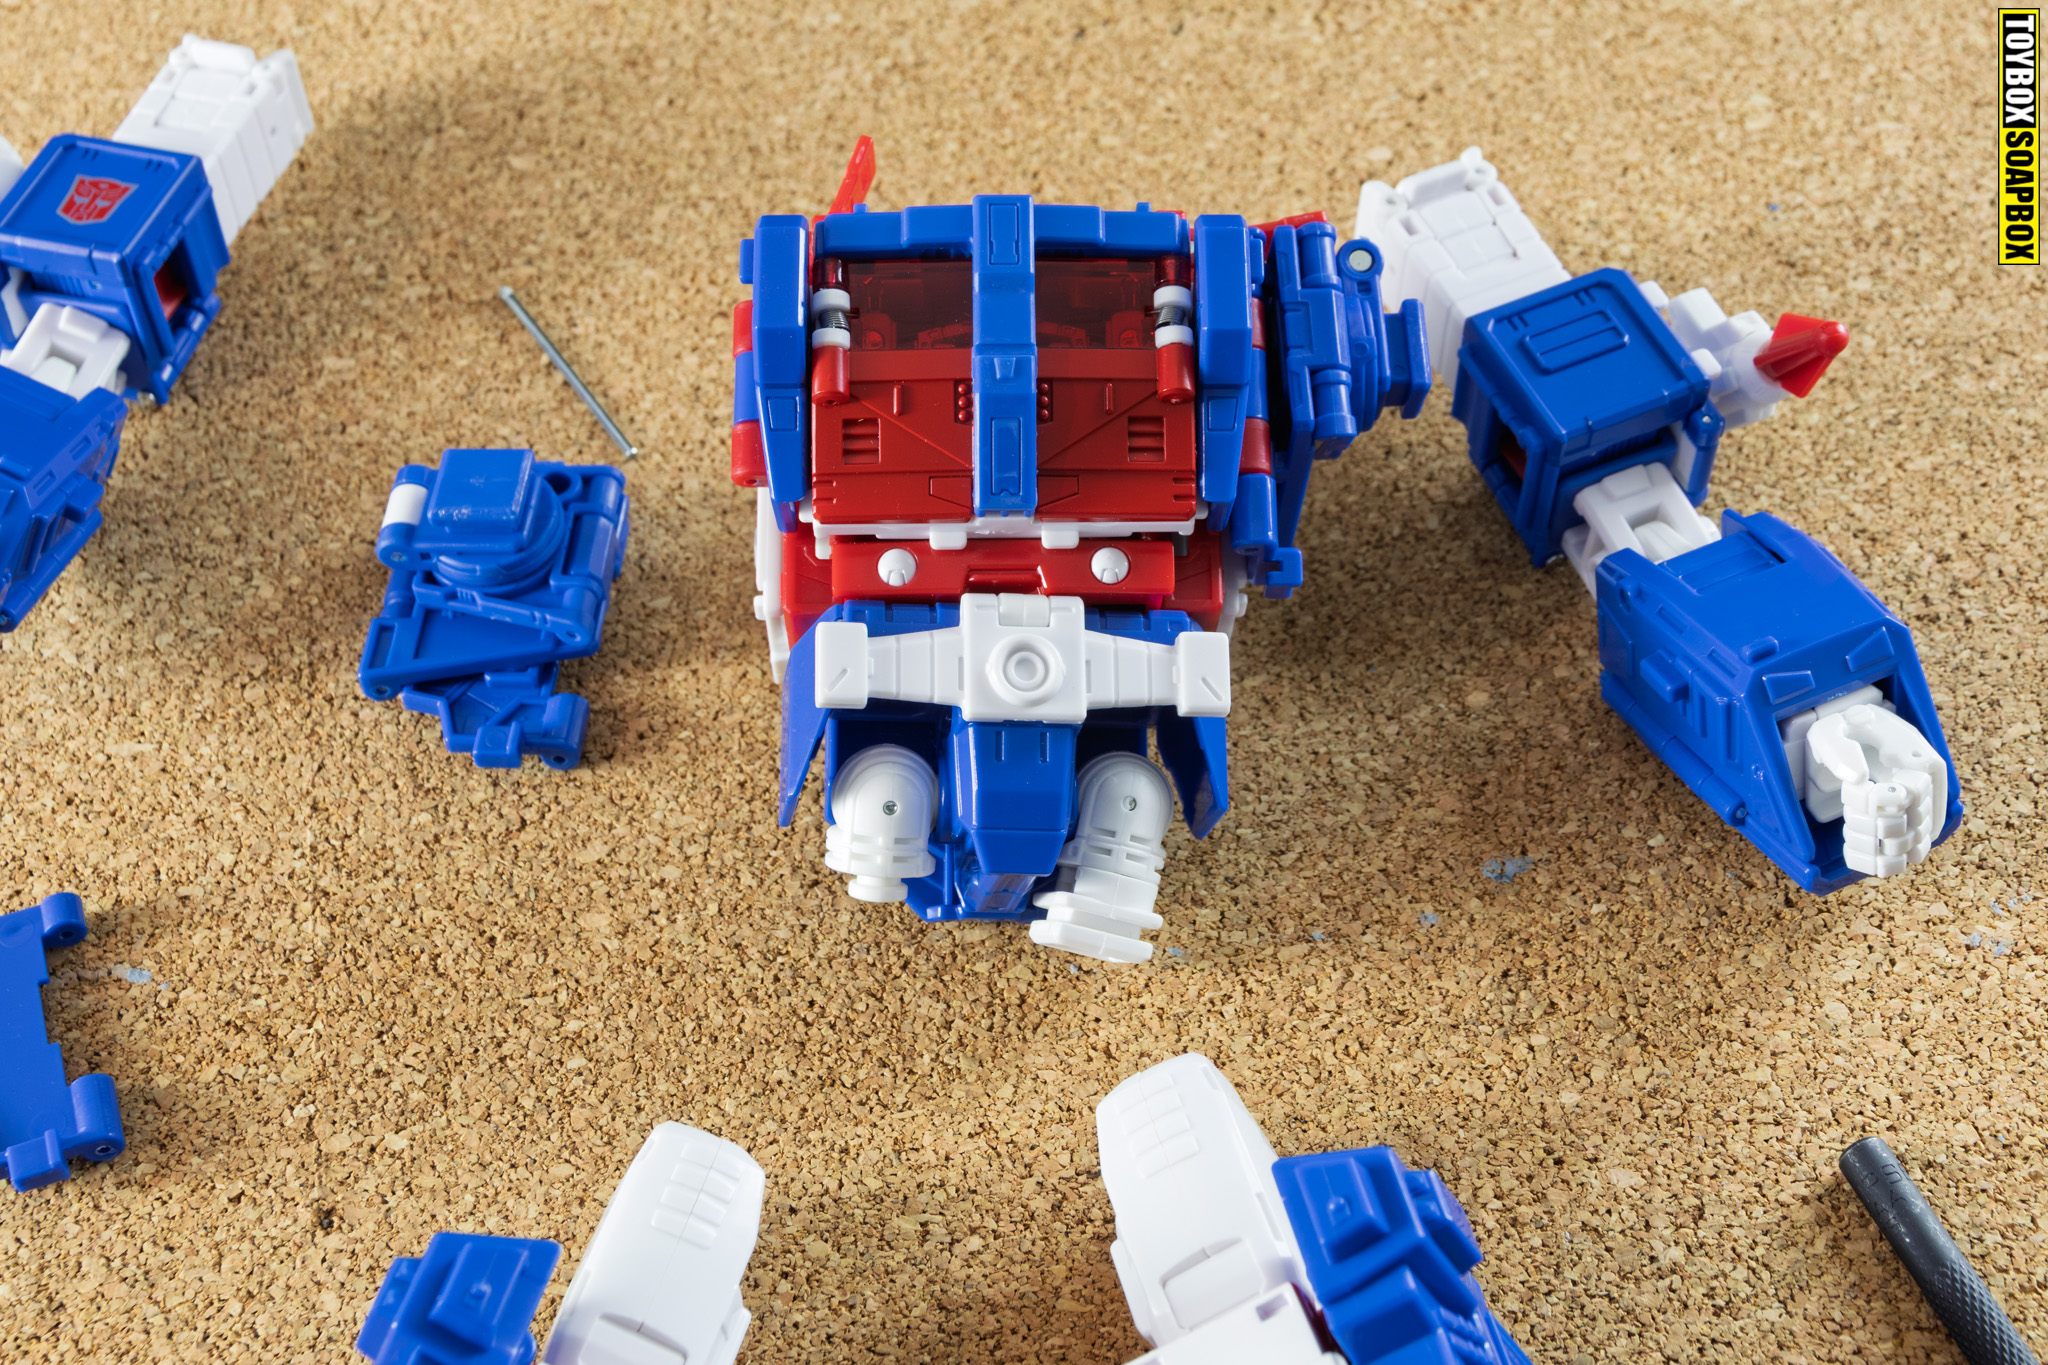
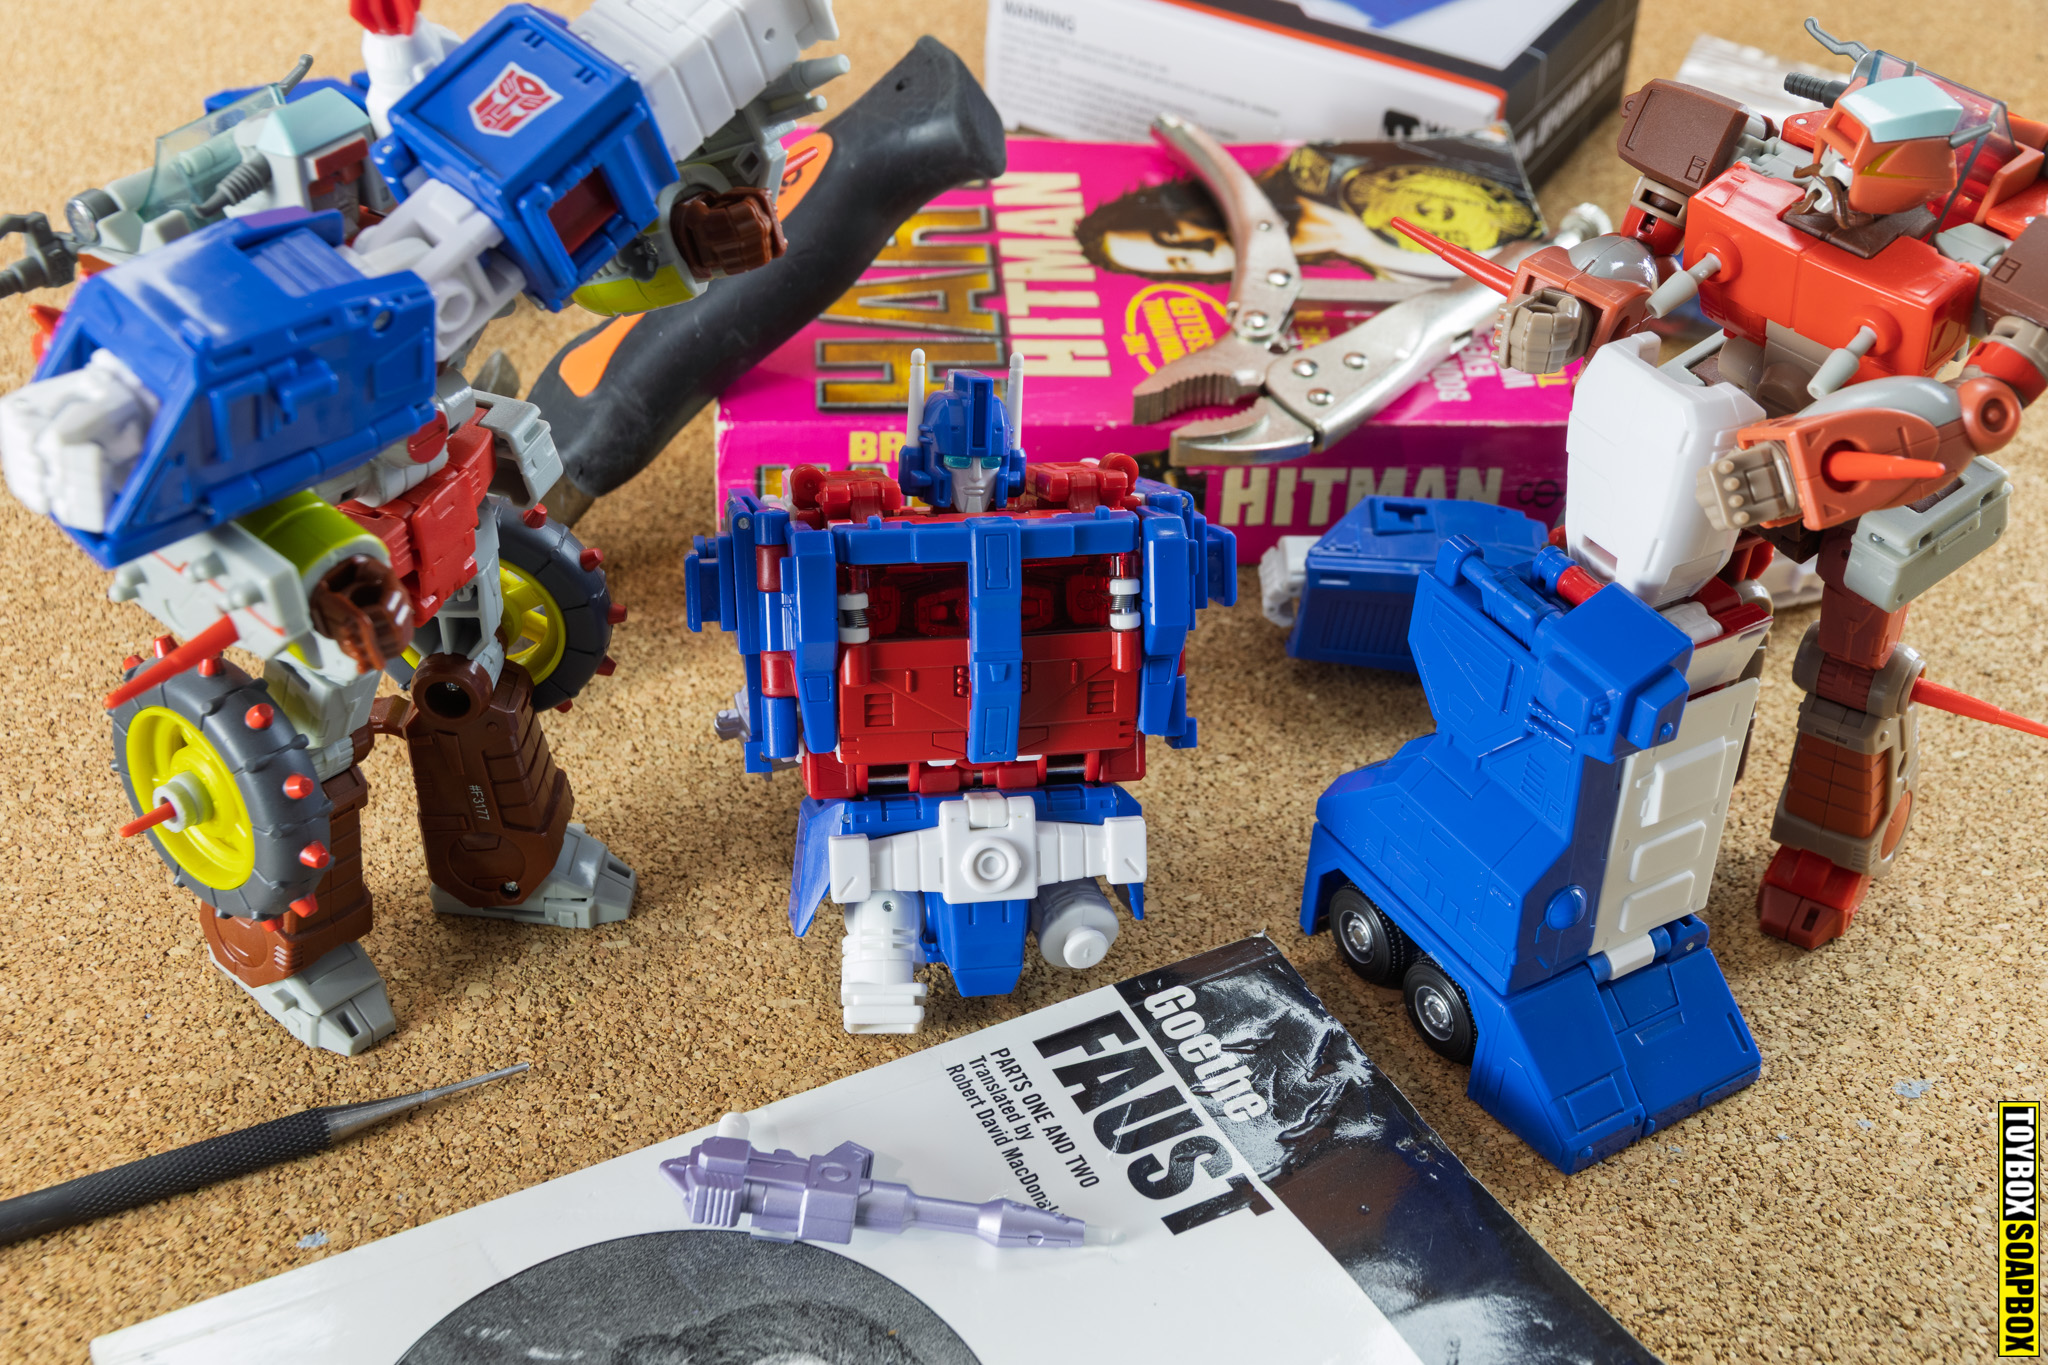
You can see the difference in this conveniently placed photo above. Magnus’s right arm, with the Autobot badge, has the kit installed, whilst his left does not. It’s pretty drastic, right? It’s like one arm looks normal and the other is jacked up on steroids. You might look at this and be totally fine with the stock shoulders, and that is completely fair. Then again, you might also think Brussel Sprouts are edible.
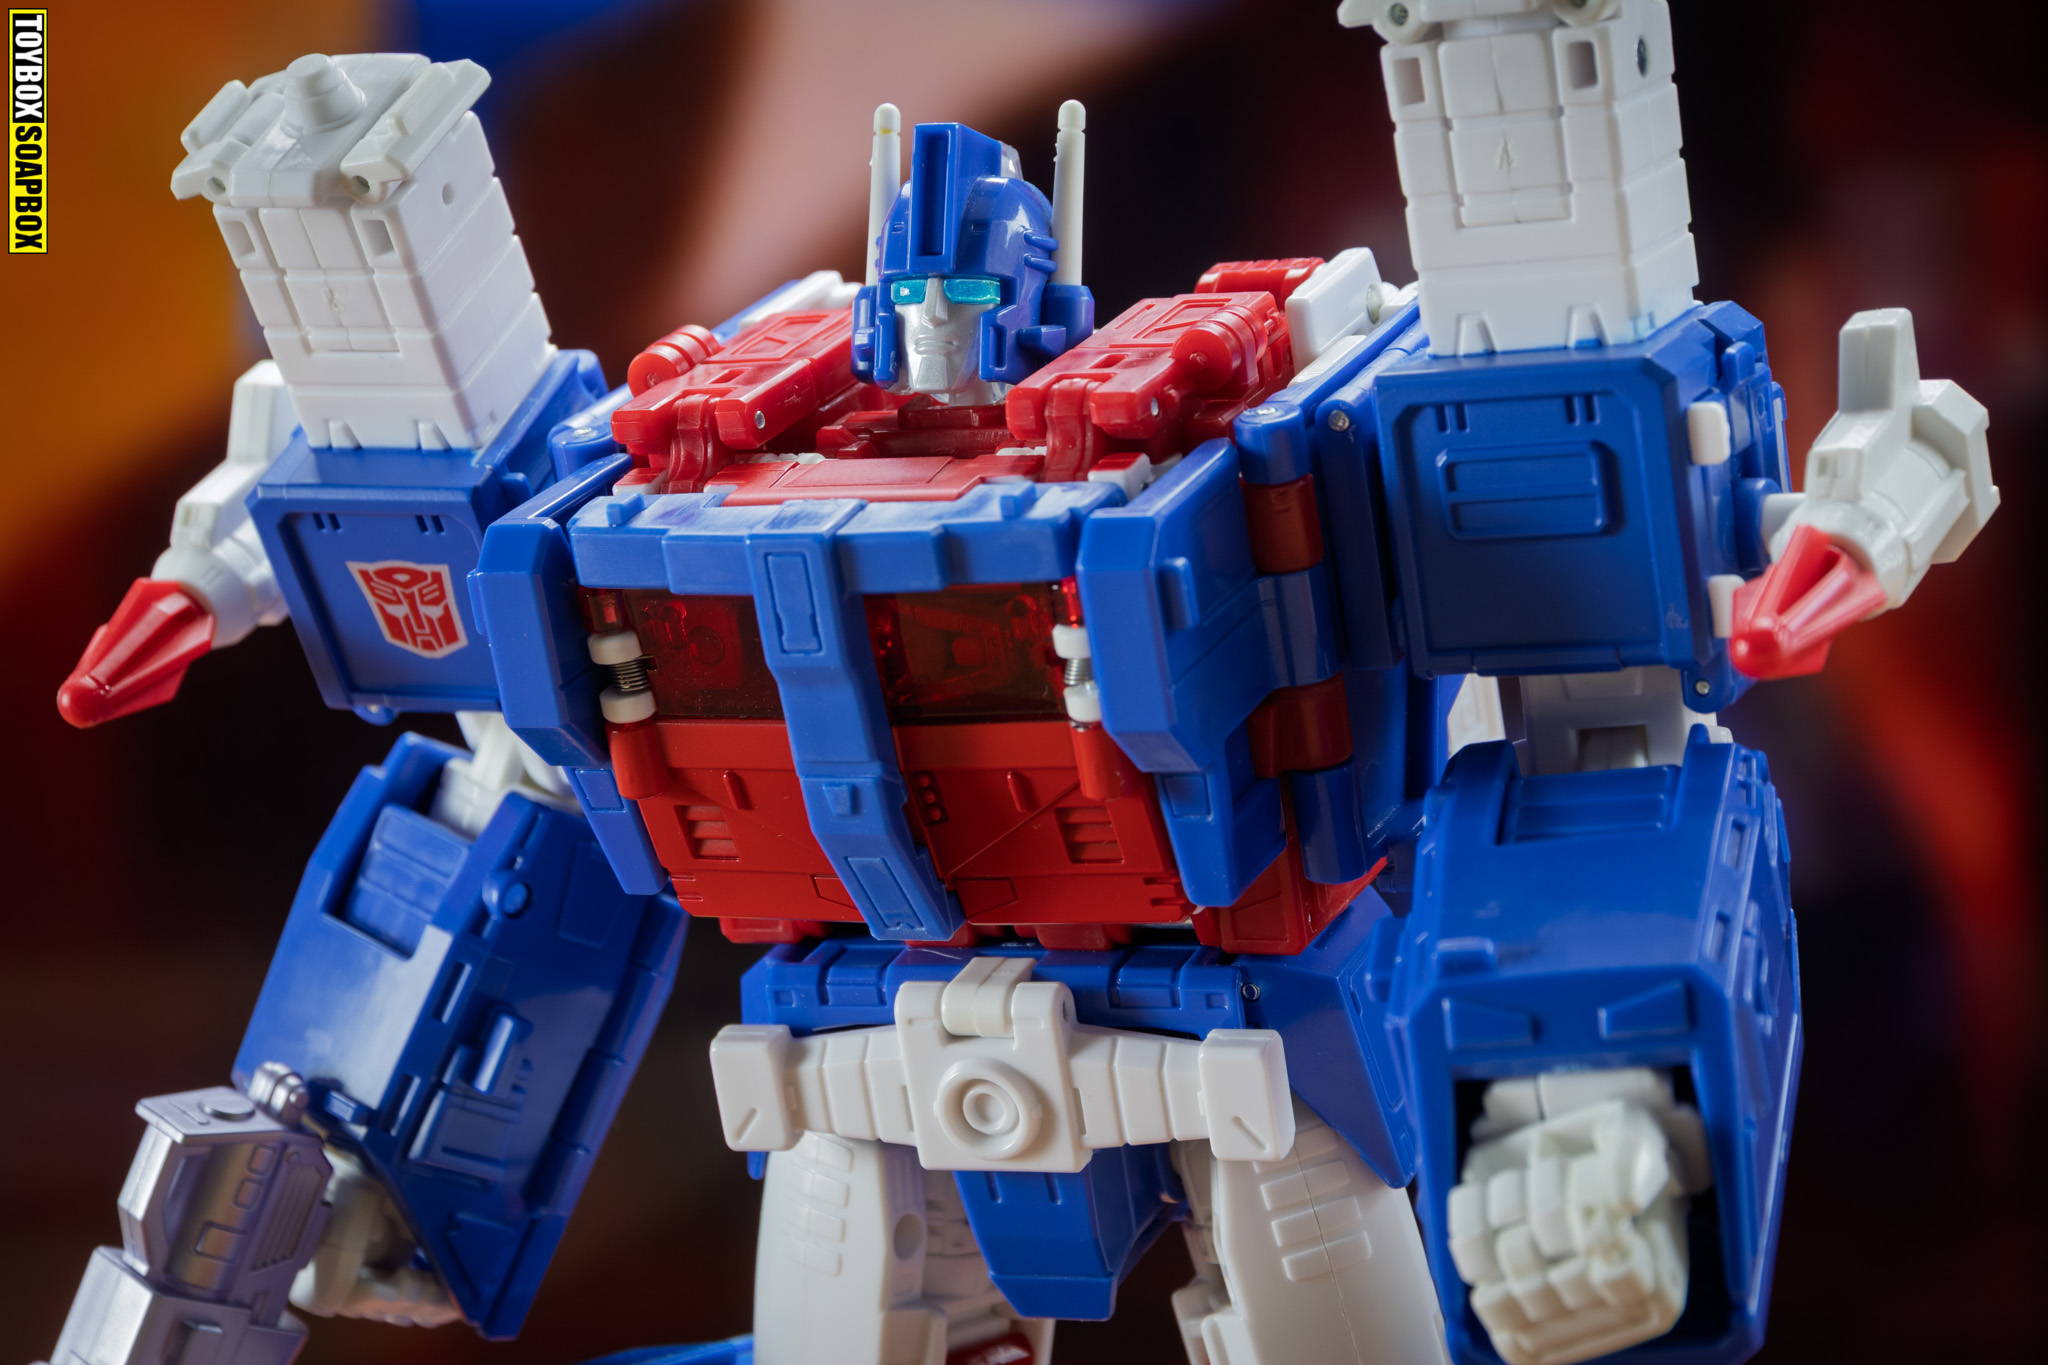
The other visual change is with the red shoulder latches. They too have to be removed, and pushing the tiny pins out is very easy. The kit includes two new red circle pieces and a tiny pin for each side, which makes it look like a bigger fake hinge. It’s a nice extra touch the designer didn’t have to do, but it is appreciated, and means you aren’t left with random Hula Hoops on his shoulders.
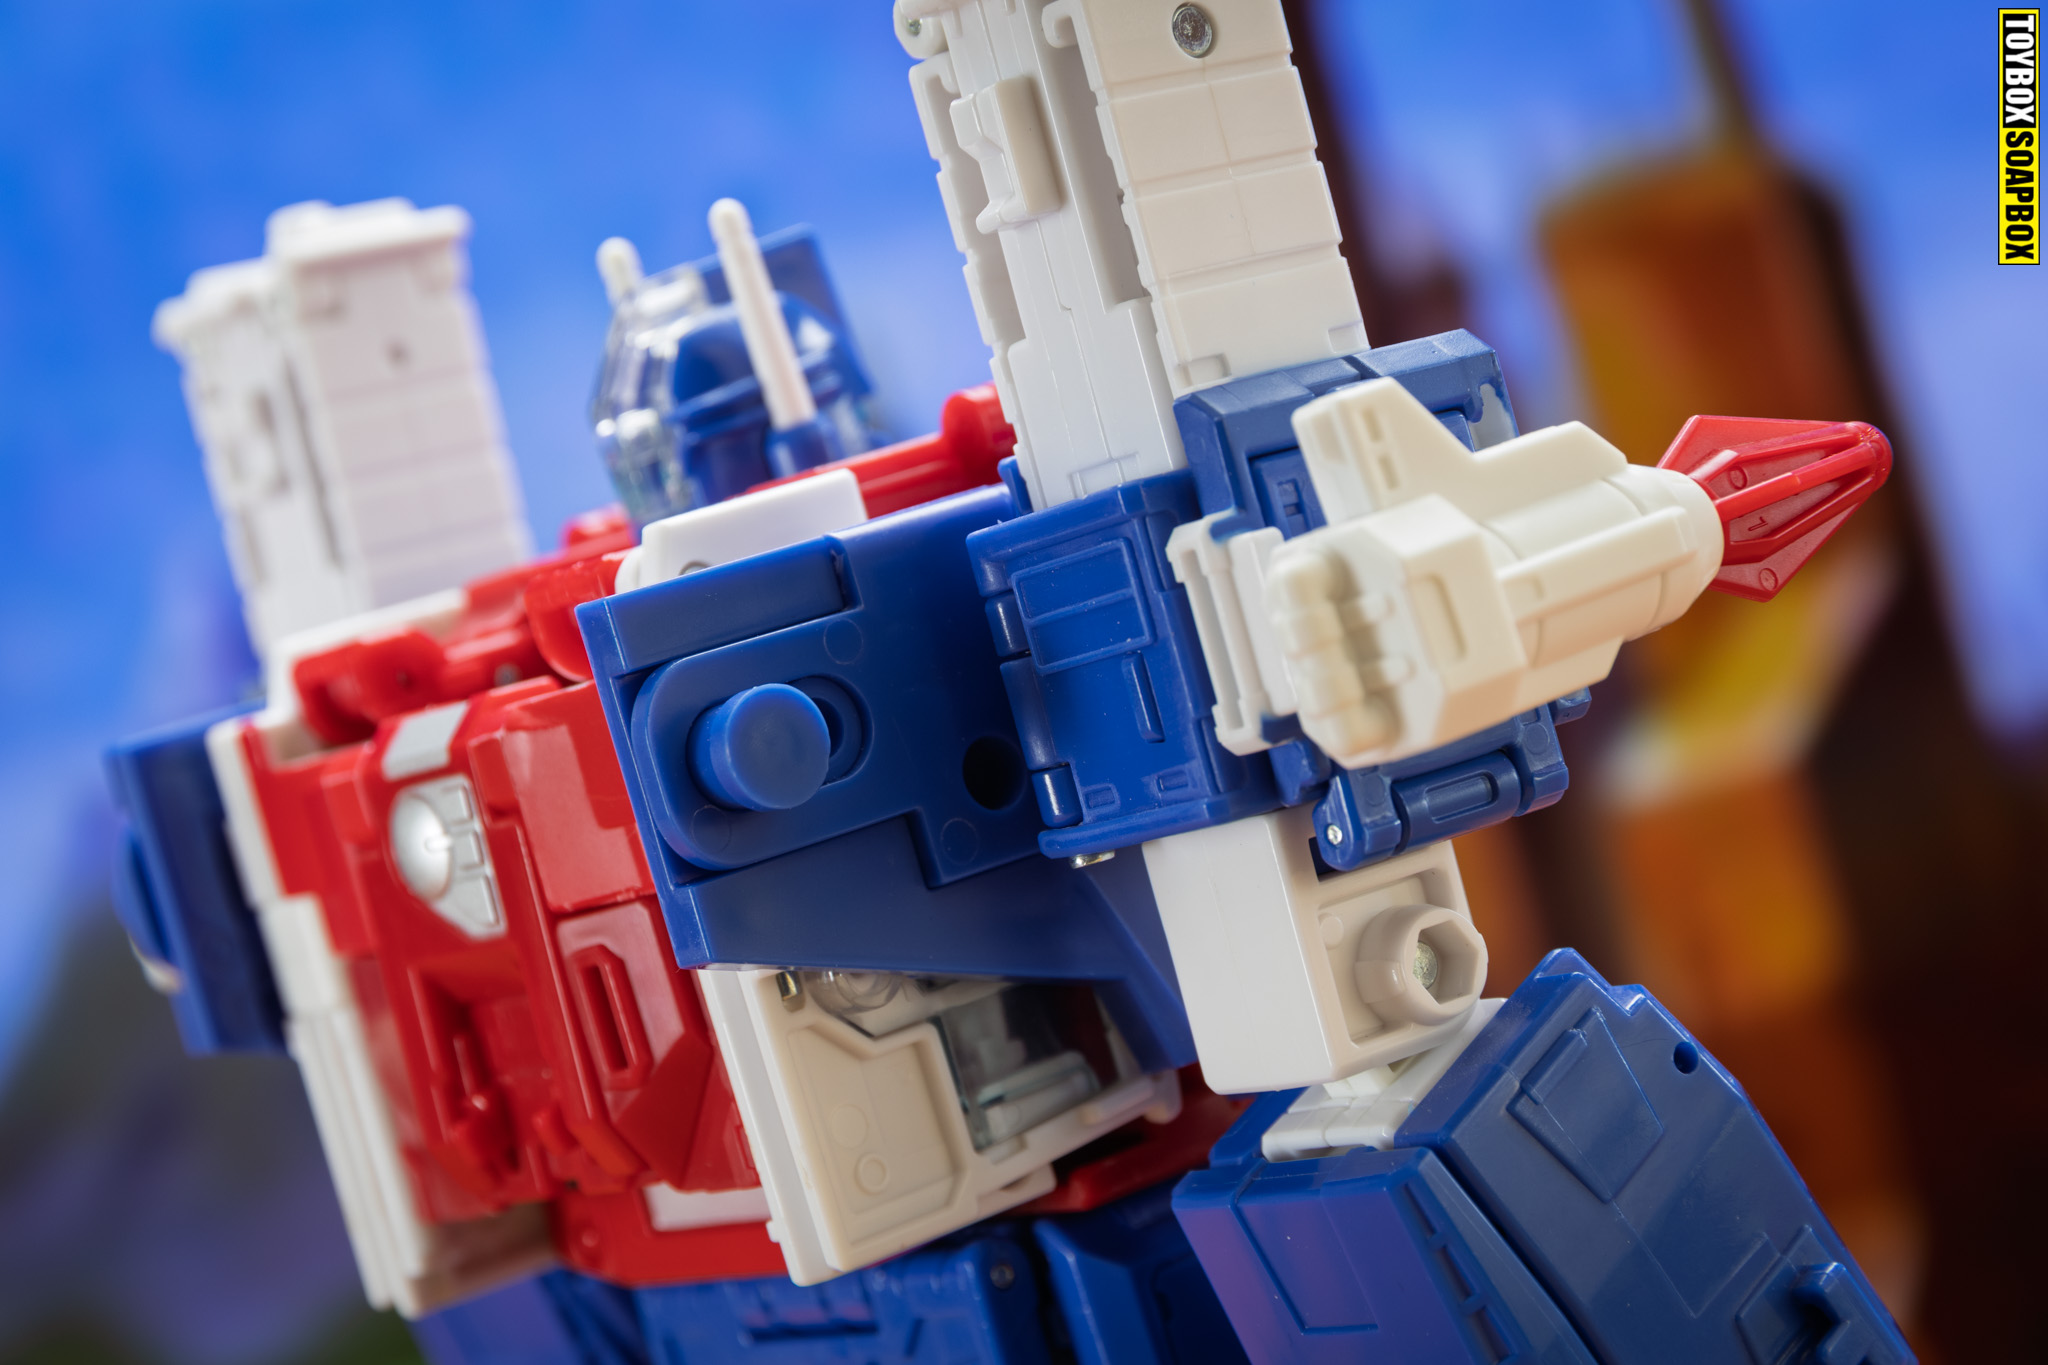
The other visual change happens ’round the back, in Ultra Magnus’s shoulder blades. There is now a big mushroom peg hanging out there, which is how the new parts transform to vehicle mode. It looks a bit flat and plain, considering how much detail is etched across Magnus’s magnificent body, but it’s not something that anyone is ever going to see or care about. Unless you pose your figures from the sides or back, then I dunno – are you alright?
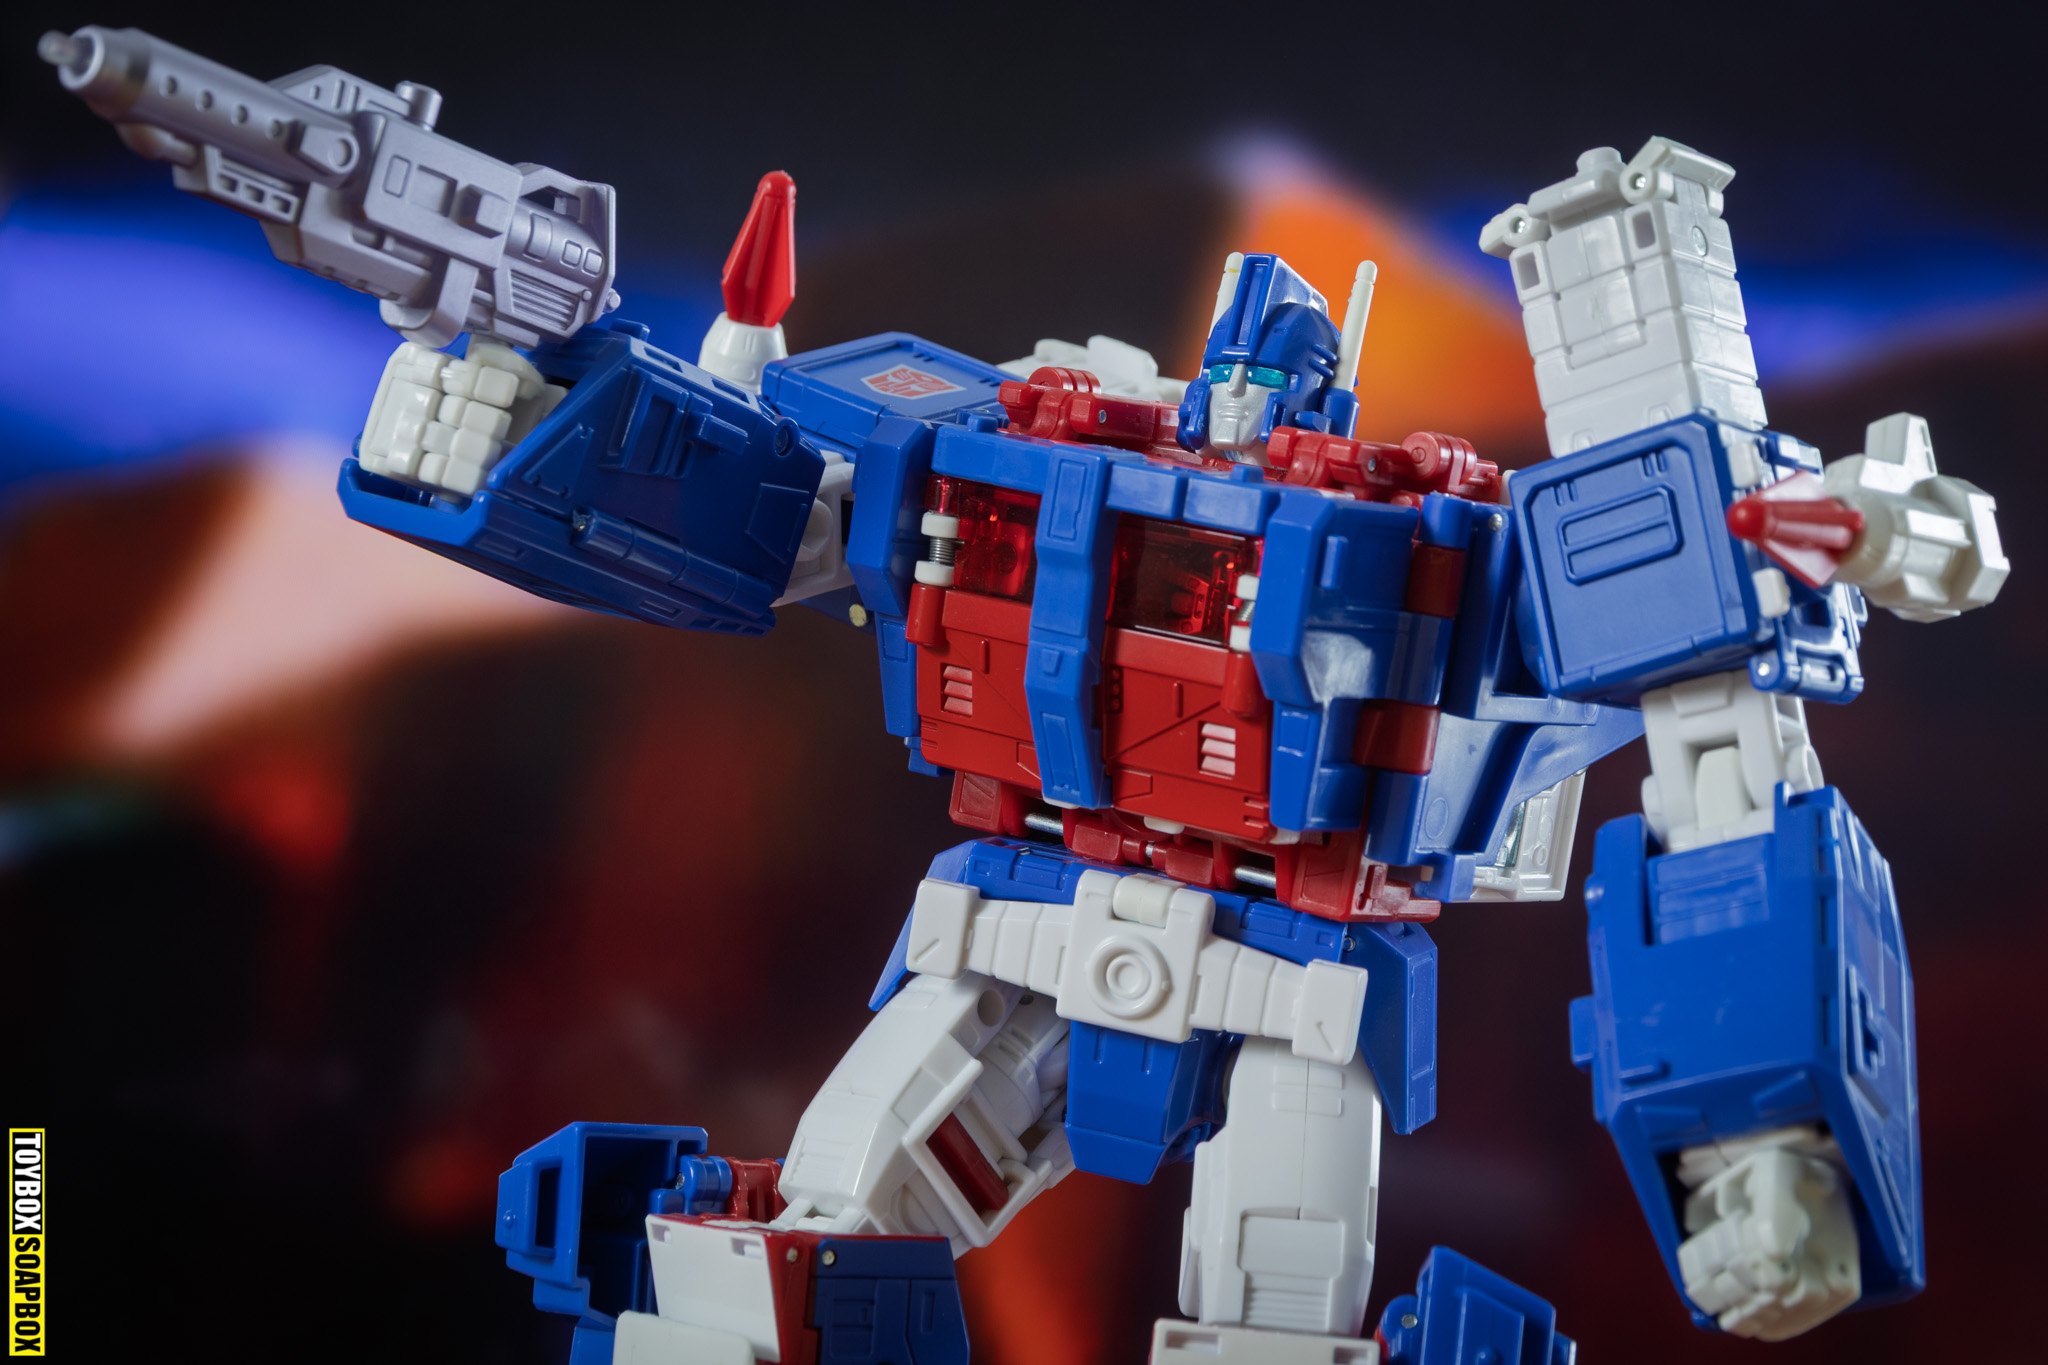
There are some compromises, unfortunately. Articulation is still great, but due to the shoulders now being closer in, the arms can’t swing as far outwards as before. It’s not a big deal, as I can’t imagine many people out there are desperate to pose him in a giant T shape. You can also mitigate some of it by tilting his head, but yeah, it’s a thing. You do also lose a ratchet joint, which I imagine will be a dealbreaker for a lot of folks, but is a small win for me. Ratchet joints trigger my dog, so I no longer have to listen to Doggie Barko losing her mind every time I move Magnus’s arms. For context, I have had Age of the Primes Star Convoy (I refuse to bow to Hasbro’s new naming system!) since it came out but have NEVER transformed it, because the number of ratchet joints in it will send the dog wappy. And also, I completely forgot I had it until just now.
The new, ratchet-less joints hold the arms up just fine in whatever pose you need. So don’t fret.
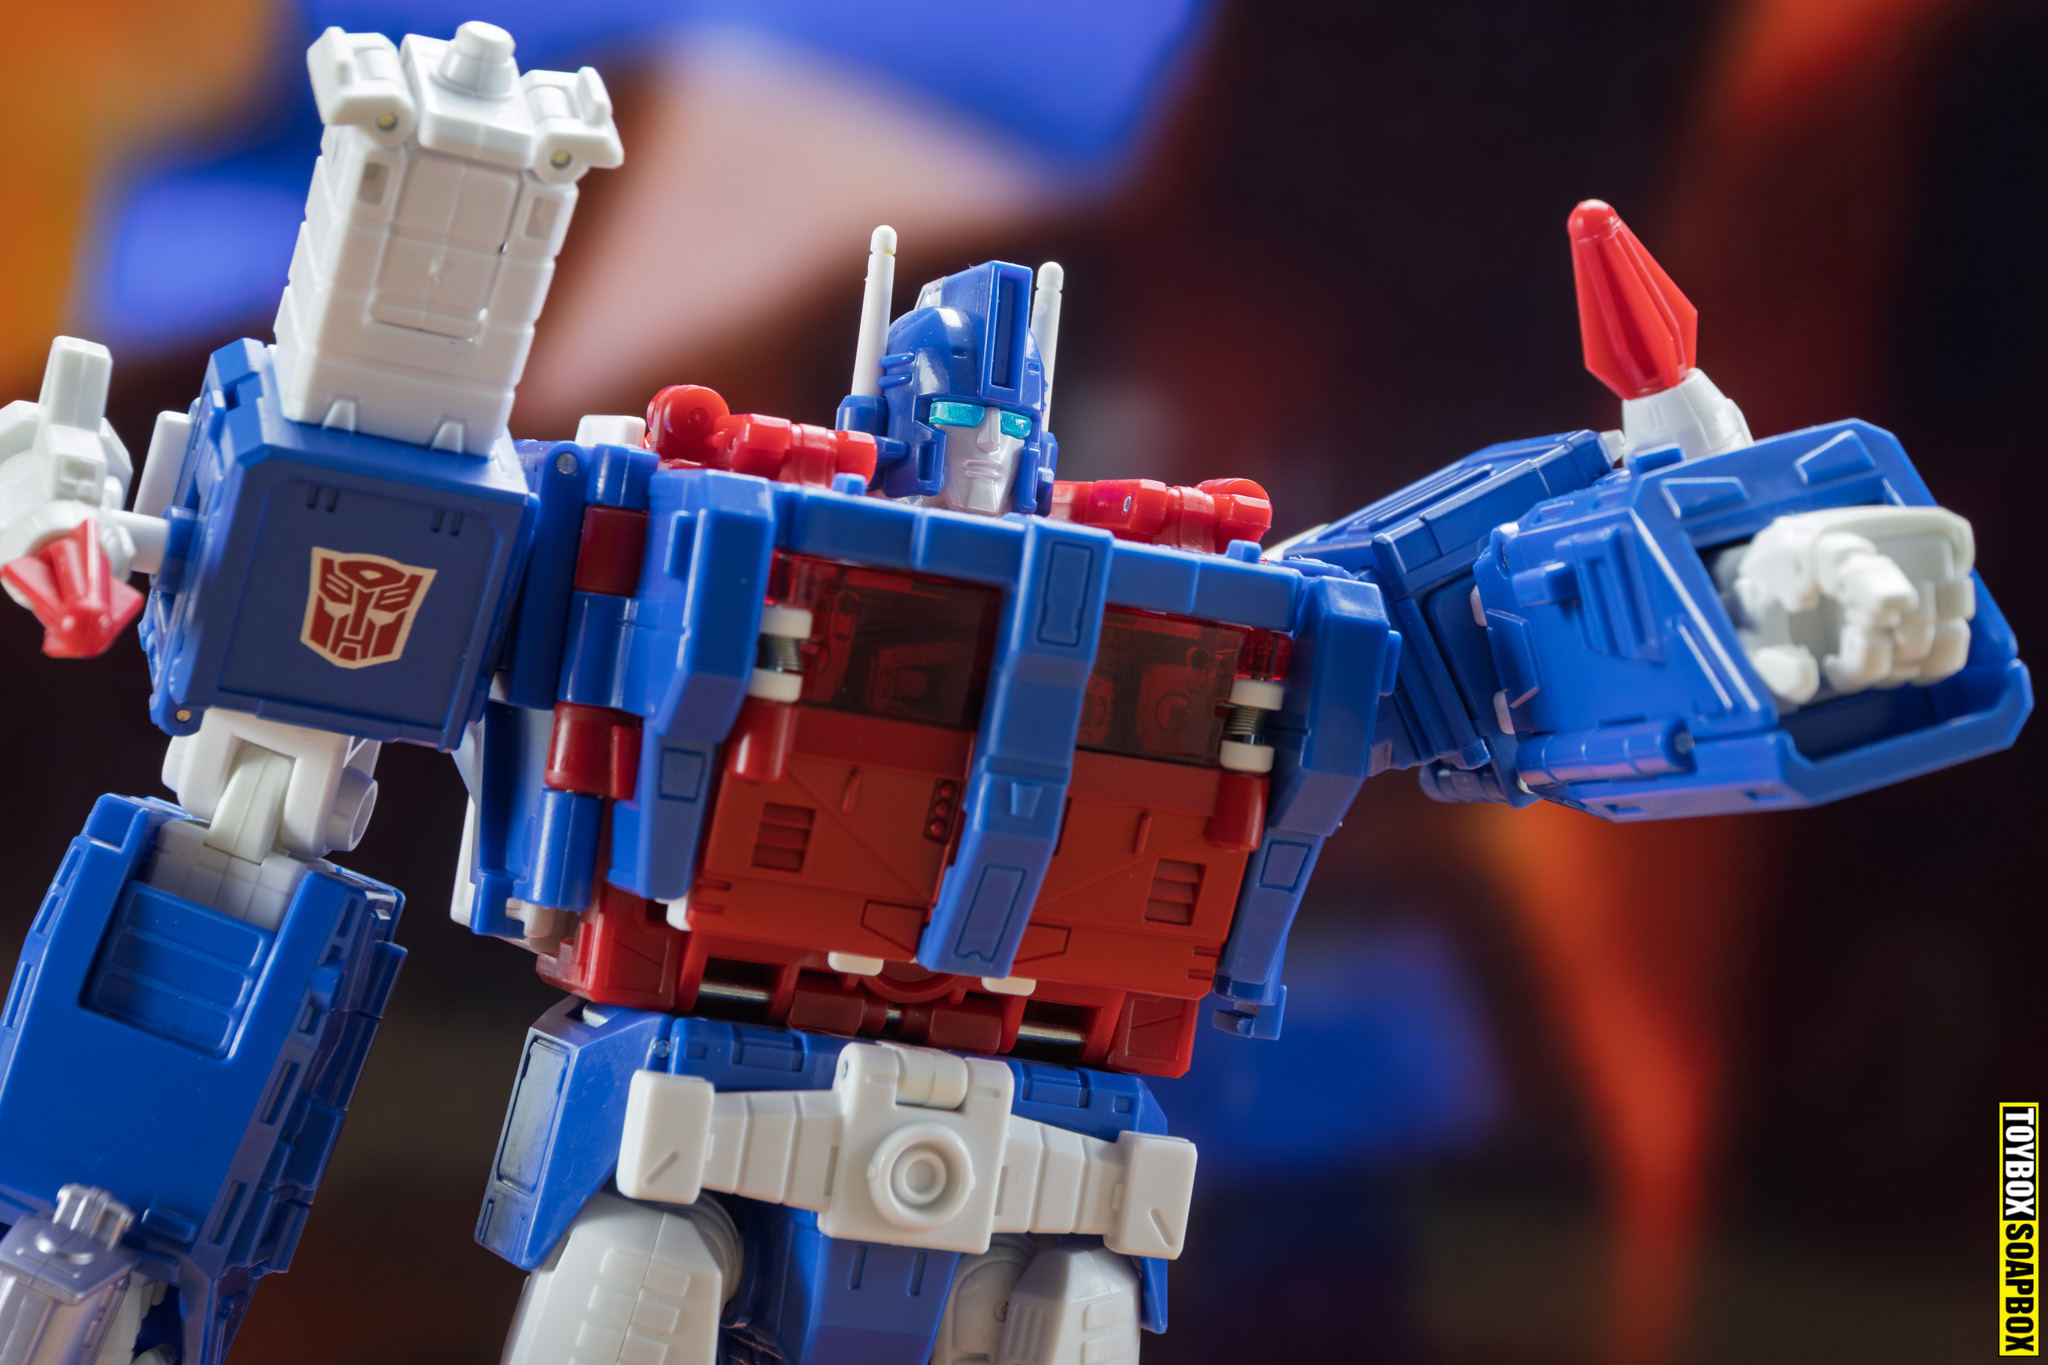
So it looks great, articulation is fine, and I no longer have to deal with a maniac pooch—what issue could there possibly be? Well, there is one very annoying problem: now that the red shoulder latch is gone, the new kit only holds in place by a single, small friction peg. What I find is that this means when I move the arms, there is a higher chance than England bottling a World Cup semifinal that the shoulders will unpeg. The left arm holds slightly better, but the right arm is like a garden gate swinging in the wind. If all you are going to do is pose it and plonk him on a shelf, then that’s a non-issue. You can move on. But if you happen to be putting him in multiple poses to take lots of photos for this website… then it gets annoying fast. I now need someone to make a second upgrade kit that can just hold the shoulders in place. Please. I beg you.
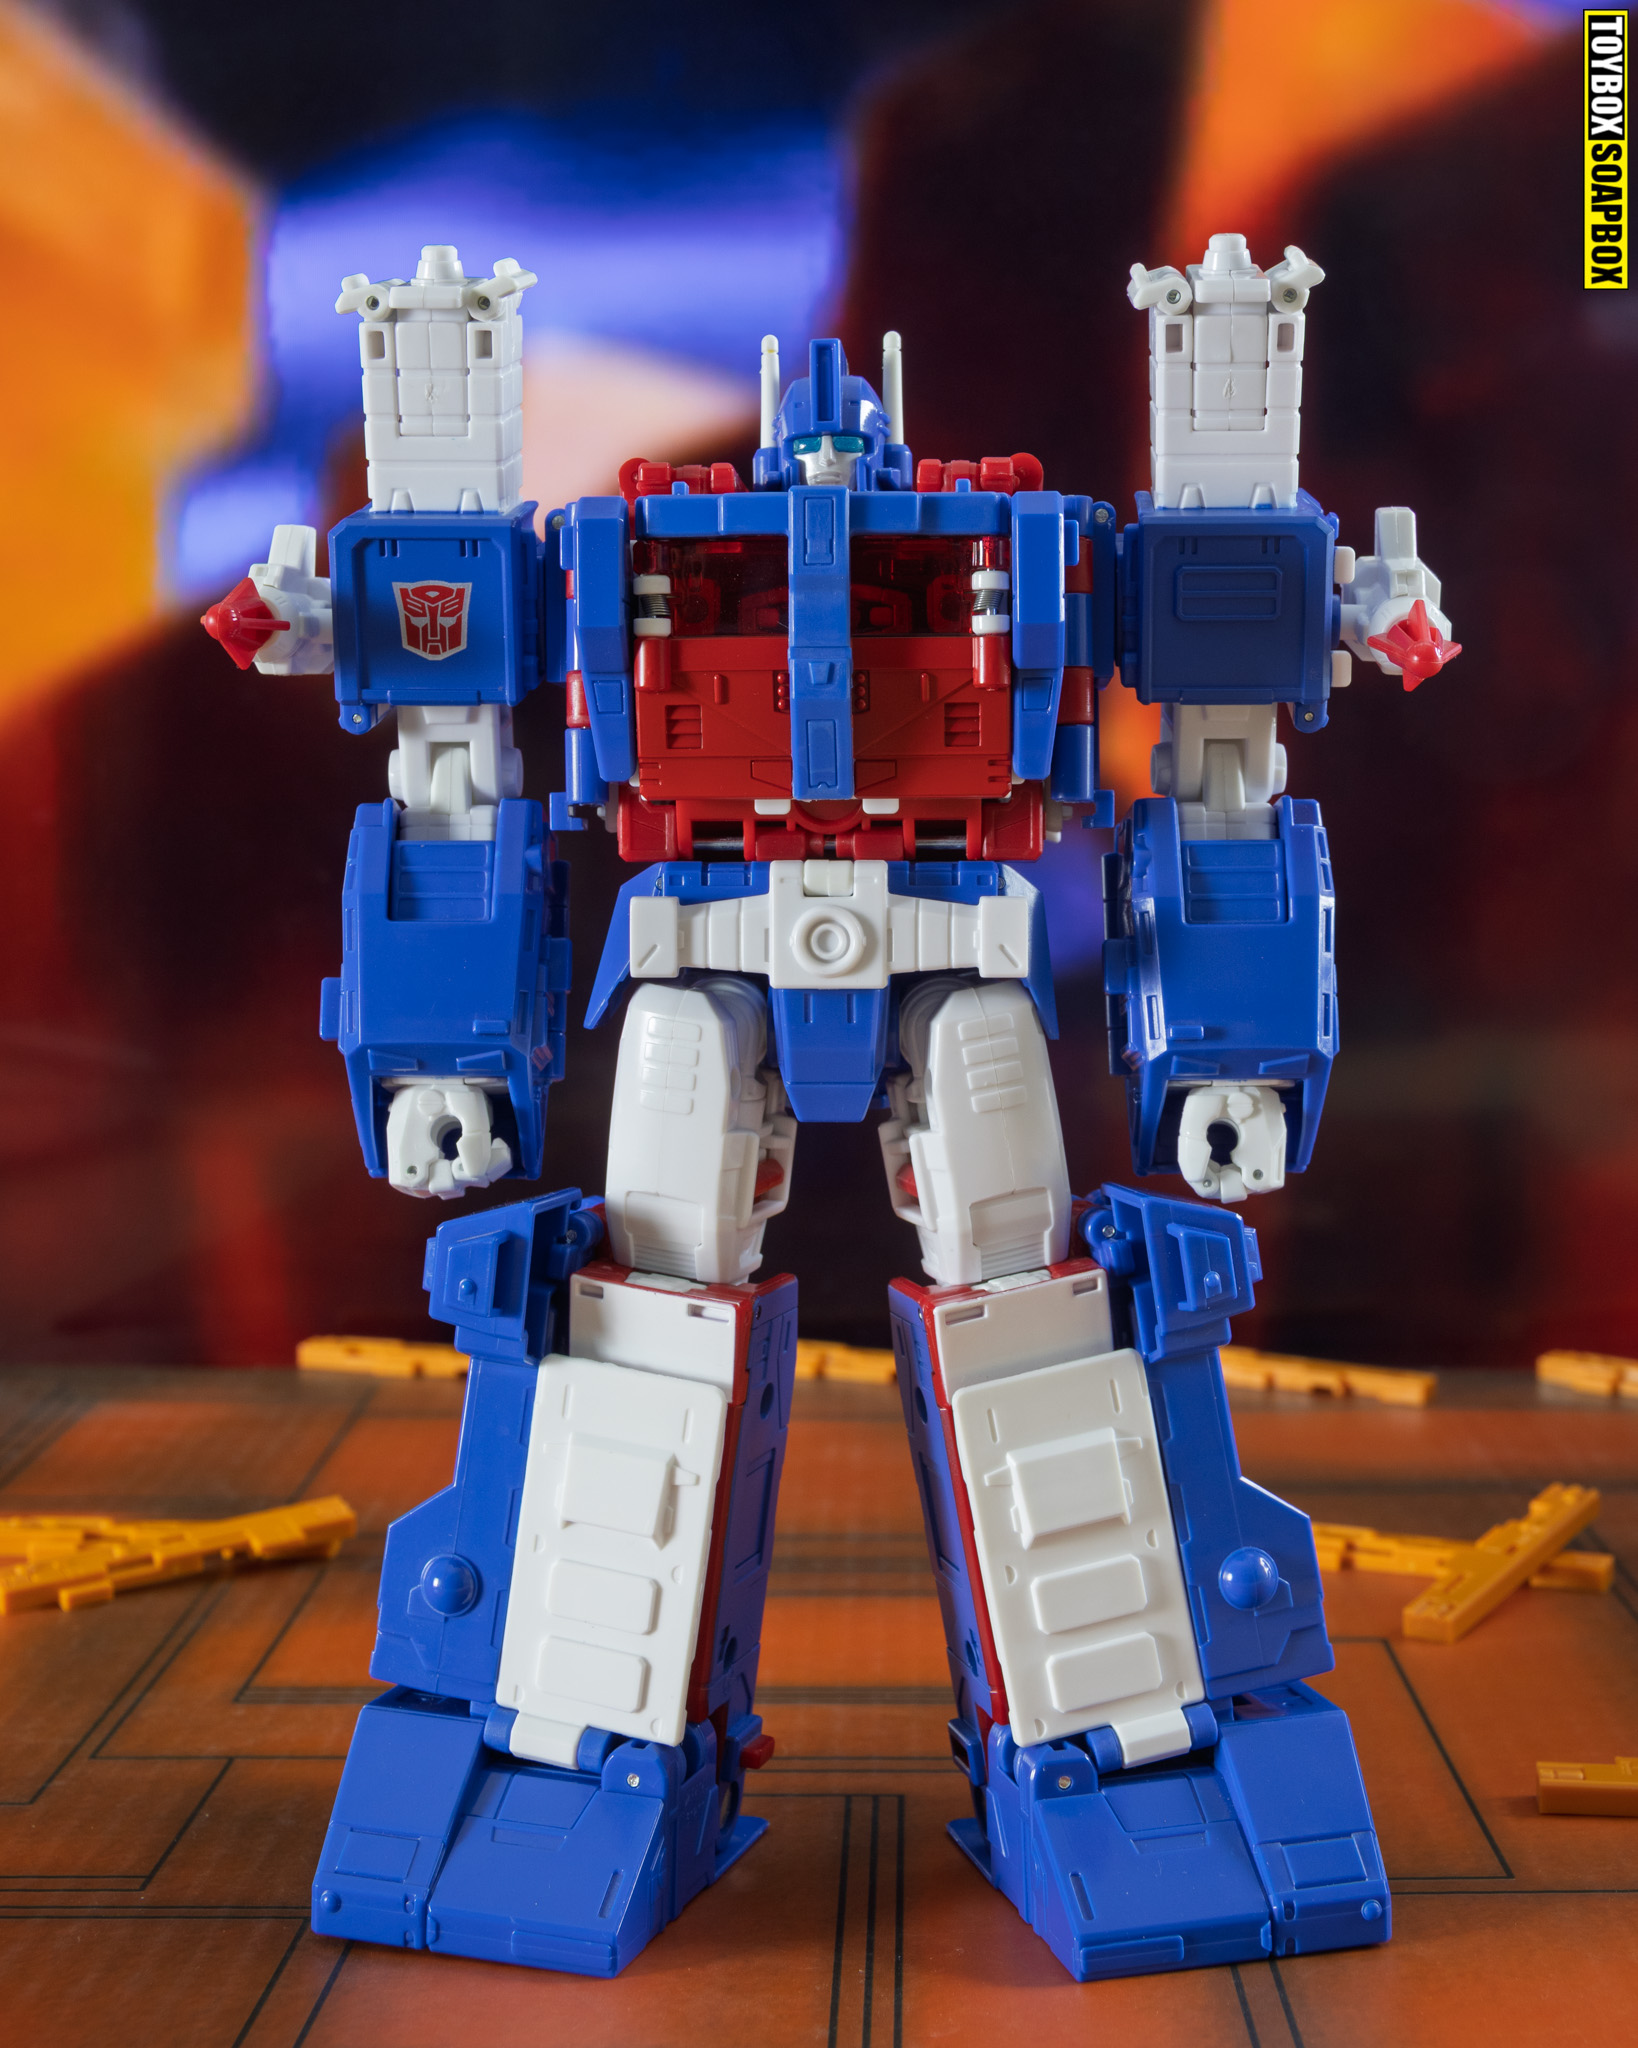
With this kit, Ultra Magnus looks absolutely stellar. He just feels right now. It fixes a very fussy critique in an incredibly clever way, and I am blown away by just how pretty he is. So the next question is: does he still transform?
He does!
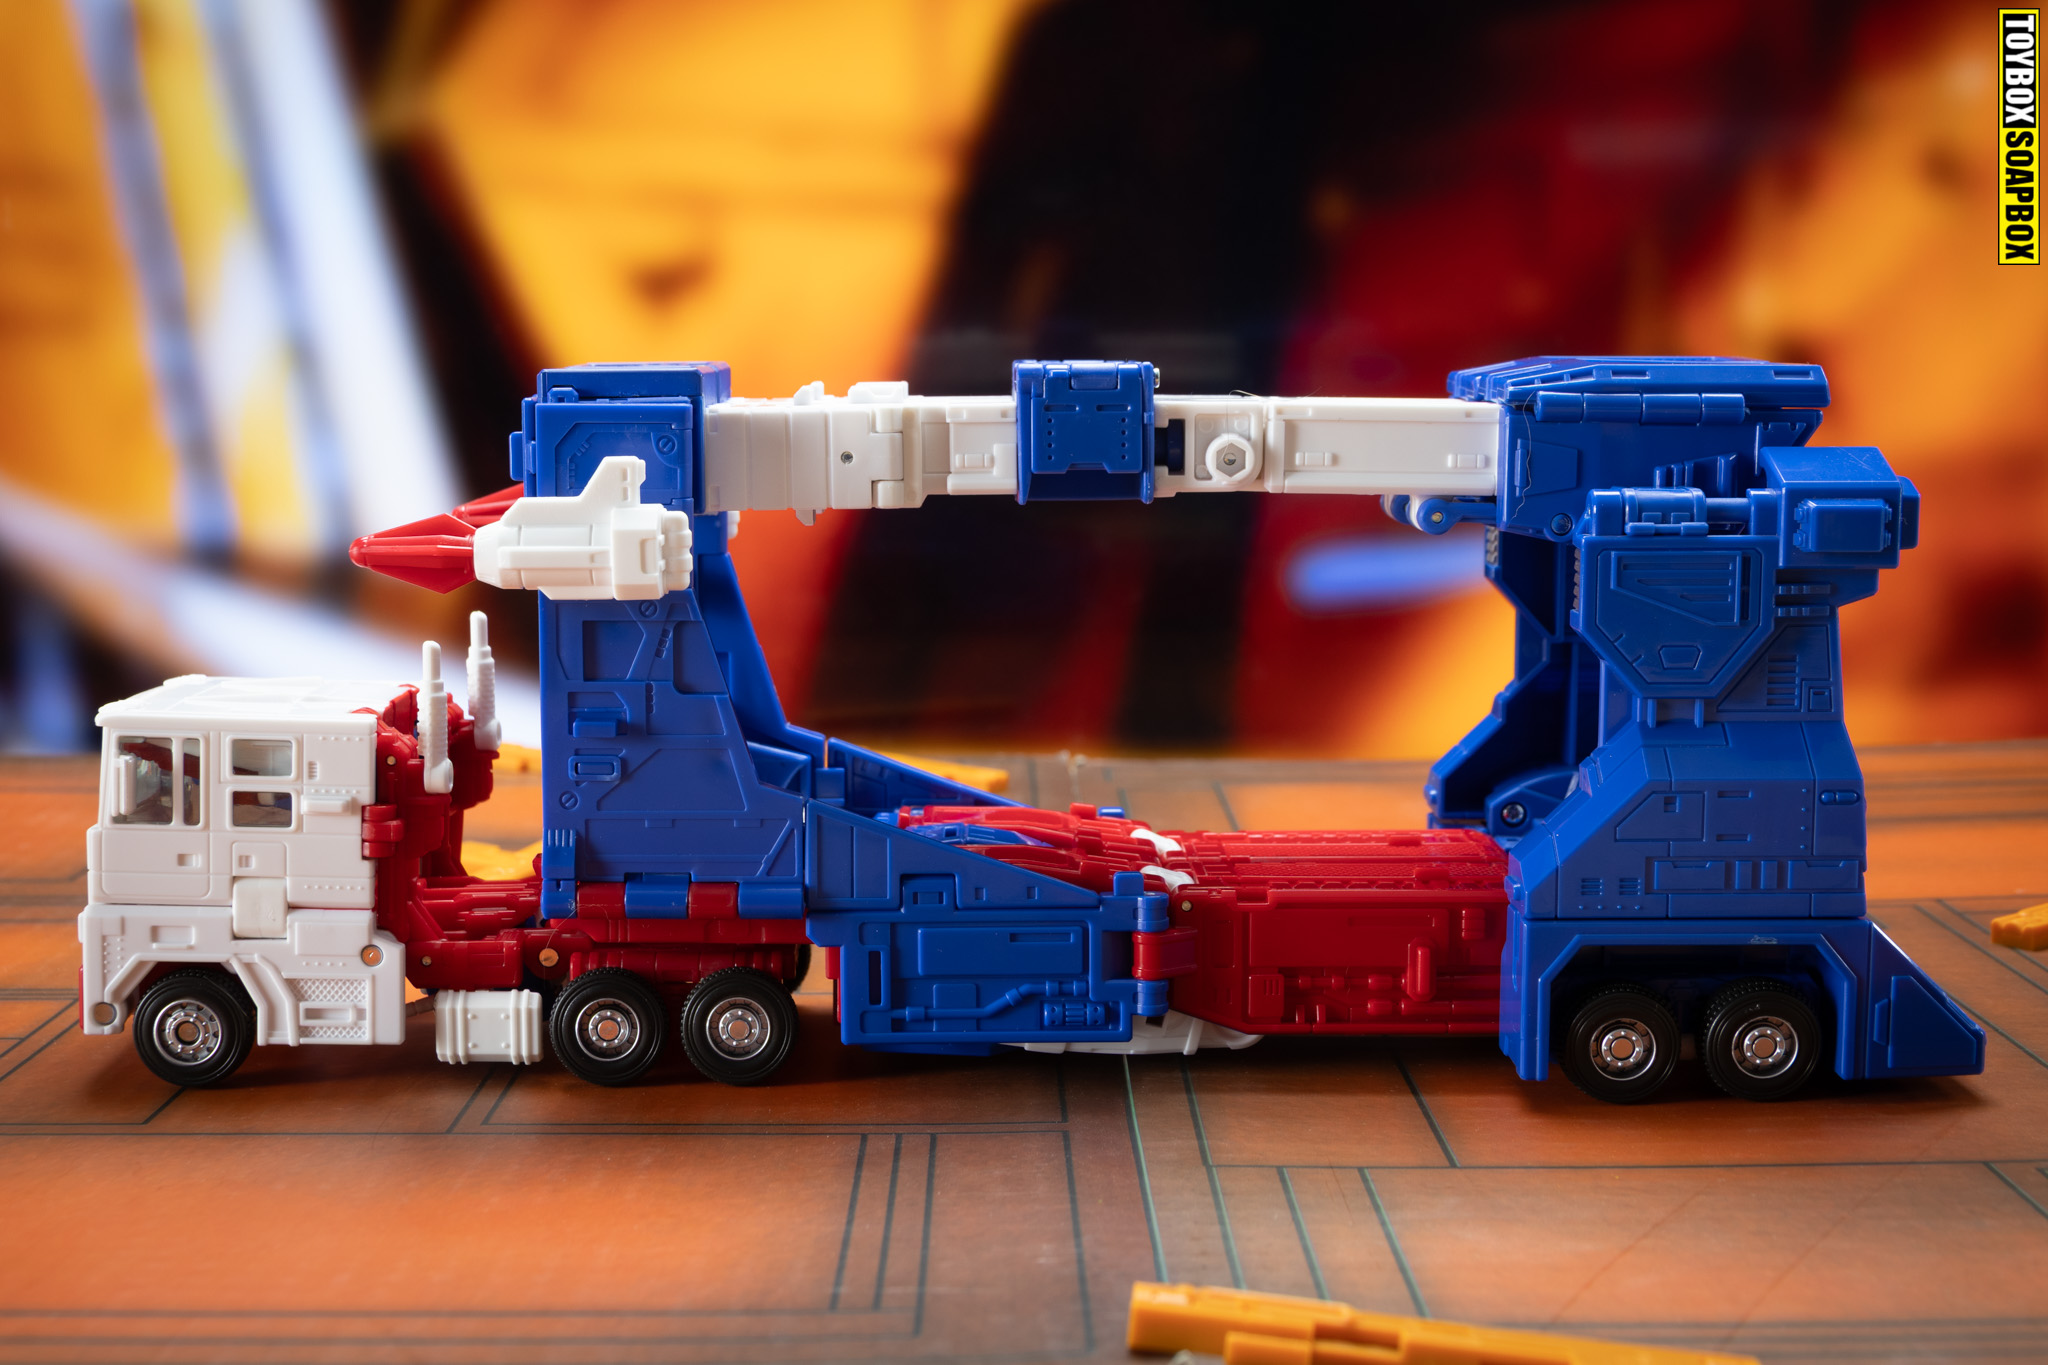
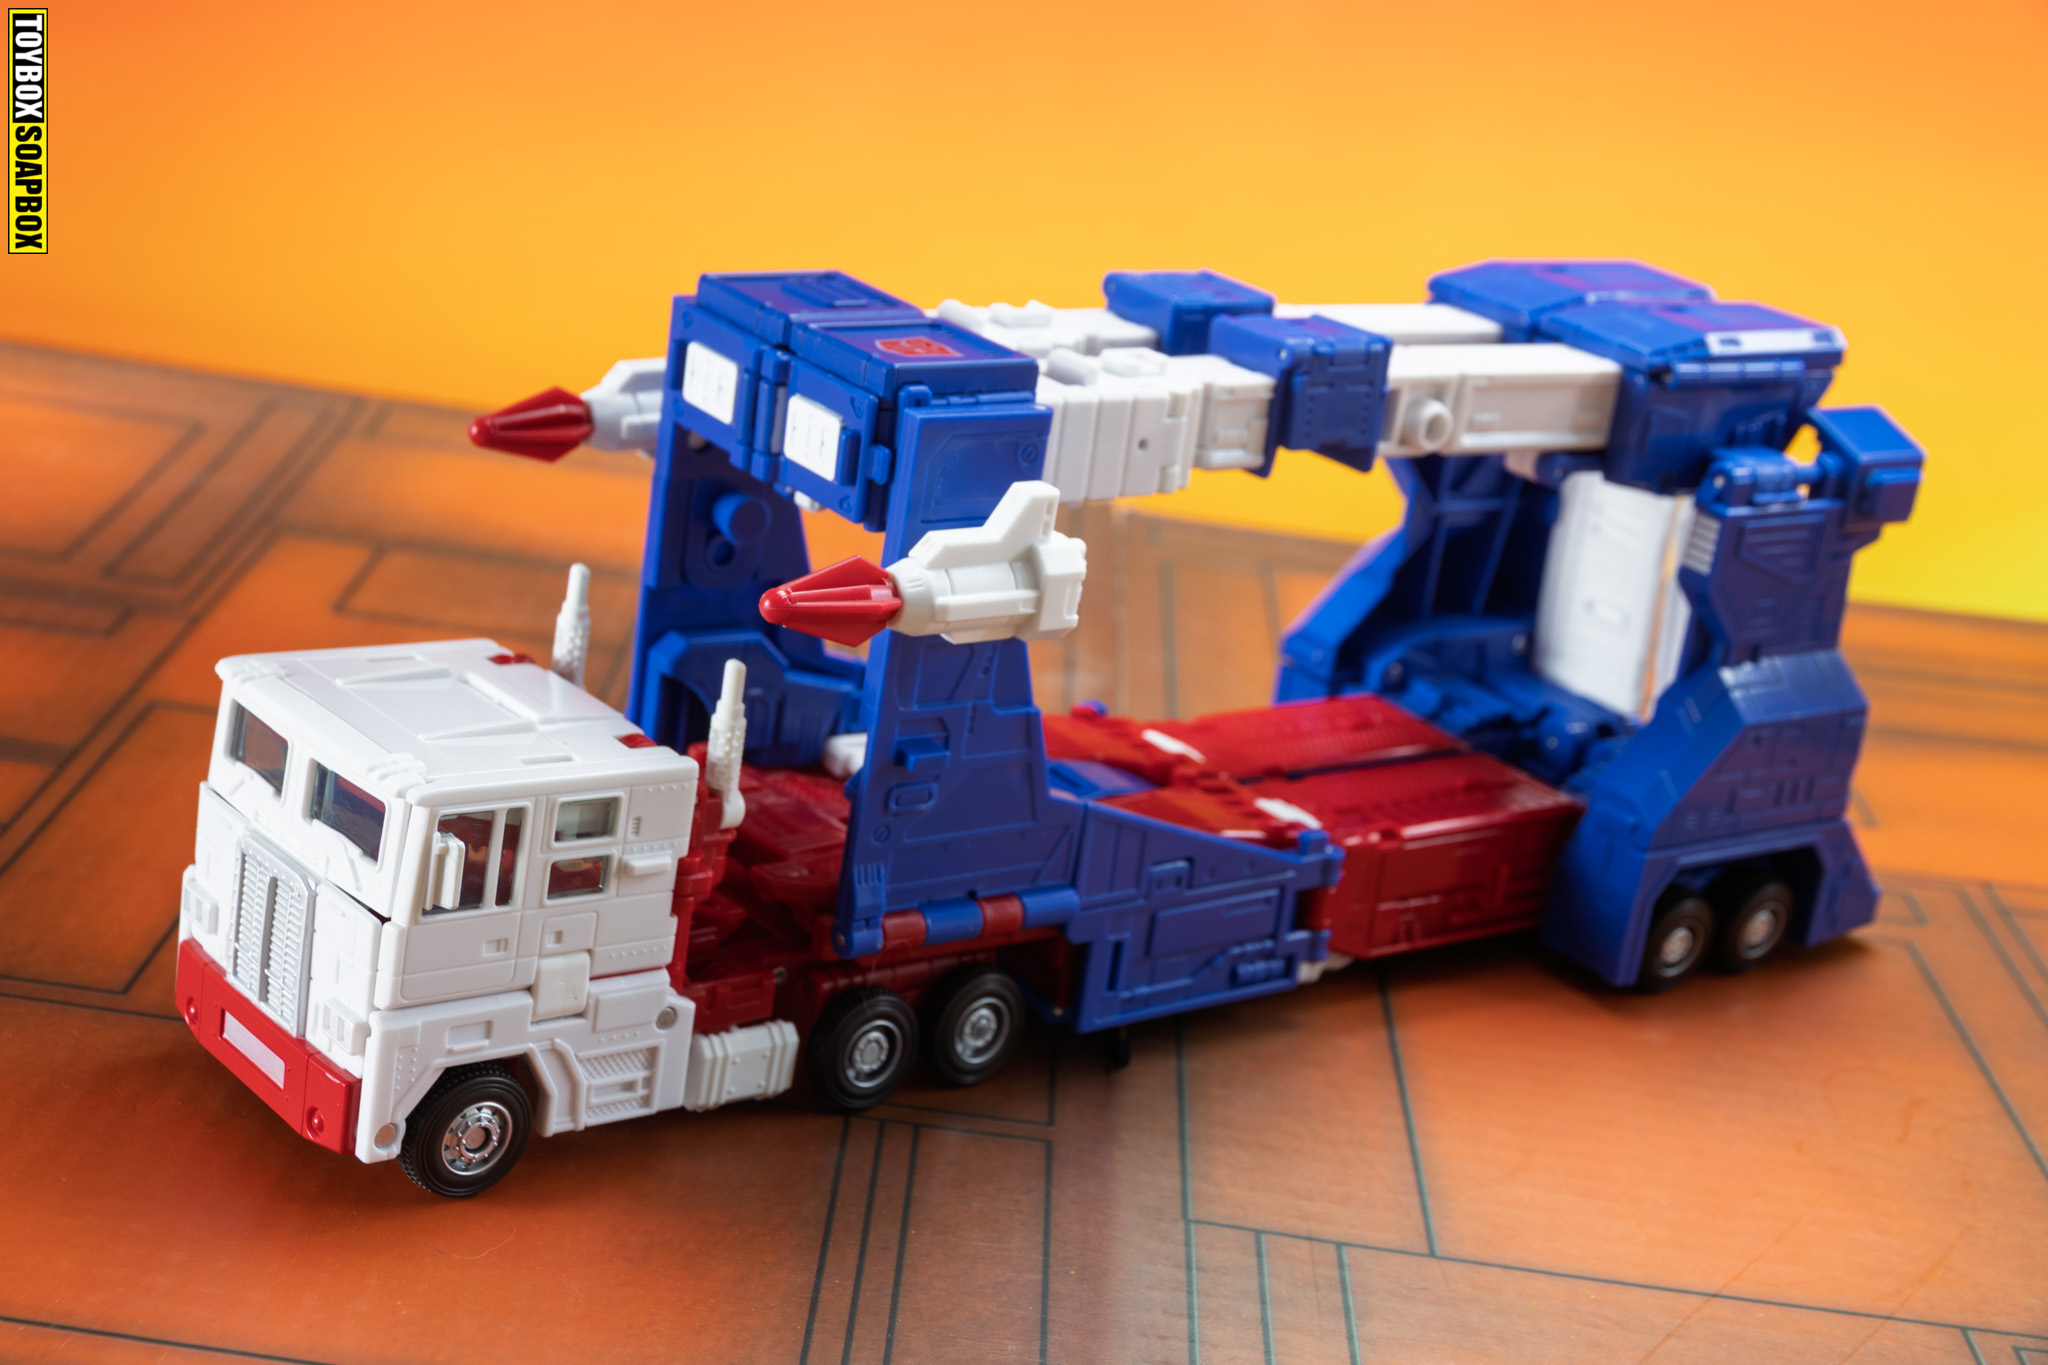
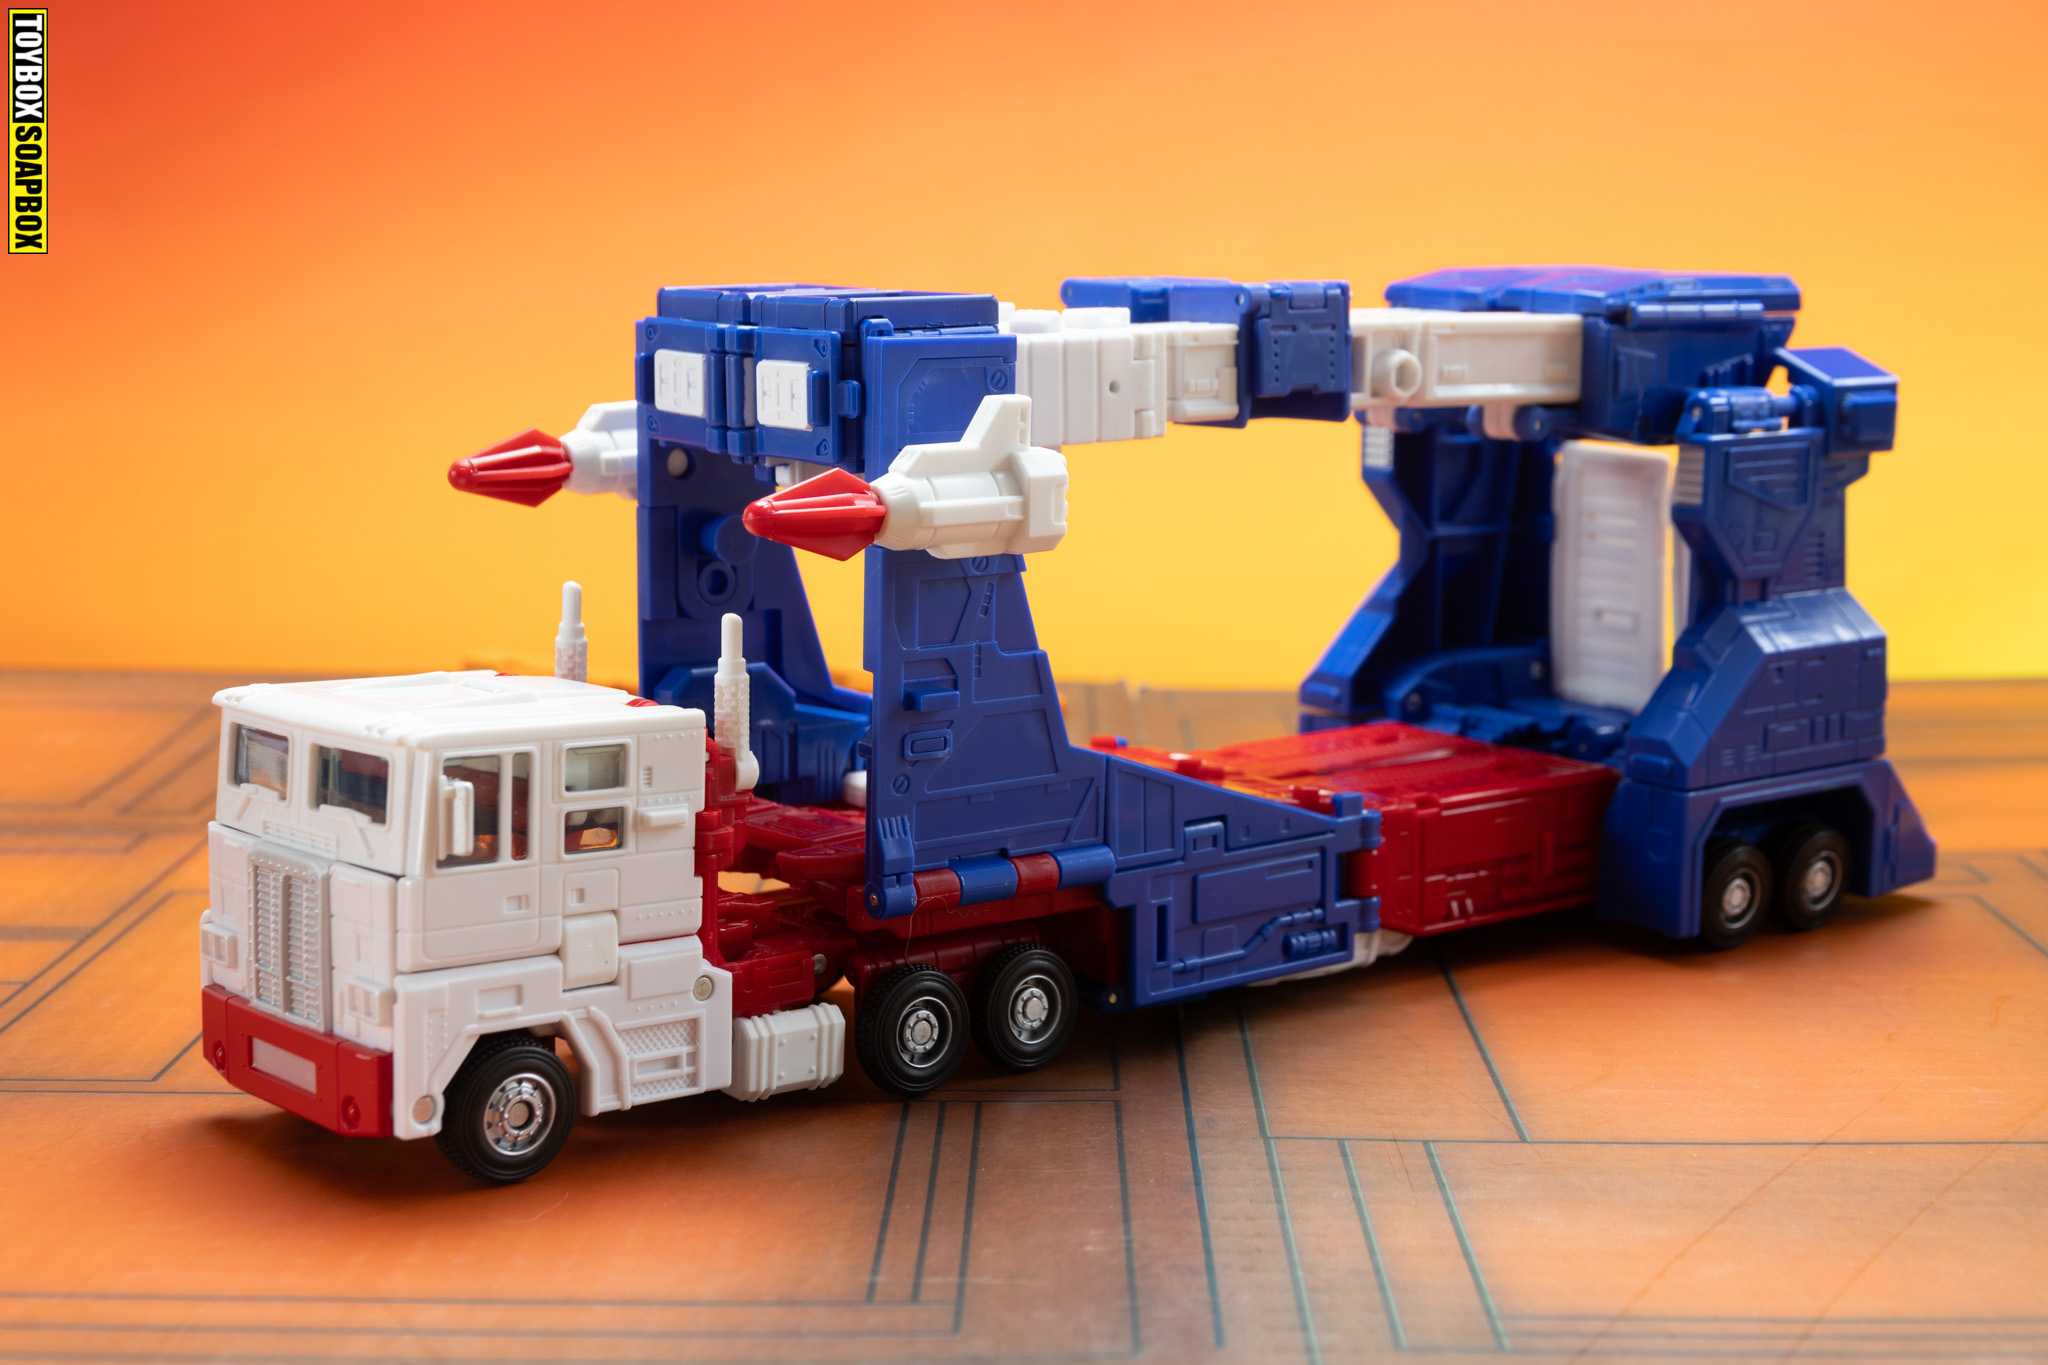
This is not a kit that is purely there to look good. Okay, so it is exactly that, but it is fully functional and it transforms seamlessly. The shoulder panels unclip, swivel around the mushroom peg, and pull up before sliding into their new place. It is obscenely elegant and clever. It does exactly what it has to in the simplest way it can. Everything else transforms as it always did. It’s genius.
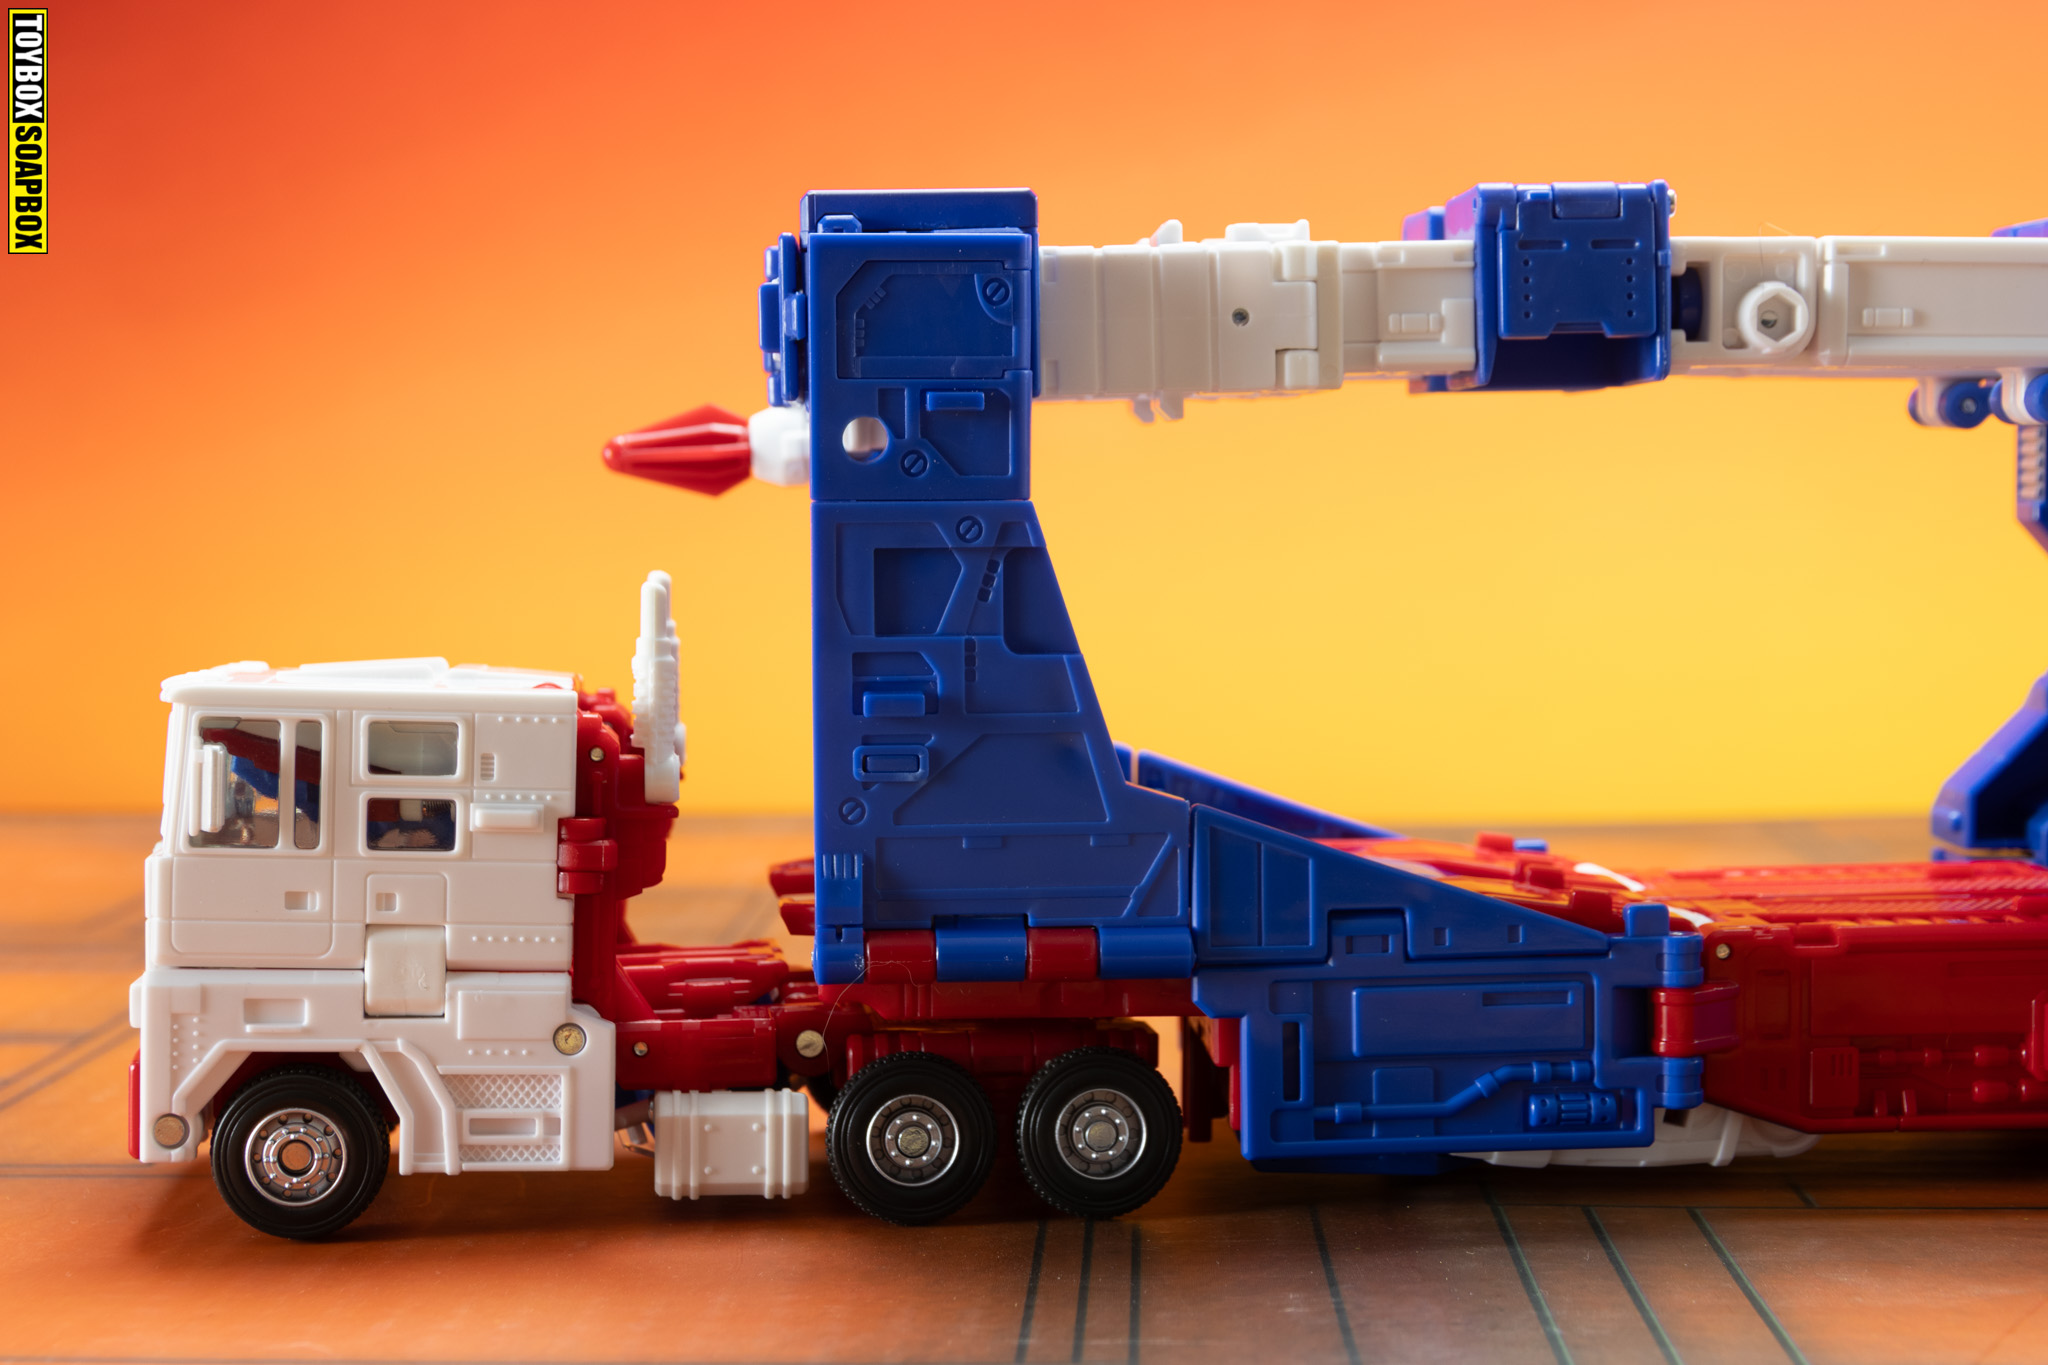
Now in truck mode, the new parts blend right in. The colour matching is excellent, and there is lots of detailing that says, “Look—I am the side of a truck.” Without the hinges the stock parts have, the new sides have the extra bonus of being cleaner and more streamlined. There is more flex in this plastic than the stock parts, but that’s not really an issue.
It even solves a problem I had where, on mine, the original side pieces wouldn’t fully straighten, so they looked like they were constantly bowing out as if someone had tried to cram an Easter egg through them.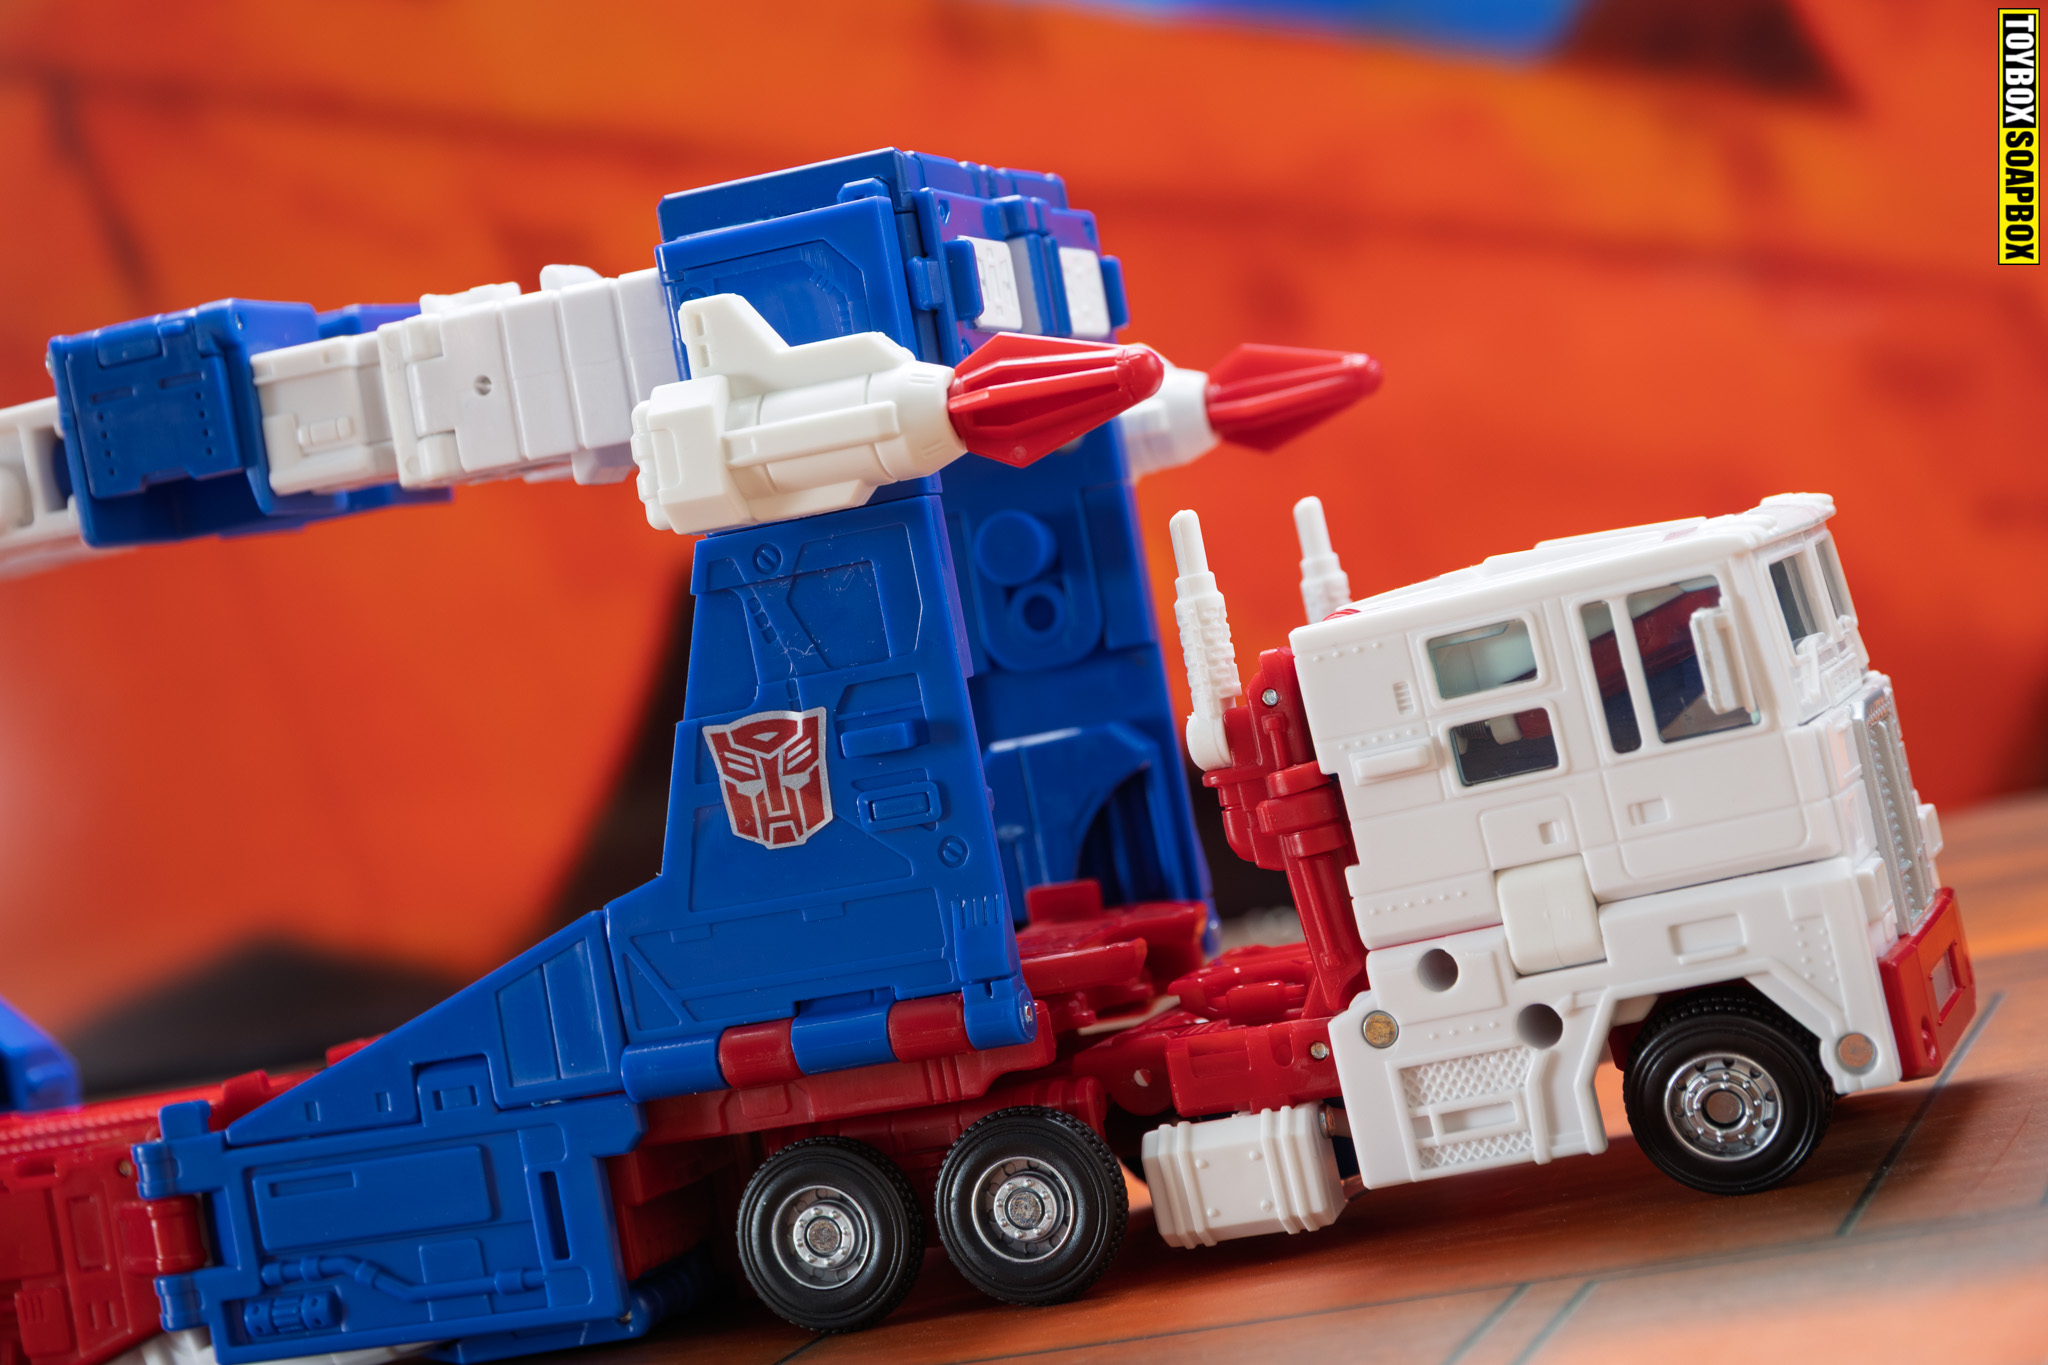
If I had one critique here it’s that they did not leave a flat spot for an Autobot badge. That big, shiny, silver backed Autobot badge gawping at you is such a signature part of Ultra Magnus vehicle mode and his truck mode never looks right without it (I am glaring at you, Siege Ultra Magnus). With all the detailing on the new parts, it’s hard to get a sticker to fit on there neatly without it looking as disfigured as Darkman, but just know that I tried.
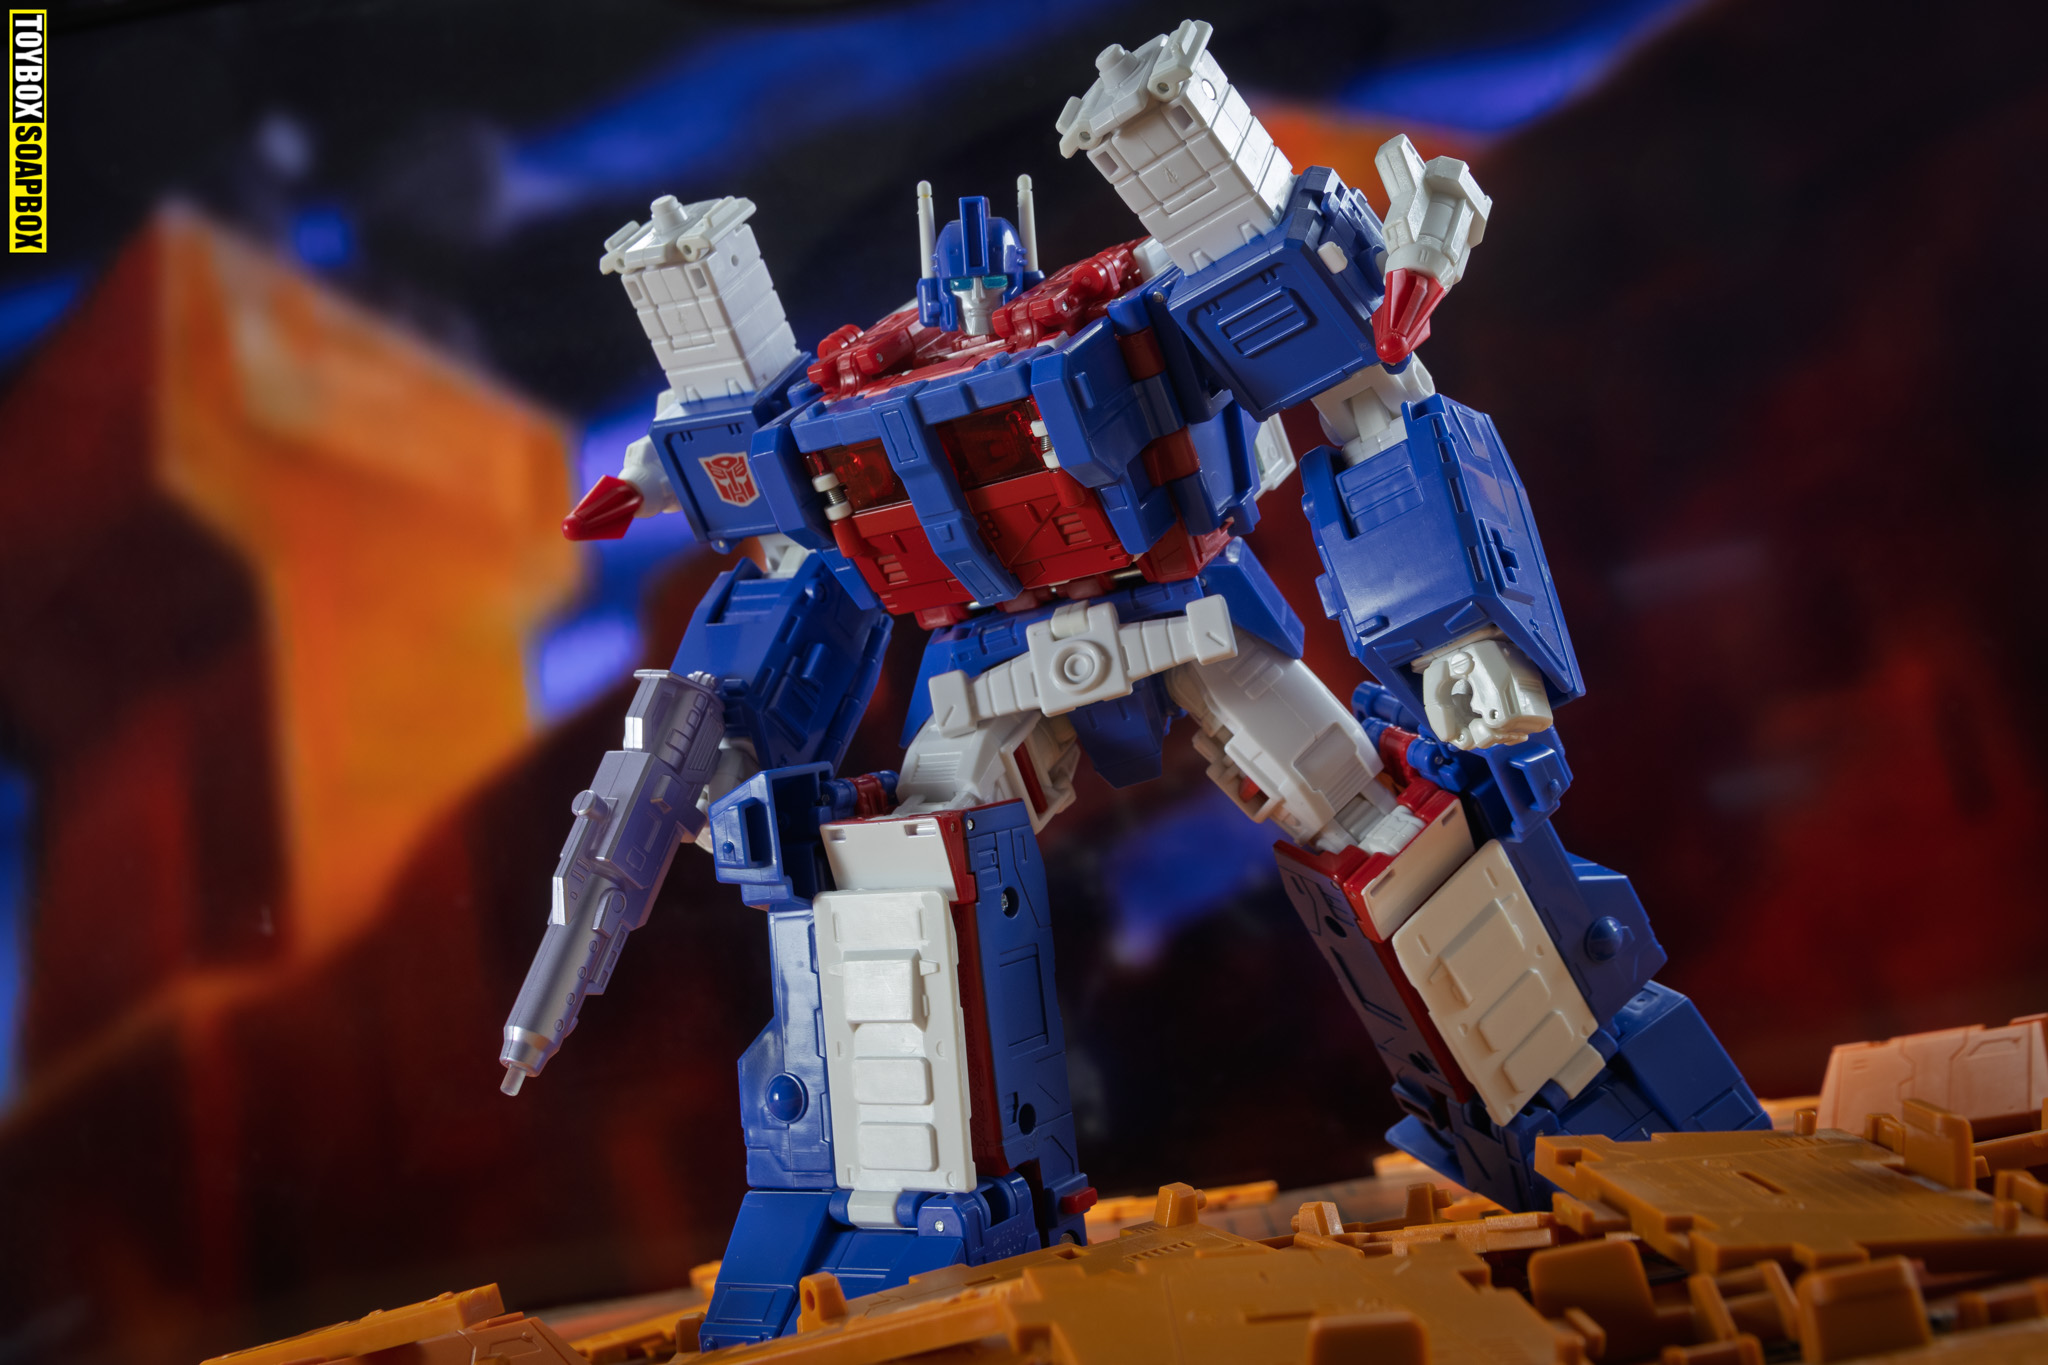
This kit does a fantastic job of fixing the one issue many people have with Studio Series 86 Ultra Magnus. So is it better? Yes. It makes a huge improvement to the proportions by bringing the arms closer to the body, and he now looks orders of Magnustude better. But is it worth it? This is a tricky one. The hassle in removing those pins might not be worth it if you are not experienced or confident in pin removal. The shoulders not pegging securely might also ward you off. And if you are already happy with how the stock shoulders look, then this isn’t something you need.
But if you are a fussy sod, as I am, and every time you look at Magnus you think he looks like he had a pile of the washing your mum had just done stuffed between his arm and his torso—then this kit might be worth checking out.